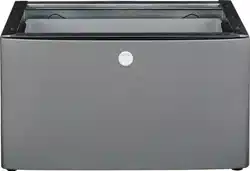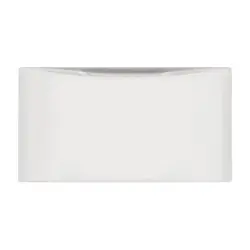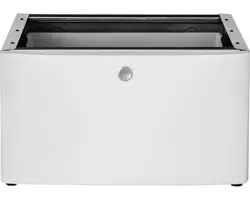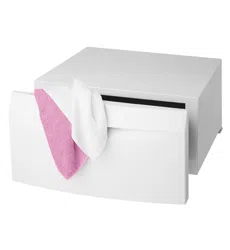
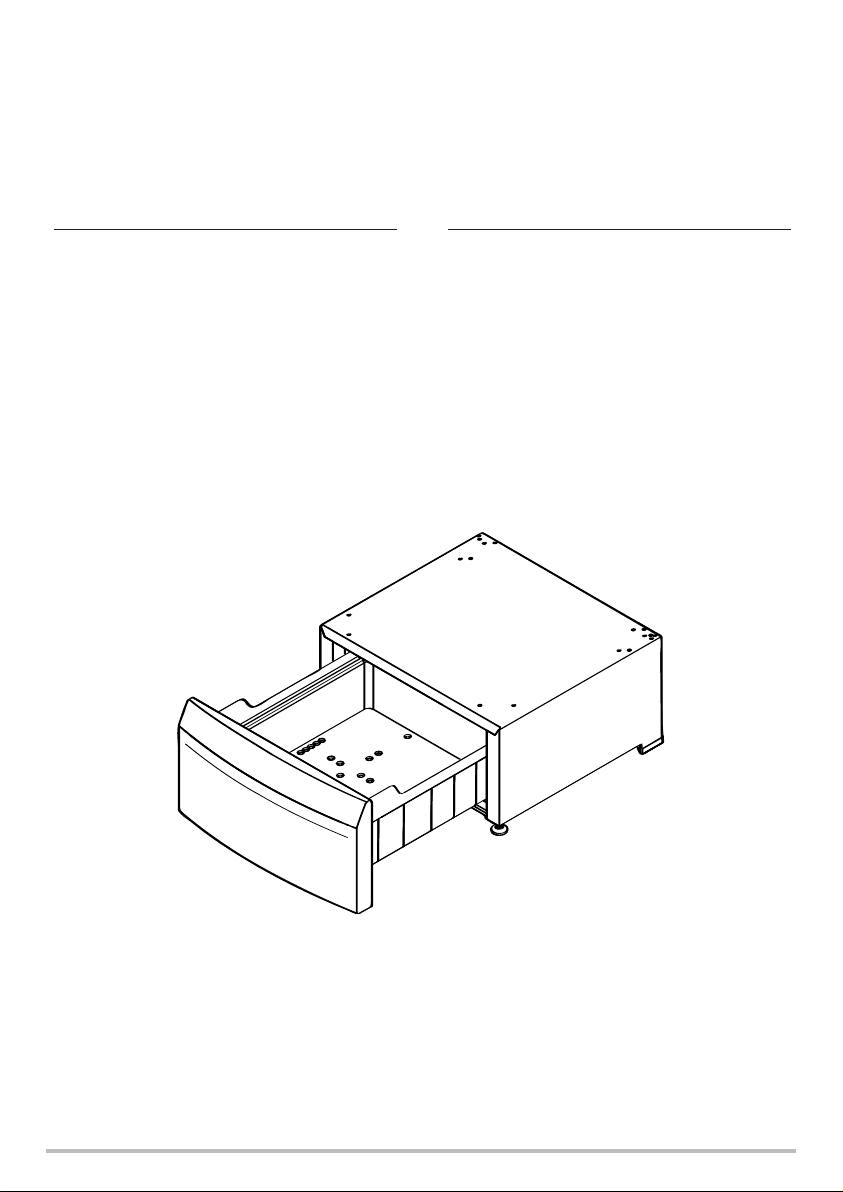
Pedestal with drawer
Installation InstructionAccessories
EN
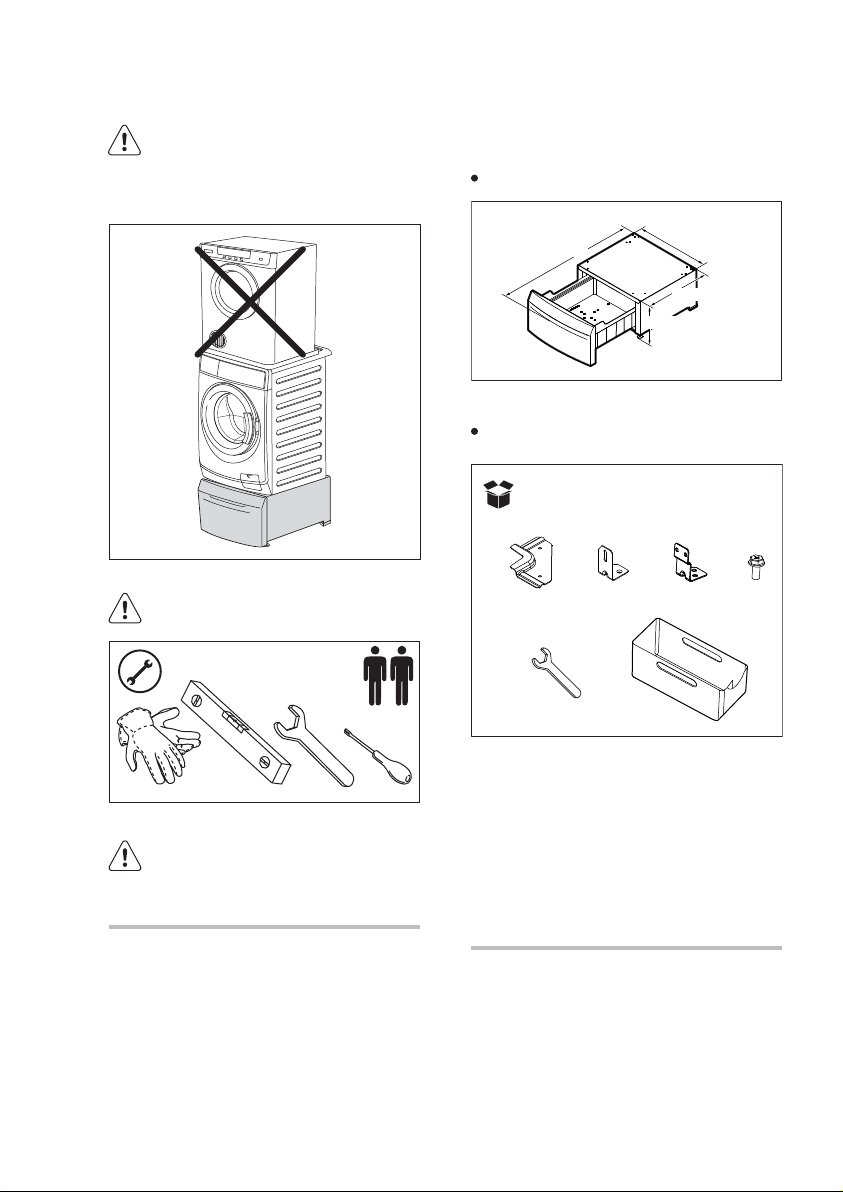
595 mm
1000 mm
535 mm
305 mm
10x2x 2x 2x
1x
(D)
(A)
(B)
(C)
(E)
2x
(F)
Safety Information Product & Accessories
Information
Dimension
Do not stack a dryer on top of washing
machine if using a pedestal.
WARNING! Do not install it alone.
WARNING! Before proceeding
with installation, make sure there
is enough room.
2
WARNING!
(A)
(B)
(C)
(D)
(E)
(F)
2 front metal brackets.
2 rear brackets for washing machine.
2 rear brackets for tumble dryer.
10 screws. (For tumble dryer
8 screws will be sufficient.)
1 spanner to adjust the levelling feet.
2 additional containers
(where included)
Accessories

1.
2.
3.
3
Installation Procedure
Remove the pedestal and all
accessories form the box.
Make sure that the rear rubber
feet are mounted.
Adjust the front adjustable feet to
make the pedestal stable.
4.
If you install the pedestal under a
brand new appliance, unpack the
appliance as indicated in the
instructions supplied with it and
then proceed with step 6.
7.
For washing machine. Gently lay
the washing machine on its
detergent dispenser side.
Lay it on cardboard or on a piece
of polystyrene to avoid scratching
the cabinet.
5.
If the appliance is already
connected:
6.
Screw the front brackets on the
pedestal.
Disconnect the mains plug from
the mains socket.
-
For washing machine. Close the
water tap .
-
For washing machine.
Disconnect the inlet hose(s) from
the water tap and let the water
flow out from the inlet hose(s)
and the drain hose and collect it
in a shallow basin.
-
For tumble dryer. Empty the
water container in a wash basin
or, if available, activate the direct
drain system to let the water flow
out.
-
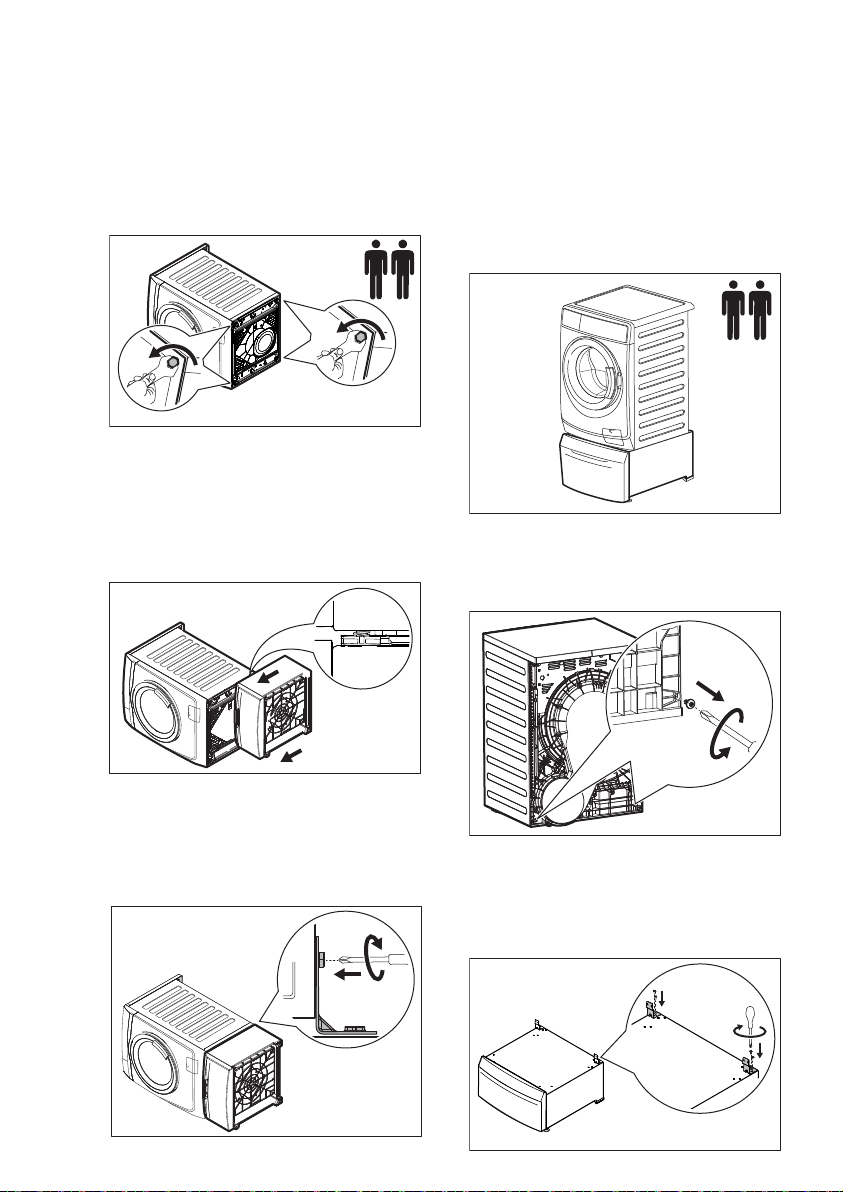
4
10.
For washing machine. Use the
screws supplied to secure the rear
brackets (B) on both the washer
and the pedestal.
11.
For washing machine. Put the
pedestal and appliance in vertical
position. If necessary, adjust the
appliance feet and go to step 16.
Check that the screws are firmly
screwed.
13.
For tumble dryer. Screw the rear
brackets (C) on the pedestal by
using the screws supplied in the
stand box.
12.
For tumble dryer. Unscrew and
retain the two bottom screws from
the back of the appliance.
8.
For washing machine. Adjust the
appliance adjustable feet at a
suitable height to allow it to slide
under the foot locking brackets.
9.
For washing machine. Lay the
pedestal on the same side and
slide it forward so that the
appliance front feet slides under
foot locking brackets.
5
14.
For tumble dryer. Lift the appliance
and slide backwards so that the
appliance front feet slides under
foot locking brackets.
15.
For tumble dryer. Screw the rear
brackets (C) to the back of the
appliance by using the screws
removed in step 12 and adjust the
appliance feet if required.
16.
Move the Pedestal/Appliance
assembly to its permanent
location. Use a spirit level to check
if the assembly is properly leveled.
If not leveled, adjust feet to level
properly.
17.
Where included, you can insert
the additional container (F).
18.
Connect the appliance as indicated
in the instructions supplied with the
appliance.

Do not dispose appliances marked
with the symbol with the household
waste.
Environmental Concerns
6
Recycle the materials with the
symbol
.
Put the packaging in
applicable containers to recycle it.
Help protect the environment and
human health and to recycle waste
of electrical and electronic
appliances.
Return the product to your local
recycling facility or contact your
municipal office.

G0013222-001-A07155701