Loading ...
Loading ...
Loading ...
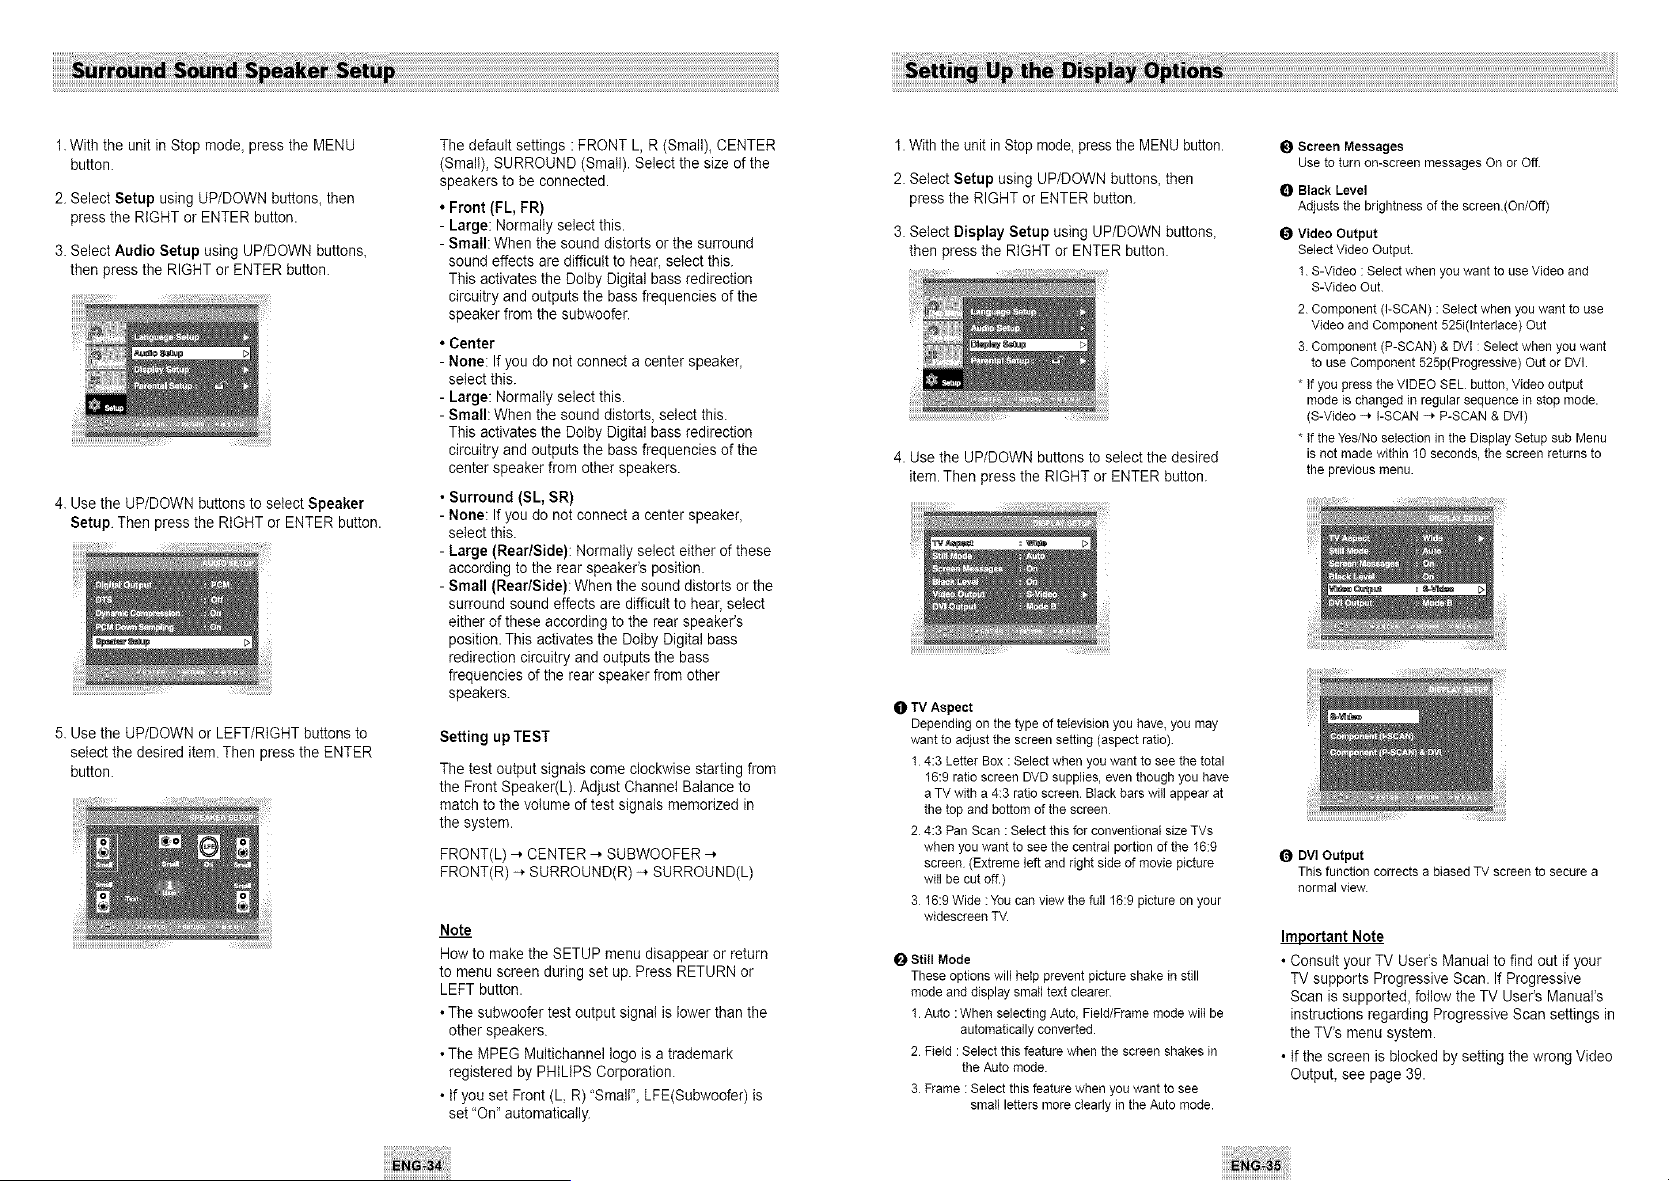
1.WiththeunitinStopmode,presstheMENU
button.
2.SelectSetupusingUP/DOWNbuttons,then
presstheRIGHTorENTERbutton.
3.SelectAudioSetupusingUP/DOWNbutton&
thenpresstheRIGHTorENTERbutton.
4.UsetheUP/DOWNbuttonstoseIectSpeaker
Setup.ThenpresstheRIGHTorENTERbutton.
5.UsetheUP/DOWNorLEFT/RIGHTbuttonsto
selectthedesireditem.ThenpresstheENTER
button.
Thedefaultsettings:FRONTL,R(Small),CENTER
(Small),SURROUND(Small).Selectthesizeofthe
speakerstobeconnected.
•Front (FL, FR)
- Large: Normally select this.
- Small: When the sound distorts or the surround
sound effects are difficult to hear, select this.
This activates the Doiby Digital bass redirection
circuitry and outputs the bass frequencies of the
speaker from the subwoofer.
• Center
- None: If you do not connect a center speaker,
select this.
- Large: Normally select this.
- Small: When the sound distorts, select this.
This activates the Dolby Digital bass redirection
circuitry and outputs the bass frequencies of the
center speaker from other speakers.
• Surround (SL, SR)
- None: If you do not connect a center speaker_
select this.
- Large (Rear/Side): NormaIly select either of these
according to the rear speaker's position.
- Small (Rear/Side): When the sound distorts or the
surround sound effects are difficult to hear, select
either of these according to the rear speaker's
position. This activates the Dolby Digital bass
redirection circuitry and outputs the bass
frequencies of the rear speaker from other
speakers.
Setting up TEST
The test output signals come clockwise starting from
the Front Speaker(L). Adjust Channel Balance to
match to the volume of test signals memorized in
the system.
FRONT(L) -_ CENTER -_ SUBWOOFER -_
FRONT(R) -_ SURROUND(R) -_ SURROUND(L)
Note
How to make the SETUP menu disappear or return
to menu screen during set up.Press RETURN or
LEFT button.
• The subwoofer test output signal is lower than the
other speakers.
• The MPEG Multichannel logo is a trademark
registered by PHtLIPS Corporation.
• tf you set Front (L, R)"Small", LFE(Subwoofer)is
set "On" automatically.
1.With the unit inStop mode, pressthe MENU button.
2. Select Setup using UP/DOWN buttons, then
press the RIGHT or ENTER button.
3. Select Display Setup using UP/DOWN buttons,
then press the RIGHT or ENTER button.
4. Use the UP/DOWN buttons to select the desired
item.Then press the RIGHT or ENTER button.
/iiiiiiiiiii_
I_ Screen Messages
Use to turn on-screen messages On or Off.
O Black Level
Adjusts the brightness of the screen.(On/Off)
I_ Video Output
Select Video Output.
1. S-Video : Select when you want to use Video and
S-Video Out.
2. Component (I-SCAN) : Select when you want to use
Video and Component 525i(Intedace) Out
3. Component (P-SCAN) & DVt : Select when youwant
to use Component 525p(Progressive) Out or DVI.
* if you press the VIDEO SEL button, Video output
mode is changed in regular sequence in stop mode.
(S-Video -_ I-SCAN -_ P-SCAN & DVI)
* if the Yes/No selection in the Display Setup sub Menu
is not made within 10 seconds, the screen returns to
the previous menu.
O TV Aspect
Depending on the type of television you have, you may
want to adjust the screen setting (aspect ratio)
1 4:3 Letter Box : Select when you want to see the total
16:9 ratio screen DVD supplies, even though you have
a TV with a 4:3 ratio screen. Black bars will appear at
the top and bottom of the screen
2 4:3 Pan Scan : Select this for conventional size TVs
when you want to see the central portion of the 16:9
screen (Extreme left and right side of movie picture
will be cut off.)
3 16:9 Wide :You can view the full 16:9 picture on your
widescreen TV.
t_l Still Mode
These options will help prevent picture shake in still
mode and display small text clearer.
1 Auto : When selecting Auto, Field/Frame mode will be
automatically converted.
2 Field : Select this feature when the screen shakes in
the Auto mode.
3 Frame : Select this feature when you want to see
small letters more cleady in the Auto mode.
!_1 DVI Output
This function corrects a biased TV screen to secure a
normal view.
Important Note
• Consult your TV User's Manual to find out if your
TV supports Progressive Scan. If Progressive
Scan is supported, follow theTV User's Manual's
instructions regarding Progressive Scan settings in
the TV's menu system.
• tf the screen is blocked by setting the wrong Video
Output, see page 39.
Loading ...
Loading ...
Loading ...