Loading ...
Loading ...
Loading ...
16
9
INSTRUCTIONS FOR THE USER
CLEANING AND MAINTENANCE
HOT PLATE
The burner caps and burner heads need to
be cleaned after each time they are used
with warm soapy water, rinsed and then
dried well to keep them in good condition.
WARNINGS:
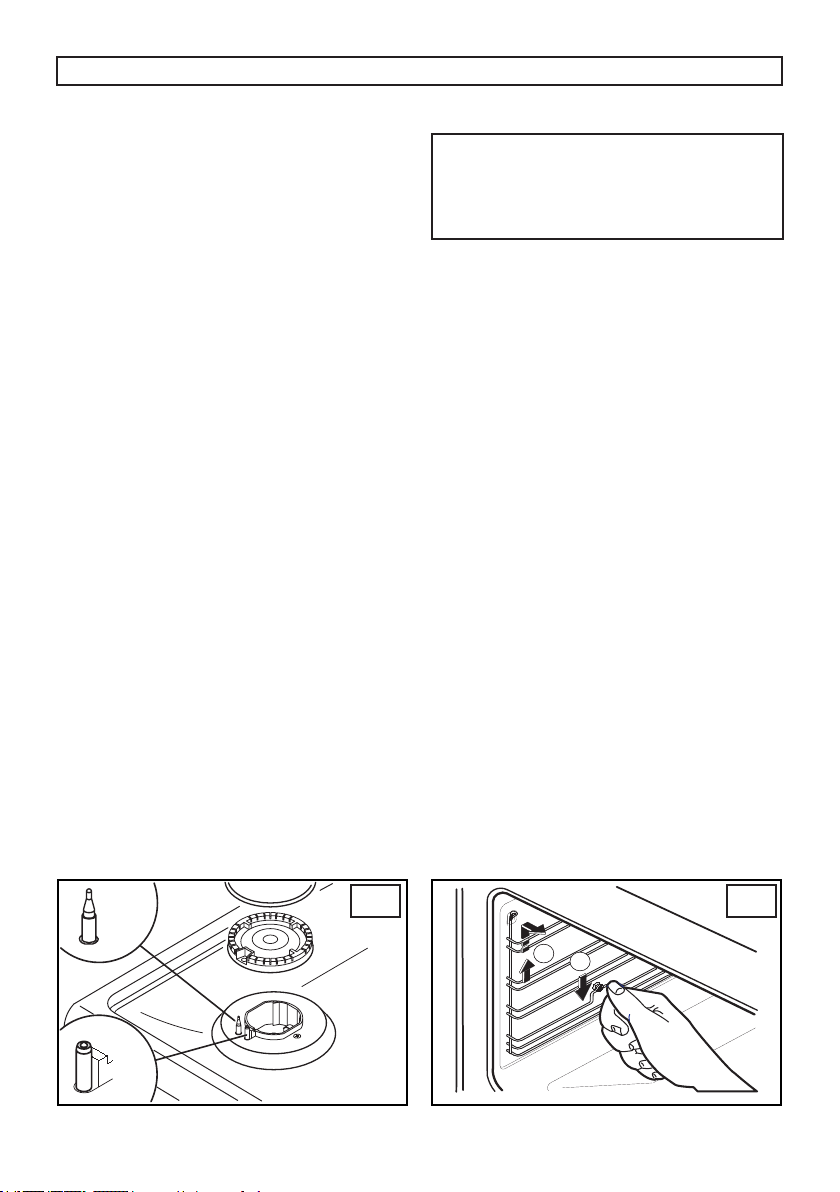
• After cleaning, check that the heads
burners and the relative burner caps, are
correctly positioned in their housings (g.
9).
• Take care not to disturb the ignition spark
plugs or ame failure devices.
• If you nd a tap is difcult to open or
close do not force it but call for technical
assistance urgently.
• The appliance is not intended to be
operated by means of an external timer or
separate remote-control system.
STRUCTURE
All the cooker parts (in enamelled or painted
metal, steel, or glass) should be cleaned
frequently with warm soapy water and then
rinsed and dried with a soft cloth.
DO NOT use harsh abrasive cleaners or
sharp metal scrapers to clean the oven glass
door since they can scratch the surface,
which may result in shattering of the glass.
NEVER use sponges or abrasive products,
and aromatic or aliphatic solvents to remove
stains or adhesives on the painted or stainless
steel surfaces.
DO NOT leave vinegar, coffee, milk, salty
water or the juice of lemon or tomato on the
surface for any length of time.
OVEN CAVITY
Do not spray or wash the thermostat
bulb with acid based products (check the
product label before use).
The manufacturer cannot be held liable for
any damage caused by incorrect cleaning.
The oven cavity should be cleaned after each
use to remove cooking residuals and or grease
or sugar which, if burnt on when the oven is
used again, will form deposits or unremovable
stains as well as unpleasant smells.
To maintain the shine of the enamelled parts,
clean them with warm soapy water, rinse
and dry them thoroughly. ALWAYS wash the
accessories used.
OVEN SIDEWALL GRIDS (g. 10)
To allow for a better cleaning of the side grids,
you can extract them this way:
1. Push with a nger on the last of the slots to
release the grid from its hold.
2. Lift it towards the top and extract the grid.
To put them back into place, reverse the order
of this operation.
10
Loading ...
Loading ...
Loading ...