Loading ...
Loading ...
Loading ...
7
Installation
Note: You may need to contact your electrician if your room’s circuit is not able to power your
unit.
Note: To avoid risk of injury and/or product/property damage, please take the following
precautions:
• Two or more people are needed to properly handle and install the unit.
• Use proper lifting and carrying techniques.
• Before installation, make sure to inspect the window and sill to ensure they are able to handle
the weight and size of this unit.
• Wearing protective gloves will help avoid injury from sharp edges.
Before you begin, make sure you have all the parts necessary for installation.
If you have multiple windows, choose one that is near an electrical outlet that will be able to provide sucient
power to your unit. See the power requirements listed on the product label printed on the side or back of your air
conditioner.
The following measurements are required to properly install the air conditioner.
• WAC18001W: Window Width: 28” to 40 ½” | Minimum Height: 18 ½”
• WAC25001W: Window Width: 31” to 42” | Minimum Height: 19 ½”
Tools Needed
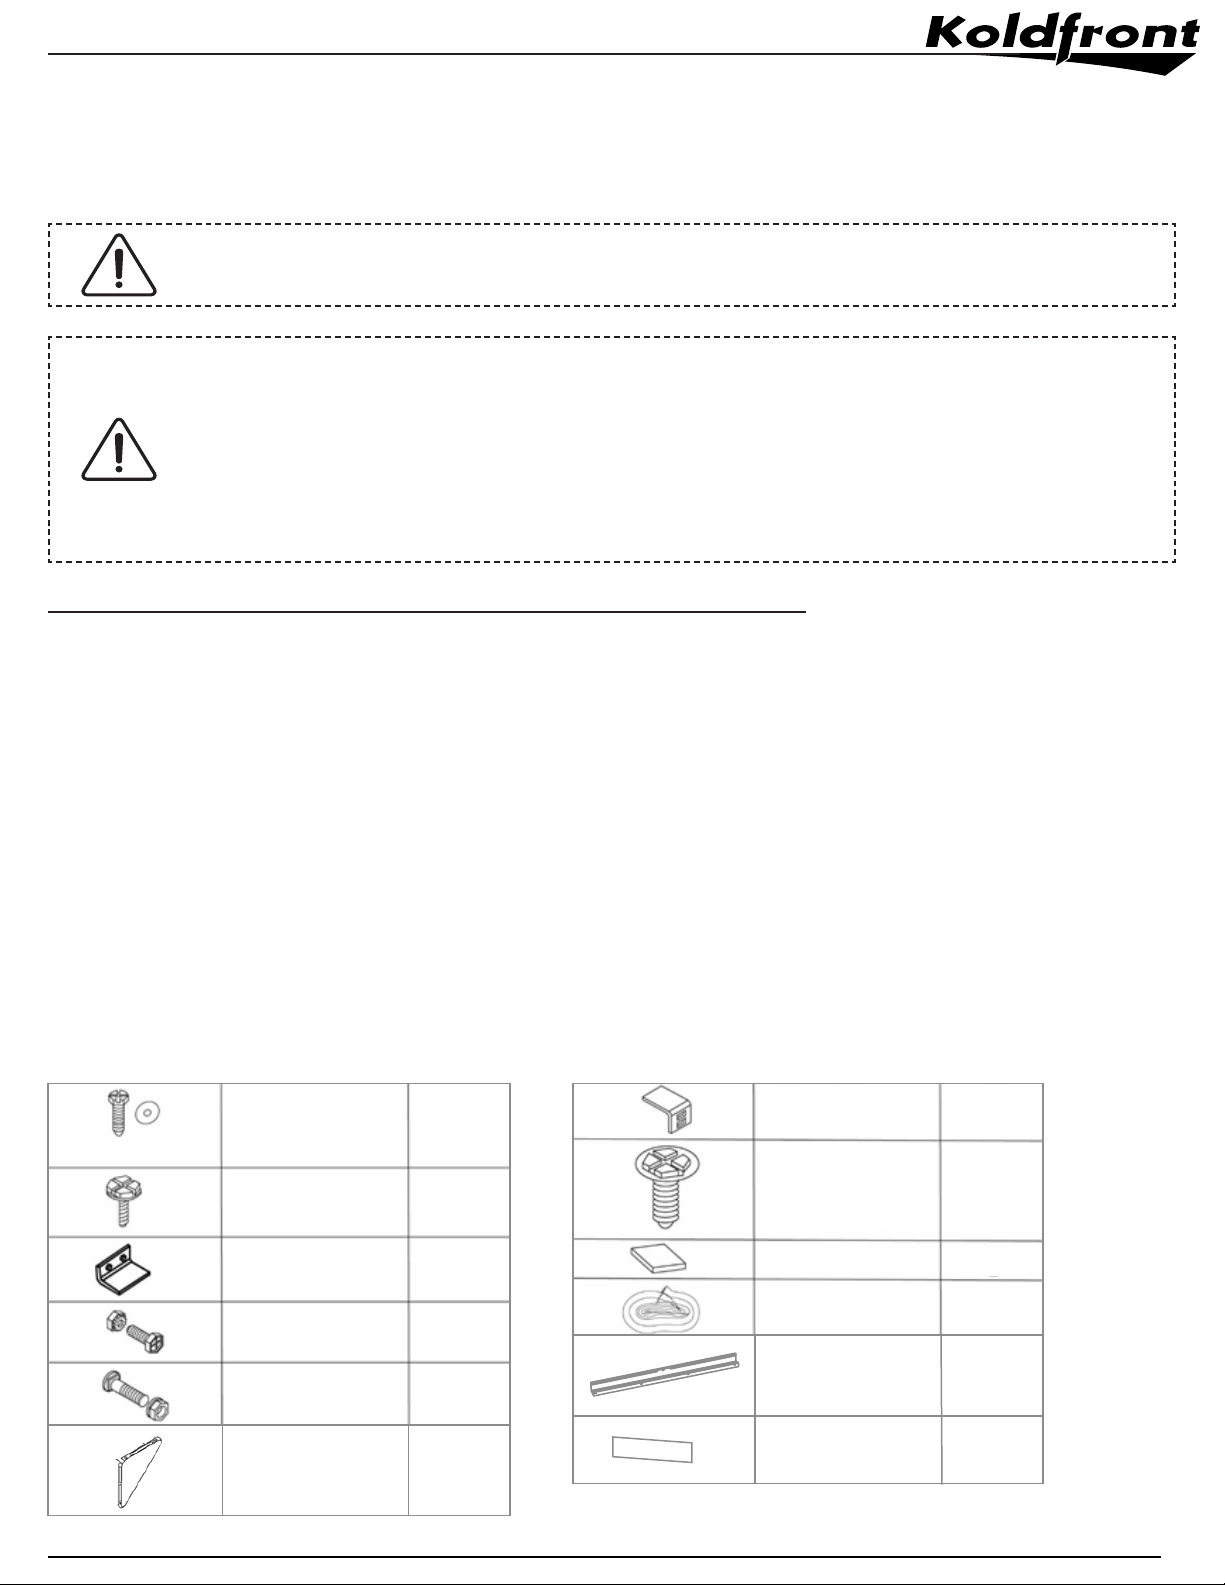
Parts Supplied
• Phillips Screwdriver • Tape Measure • Level • Drill • 1/8” Drill Bit
Top Channel
Foam Gasket 2
1
Sill Angle
Bracket
Foam Insert
Window Sash
Long hex-head
locking screw for
top channel side
retainer 5/16” long
2
10
1
2
Support Bracket
7/16” Locking screw
and at washer for
window panels
3/4” (or 1/2”) long
heax-head screw
1/2” long screw and
locknut
3/4” long at head
bolt and locknut
Safety lock
2
2 ea.
4 ea.
2 ea.
4
1
Loading ...
Loading ...
Loading ...