Loading ...
Loading ...
Loading ...
21
OPTION BUTTONS
HOW TO USE
Your washing machine features several additional cycle
options that customize cycles to meet your individual
needs.
1
Turn ON the washer and turn the cycle selector
knob t
o select the desired cycle.
2
Use the cycle modifier bu
ttons to adjust the settings
for that cycle.
3
Press the cycle option button(s) for the option(s) you
w
ould like to add. The button will light when that
option is selected. For secondary functions, press
and hold the button for three seconds. The LED will
blink when the secondary option is selected. Both
options cannot be selected together.
4
If the selected option is not allowed for the selected
cy
cle, the chime will sound twice to alert you and
the LED will not illuminate.
5
Press the START/PAUSE button to start the cycle. After
a bri
ef delay, the door will lock and the cycle will
begin.
NOTE:
To protect your garments, not every option is
available with every cycle.
NOTE:
If the START/PAUSE button is not pressed within
four minutes, the control will shut off and the settings will be
lost.
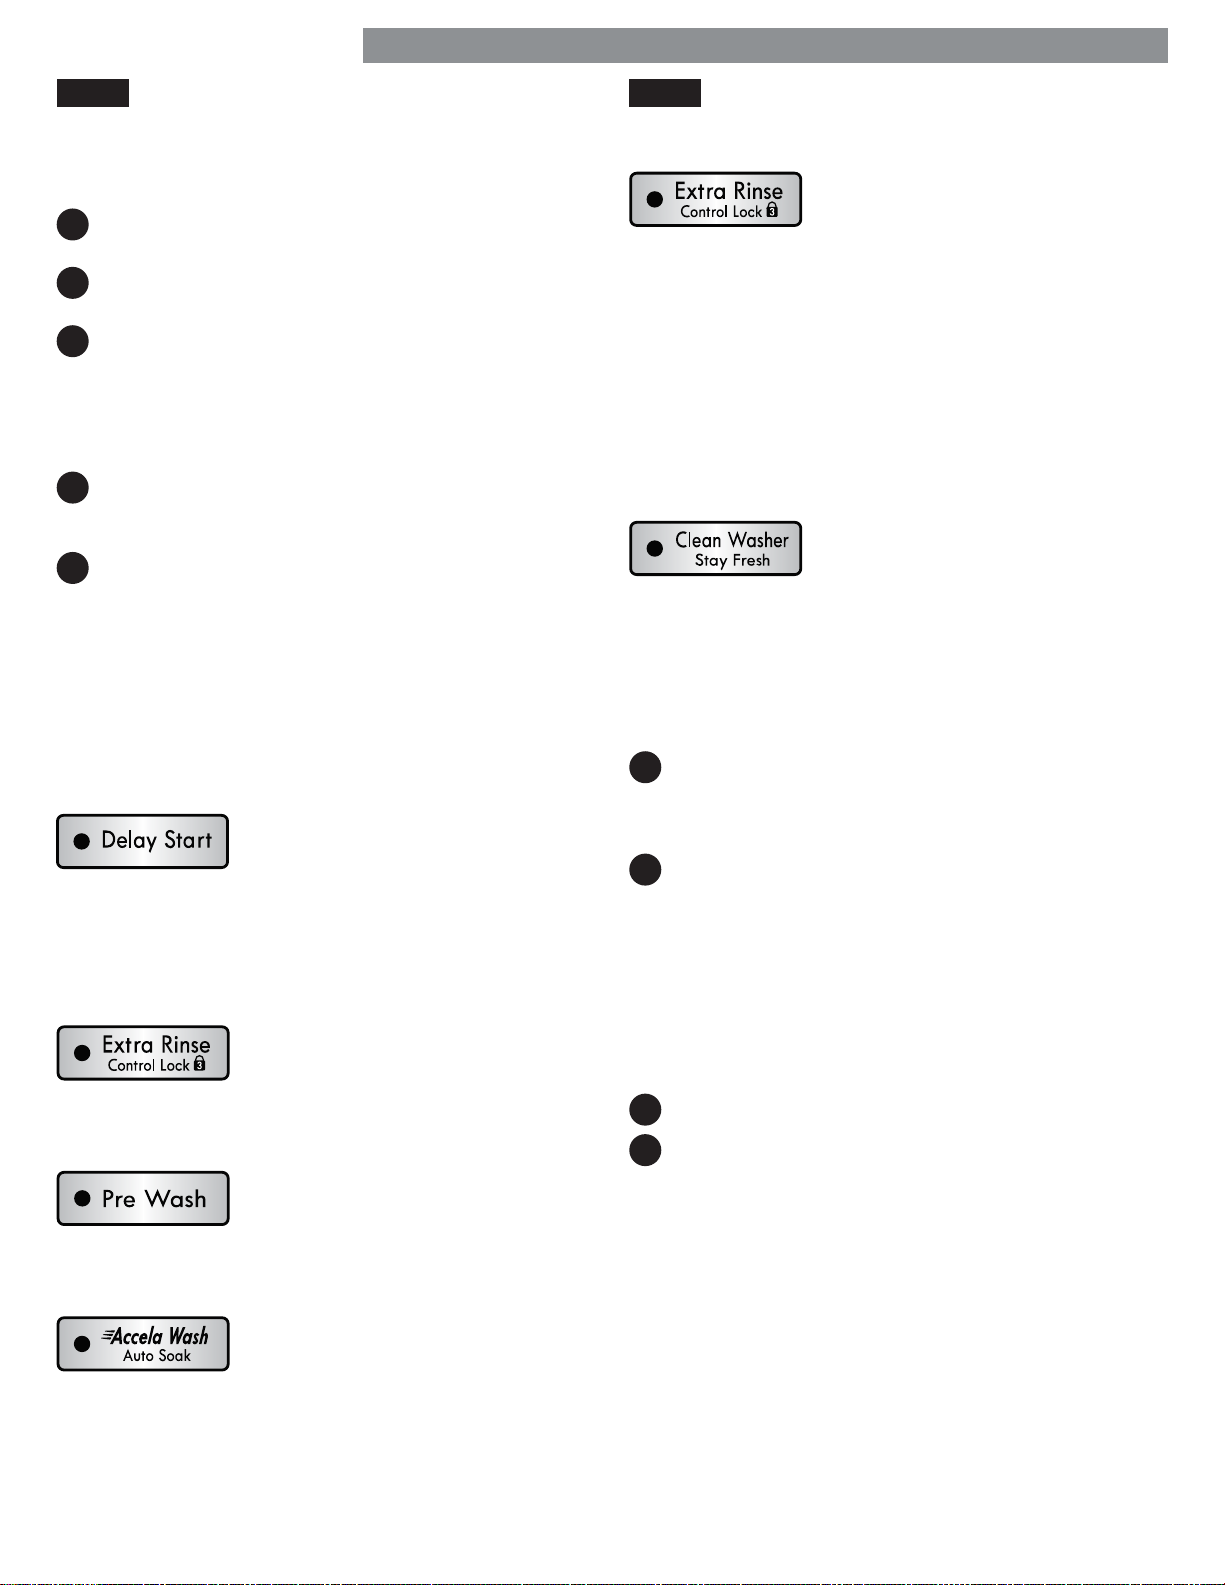
EXTRA RINSE
This option will add an extra rinse to
the selected cycle. Use this option to
help ensure the removal of detergent
or bleach residue from fabrics.
PRE WASH
Select this option to add a 15-minute
prewash, rinse and spin cycle to the
chosen cycle. This is especially useful
for heavily soiled items.
ACCELA WASH
The Accela Wash option uses a twin
water-spray and detergent injection
which reduces cycle time while
maintaining wash performance when added to a cycle.
SPECIAL FUNCTIONS
CONTROL LOCK
Use this option to disable the controls.
The washer can only be locked
during a cycle. This feature can
prevent children from changing cycles or operating the
machine. Once set, the controls remain locked and
Control Lock must be turned OFF before the controls can
be used again. Once the washer has shut off, the power
button will allow the machine to be turned ON, but the
controls will still be locked. When the controls are
locked, “CL” will display alternately with the estimated
time remaining.
Press and hold the EXTRA RINSE button for three
seconds to activate or deactivate the controls.
CLEAN WASHER
Detergent residue can build up in the
wash drum over time and can lead to
a mildewy or musty smell. The
CLEAN WASHER cycle is specially designed to remove
this buildup using bleach or another cleaner designed
specifically for cleaning front load washers. Run the
CLEAN WASHER cycle once a month, or more often
under heavy use conditions or if odor is present.
See complete instructions in the CARE AND CLEANING
section.
1
Turn ON the washer and press the CLEAN WASHER
button. Selecting any other cycle after CLEAN
WASHER has been selected will cause the CLEAN
WASHER cycle to be cancelled.
2
Fill the bleach dispenser to the MAX line with liquid
chlorine bleach. Do not overfill the bleach dispenser.
Overfilling will cause the bleach to dispense
immediately.
NOTE:
For other drum cleaning products, follow
the cleaner manufacturer’s instructions and
recommendations. For powdered cleaning products,
add the cleaner to the main wash compartment of
the dispenser drawer. Place tablet cleaners directly
into the drum.
3
Press the START/PAUSE button to start the cycle.
4
After the cycle has ended, secure the door slightly
ajar with the door magnet. This will promote air
circulation and allow the interior of the machine to
dry. To use this feature, close the door just until it
contacts the door magnet.
NOTE:
Do NOT use this cycle with clothes, and do
NOT add detergent or fabric softener.
DELAY START
Once you have selected the cycle
and other settings, press this button
to delay the start of the wash cycle.
Each press of the button increases the delay time by one
hour, for up to 19 hours. Once the desired delay time is
set, press the START/PAUSE button to start the delay
time.
Loading ...
Loading ...
Loading ...