Loading ...
Loading ...
Loading ...
56 English
Maintenance
Maintenance
Replacement
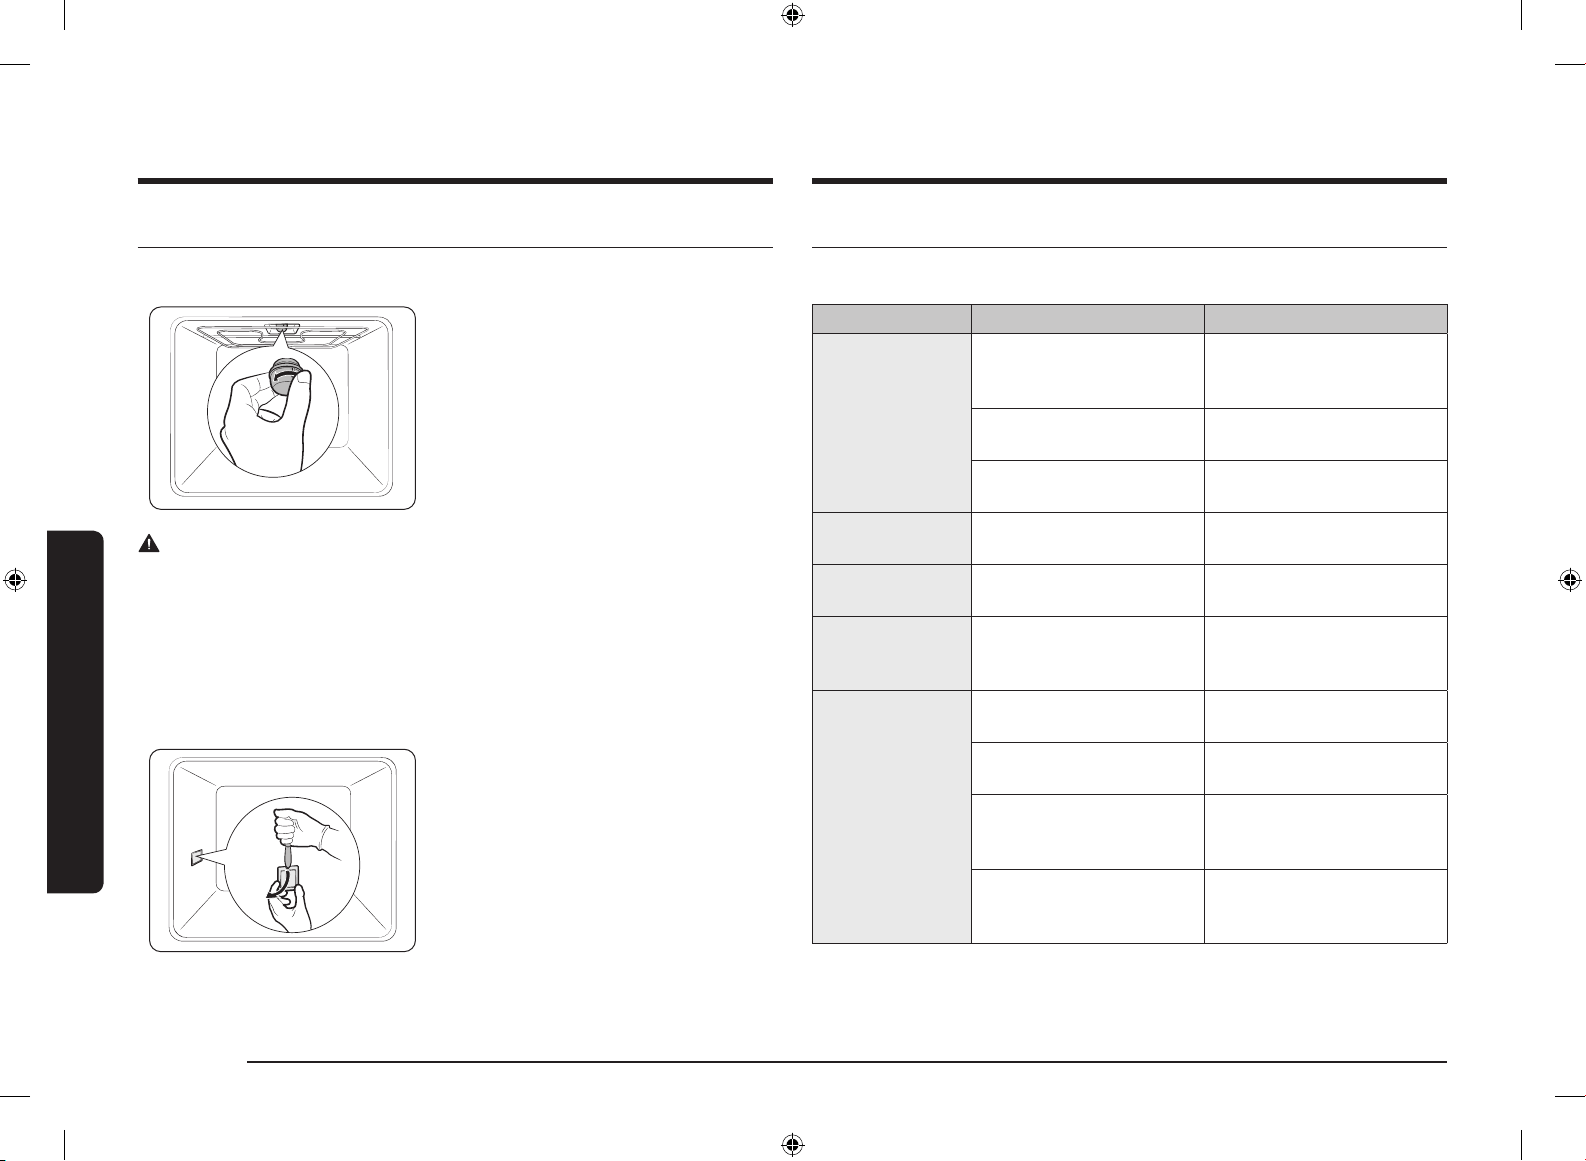
Bulbs
1. Remove the glass cap by turning anti-
clockwise.
2. Replace the oven light.
3. Clean the glass cap.
4. When done, follow step 1 above in the
reverse order to reinsert the glass cap.
WARNING
• Before replacing a bulb, turn off the oven and unplug the power cord.
• Use only 25-40 W/220-240 V, 300 °C heat-resistant bulbs. You can purchase
approved bulbs at a local Samsung service centre.
• Always use a dry cloth when handling a halogen bulb. This is to prevent the
bulb from being tampered with fingerprints or sweat, resulting in a shortened
lifecycle.
Side oven light
1. Hold the lower end of the cover of the
side oven light with one hand, and use
a flat-sharp tool such as a table knife to
remove the cover as shown.
2. Replace the side oven light.
3. Reinsert the light cover.
Troubleshooting
Checkpoints
If you encounter a problem with the oven, first check the table below and try the
suggestions. If the problem continues, contact a local Samsung service centre.
Problem Cause Action
The buttons
cannot be pressed
properly.
• If there is foreign matter
caught between the
buttons
• Remove the foreign matter
and try again.
• Touch model: if there is
moisture on the exterior
• Remove the moisture and
try again.
• If the lock function is set • Check whether the lock
function is set.
The time is not
displayed.
• If there is no power
supplied
• Check whether there is
power supplied.
The oven does not
work.
• If there is no power
supplied
• Check whether there is
power supplied.
The oven
stops while in
operation.
• If it is unplugged from
the power socket
• Reconnect the power.
The power
turns off during
operation.
• If continuous cooking
takes a long time
• After cooking for a long
time, let the oven cool.
• If the cooling fan does
not work
• Listen for the sound of the
cooling fan.
• If the oven is installed
in a place without good
ventilation
• Keep the gaps specified
in the product installation
guide.
• When using several
power plugs in the same
socket
• Use a single plug.
FULL MANUAL_NV7B5765XAK_U4_DG68-01412D-00_EN.indd 56FULL MANUAL_NV7B5765XAK_U4_DG68-01412D-00_EN.indd 56 2022-04-19 오후 4:59:562022-04-19 오후 4:59:56
Loading ...
Loading ...
Loading ...