Loading ...
Loading ...
Loading ...
Automatic Icemaker & Ice/Water Dispenser (continued)
Once Your Icemaker& Dispenser are in Operation
Throw away the firstfew batches of ice cubes( t 6 or 24 cubes)
Thiswill Hushaway any impuritiesinthe water line Do the same
thing after vacalions or extended periods when ice isn'tused
To clean out the line, pour the first six glassfuls of water in the
kitchen sink The first water through the system picks up a
slight "plastic" taste from the water tubing
To make sure the bin fills with ice, level the cubes
occasionally. When cubes fall into the bin they may pile up
close to the icemaker and push the feeler arm to the STOP (up)
position before the bin gets full. Keeping the cubes level
allows the icemaker to fill the bin
To Dispense Ice and Water
o SelectCUBES,CRUSHED ICE(on some models) or WATER_
° Grip the glass or other container near the rim and press
the rim against the center of the dispenser pad
When Dispensing Ice:
o Some crushed ice may be
dispensed even though you
selected CUBES This happens
occasionally when a few cubes
get channeled to the crusher
• Sometimes a mound of snowwill
form on the door in the ice chute_
This condition is normal, and usually occurs when you
have dispensed crushed ice repeatedly. The snow will
eventually evaporate
° Sometimes crushed ice will spray beyond the glass
To avoid this, hotd the glass up dose to the chute.
When Dispensing Water:
o The first glass of water dispensed
may be warmer than the foNowing
ones Thisis normal
° Dispensed water is cool, not iced..
For colder water, simply add
crushed ice or cubes before
dispensing water.
CAUTION: Never put fingers or other
objects into the dispenser opening
To Stop Dispensing
Release pressure from the dispenser
pad and wait a few seconds to catch
the last bits of ice or drops of water
There may be some dripping after
dispensing of crushed ice or water. If
there is a lot of dripping, the spill
should be wiped dry right away Do not pour water in the
spitl shelf because it is not self draining-pour it in the kitchen
sink The shelf and its grille should be cleaned regularly
according to Care and Cleaning instructions_
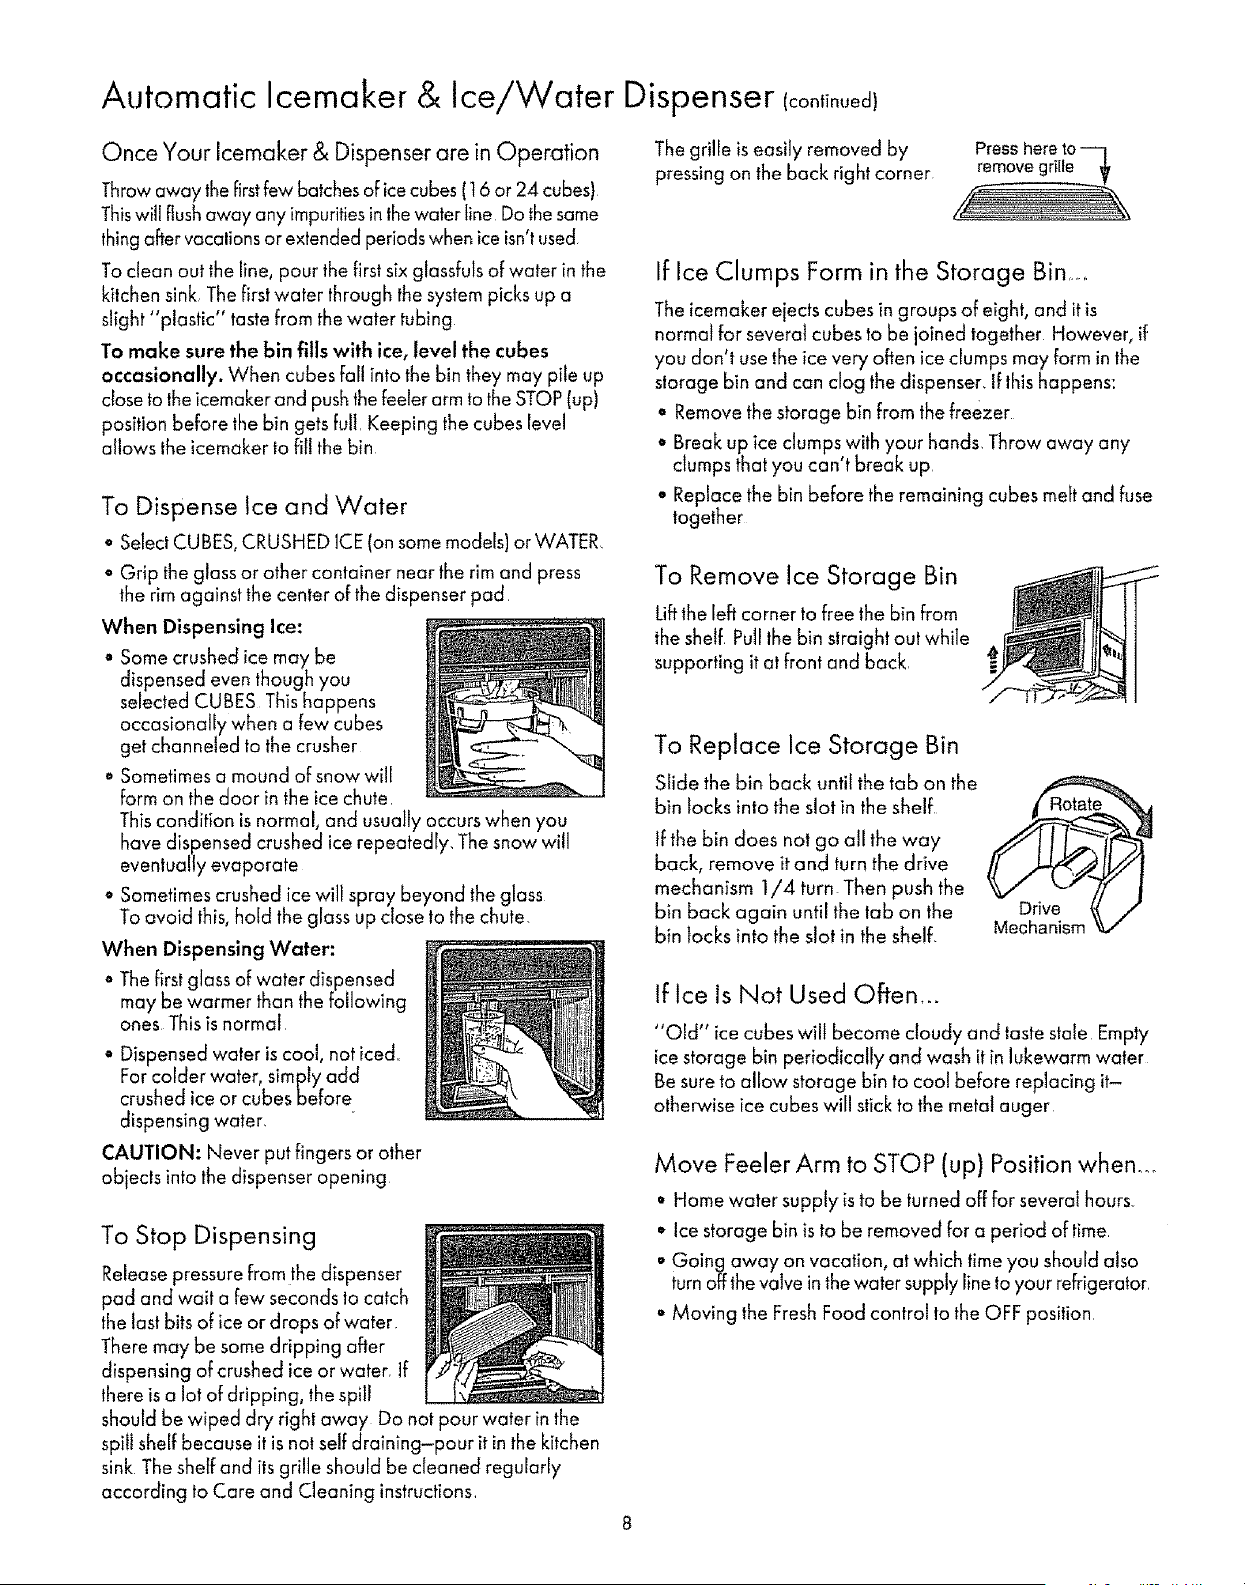
The grille is easily removed by Presshereto---1
pressing on the back right corner removegrille __
If Ice Clumps Form in the Storage Bin ......
The icemaker ejects cubes in groups of eight, and it is
normal for several cubes to be joined together However, if
you don't use the ice very often ice dumps may form in the
storage bin and con clog the dispenser. If this happens:
o Remove the storage bin from the freezer
• Break up ice clumpswilh your hands_Throw away any
clumps that you can t break up
° Replace the bin before the remaining cubes melt and fuse
together
To Remove ice Storage Bin
Liftthe Ieft corner to free the bin from
the sheff Pull the bin straight out while
supporting it at front and back.
To Replace Ice Storage Bin
Slide the bin back until the tab on the
bin locks into the slot in the shelf
}fthe bin does not go all the way
back, remove it and turn the drive
mechanism 1/4 turn Then push the
bin back again until the tab on the
bin locks into the slot in the shelf.
If Ice Is Not Used Often,..
"Old" ice cubes wilt become cloudy and taste stale Empty
ice storage bin periodically and wash it in lukewarm water
Be sure to allow storage bin to cool before replacing it-
otherwise ice cubes will stick to the metal auger
Move Feeler Arm to STOP (up) Position wheno_
• Home water supply is to be turned off for several hours.
° Ice storage bin is to be removed for a period of time.
• Going away on vacation, at which time you should also
turn offthe valve in the water supply line to your refrigerator_
° Moving the Fresh Food control to the OFF position
Loading ...
Loading ...
Loading ...