
®
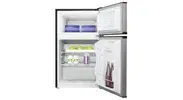
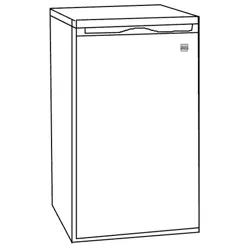
Compact Refrigerator
Model 91245
2.4 cu. ft Capacity
Read This Manual!
Itwilltell you how tooperate and care for your refrigerator.
It alsoofferstips on how to get the best and lowest cost
performance.
If you prefer installingyour own parts, use the parts list to
find the part number. Do notuse the illustration number.
Inthe space below record the model and serial number of
your refrigerator. Each is printed on the model number
plate located in the upper comer of the refrigerator back_
Use these numbers when calling for service.
Model No. Serial No.
Full One Year Warranty on Refrigerator
Forone yearfrom the date of purchase, when this refrig-
eratorisoperated and maintained in accordance with the
owner'sinstructions that come with it, Sears willrepair it,
free of charge, ifdefective in material or workmanship.
Full Five Year Warranty on
Sealed Refrigeration System
Fort-weyearsfrom the date of purchase, when this refrig-
eratorisoperated and maintained inaccordance with the
owner'sinstructionsthat come with it, Sears willrepair the
sealed system (consistingof refrigerant, connecting tubing
and compressor motor), free of charge, if-defective in ma-
terialor workmanship.
The above warranty coverage applies only to refrigerators
which are used for the storage of food for private house-
hold purposes.
Warranty service is available by contacting the nearest
Sears Service Center in the United States.
This warranty applies only while this product is in use in the
United States. This warranty gives you specific rights and
you may also have other rights which vary from state to
state.
Sears, Roebuck and Co., Dept. 817WA,
Hoffman Estates, IL 60179
Installation
Remove all packing material and tape from unit. Inspect
unit thoroughly. Notify Sears immediately ifunit has any
damaged or missing parts.
Install unit on a strong level floor or counter. Avoid any
direct sunlight, heat source or moisture. Level the refrig-
erator using the adjustable leveling floor leg to ensure a
proper door seal,
Let air circulate freely around the refrigerator. Keep the
back of the unit at least 4 inches away from the wall. Pro-
vide at least 1 inch of space between the top of the unit
and any surface above it.
_ AUTION: If you turn off the cold control, allow
at least three minutes before restarting to avoid
blowing fuses or tripping your circuit breaker.
Electrical Requirements
120 Volts, 60 Hz (60 cyclesAC), 15 amps
Electrical Grounding
Yourrefrigeratorcomeswith a three-prong plug and must
be inserted intoa three-prong,groundedwall outlet.
DO NOT use an extensioncord.
_ ARNING: Unlessthe above grounding
methodis followed, youare not protected
against severe or lethal shock in the event of
a short circuit in refrigerator wiring or electrical
components.
Things to Remember
1. When resetting your refrigeratorto a new temperature,
allow 24 hours for itto reach the new setting.
2. The motorwillstartand stopoften. It must do so in
order to maintain thetemperature you select.
3. Keep yourrefrigeratorlevelso that the door seals
propedy.
4. Unplugthe refrigeratorbefore doinganything withthe
electricalsystem.
5. The low temperaturesection isnot intended for
long-termstorage offrozen foods.
Part No. 302565 Sears, Roebuck =rid Co., U.S.A.
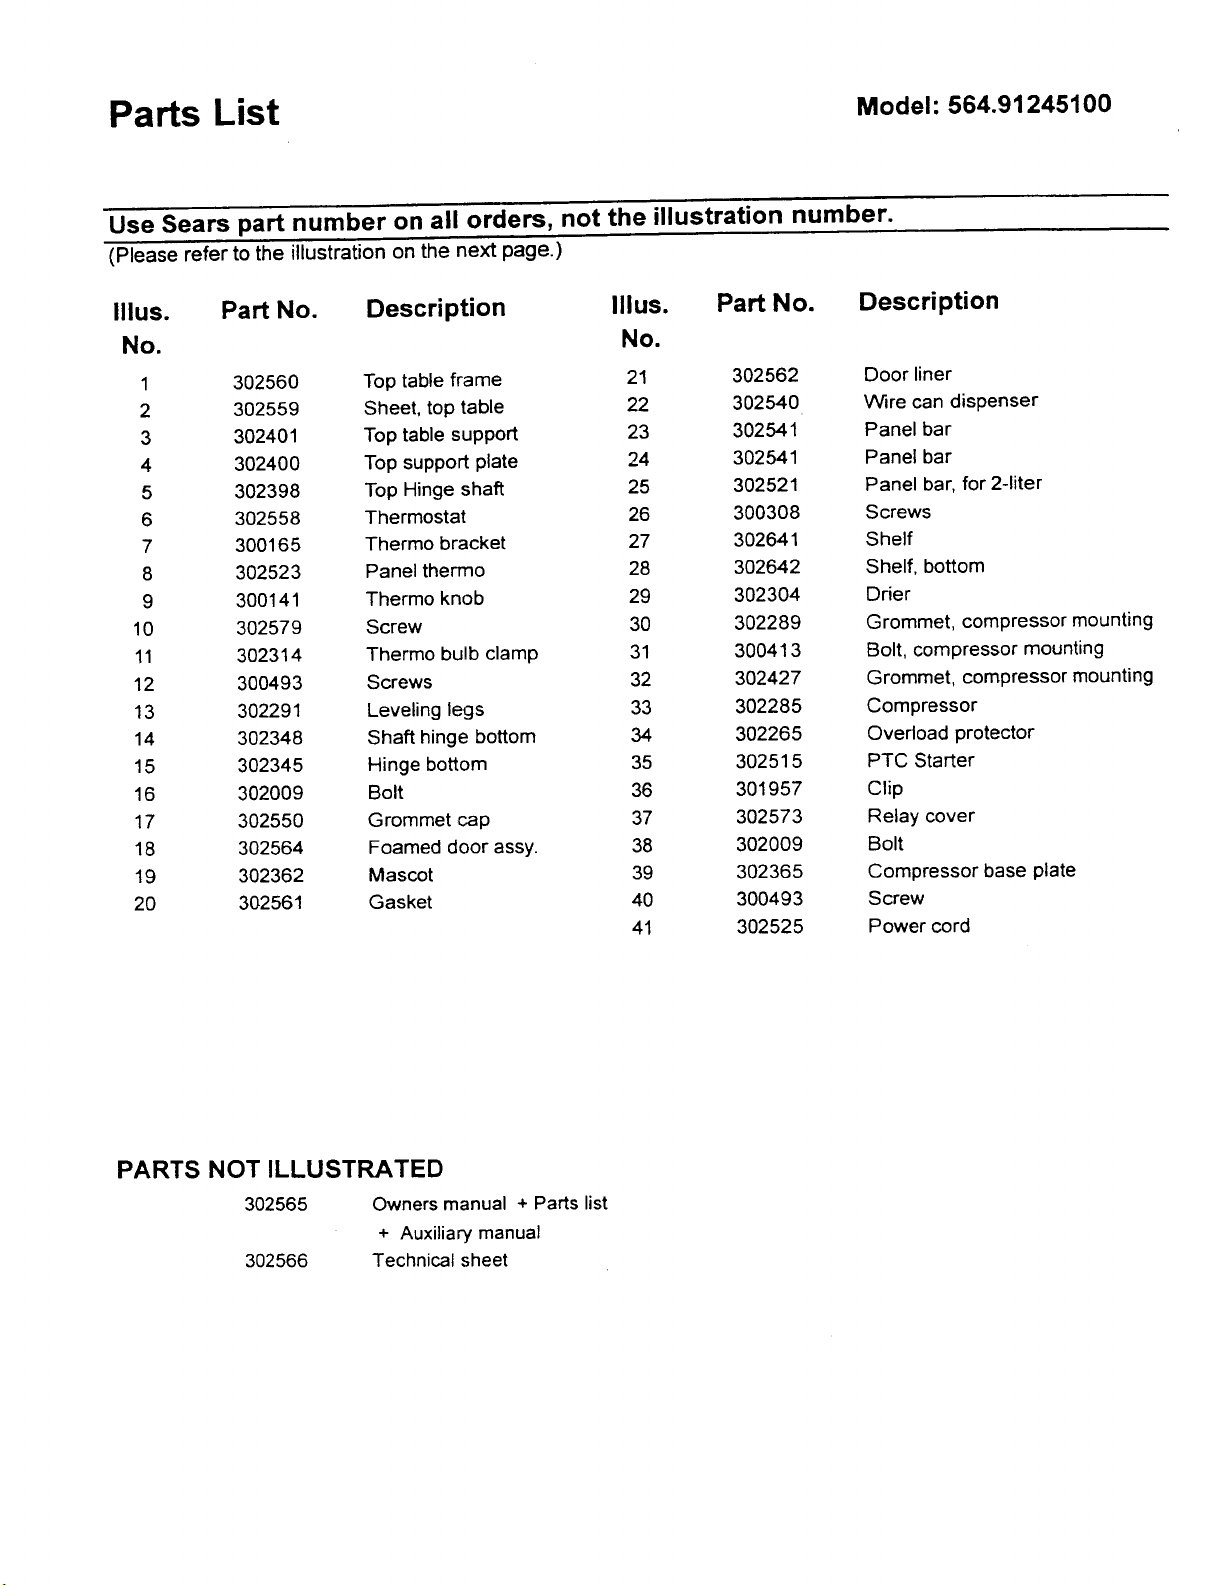
Parts List Model" 564.91245100
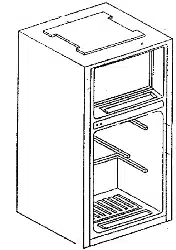
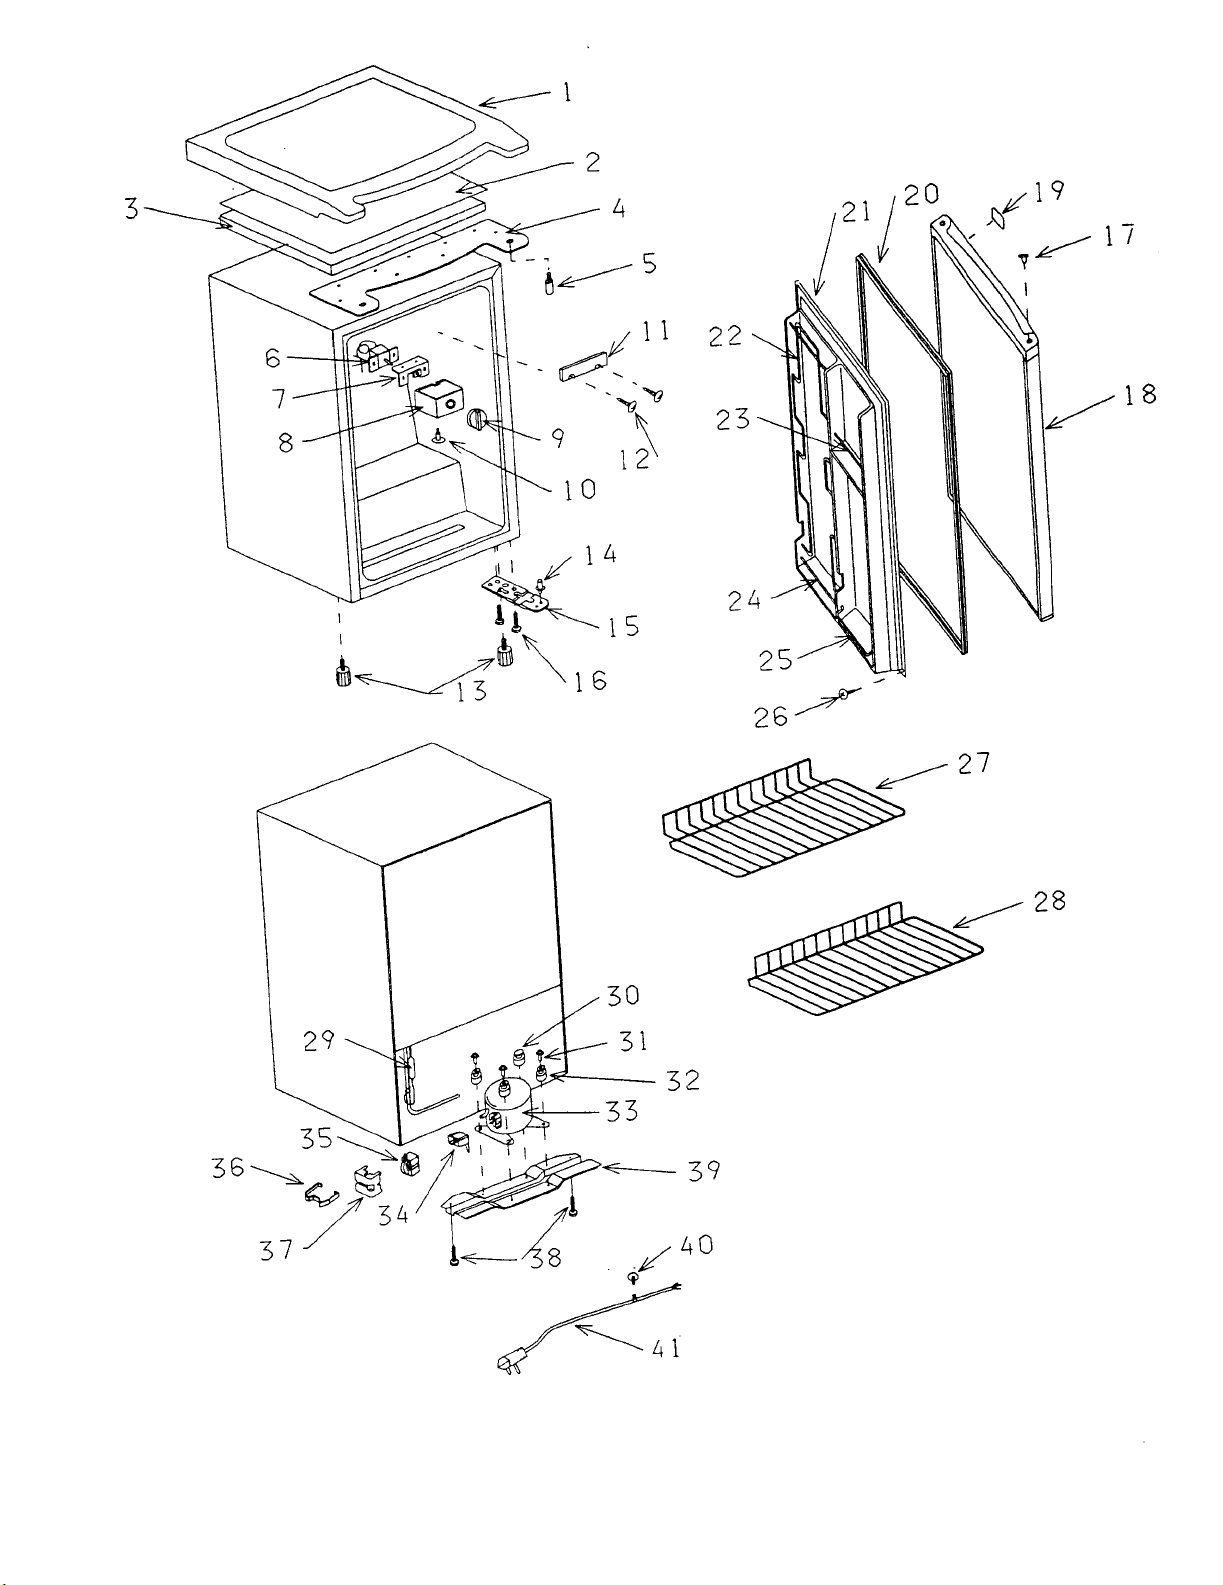
Use Sears part number on all orders, not the illustration number.
(Please refer to the illustration on the next page.)
Illus. Part No. Description Illus. Part No.
No. No.
1 302560 Top table frame 21 302562
2 302559 Sheet, top table 22 302540
3 302401 Top table support 23 302541
4 302400 Top support plate 24 302541
5 302398 Top Hinge shaft 25 302521
6 302558 Thermostat 26 300308
7 300165 Thermo bracket 27 302641
8 302523 Panel thermo 28 302642
9 300141 Thermo knob 29 302304
10 302579 Screw 30 302289
11 302314 Thermo bulb clamp 31 300413
12 300493 Screws 32 302427
13 302291 Leveling legs 33 302285
14 302348 Shaft hinge bottom 34 302265
15 302345 Hinge bottom 35 302515
16 302009 Bolt 36 301957
17 302550 Grommet cap 37 302573
18 302564 Foamed door assy. 38 302009
19 302362 Mascot 39 302365
20 302561 Gasket 40 300493
41 302525
Description
Door liner
Wire can dispenser
Panel bar
Panel bar
Panel bar, for 2-liter
Screws
Shelf
Shelf, bottom
Dder
Grommet, compressor mounting
Bolt, compressor mounting
Grommet, compressor mounting
Compressor
Overload protector
PTC Starter
Clip
Relay cover
Bolt
Compressor base plate
Screw
Power cord
PARTS NOT ILLUSTRATED
302565 Owners manual + Parts list
+ Auxiliary manual
302566 Technical sheet
2
22
23
2O
24
2S
29
32
39
28
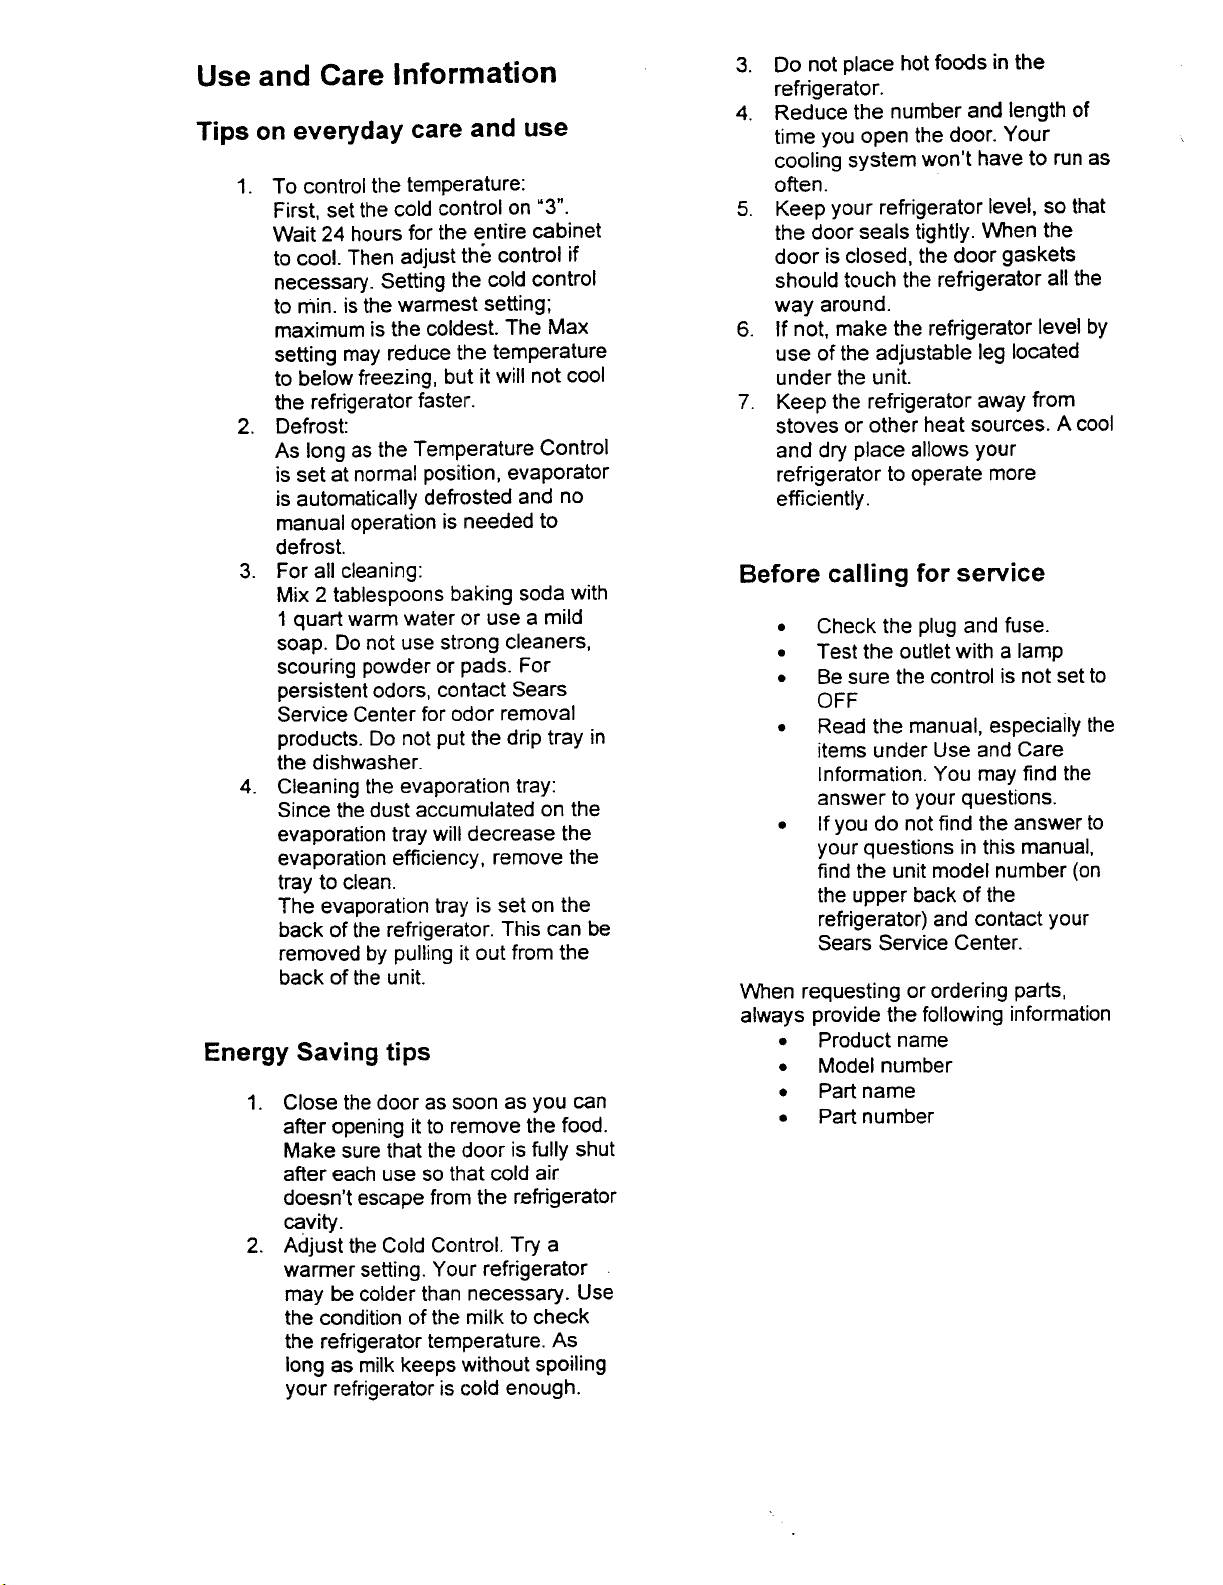
Use and Care Information
Tips on everyday care and use
1. To control the temperature:
First, set the cold control on "3".
Wait 24 hours for the entire cabinet
to cool. Then adjust the control if
necessary. Setting the cold control
to min. is the warmest setting;
maximum is the coldest. The Max
setting may reduce the temperature
to below freezing, but it will not cool
the refrigerator faster.
2. Defrost:
As long as the Temperature Control
is set at normal position, evaporator
is automatically defrosted and no
manual operation is needed to
defrost.
3. For all cleaning:
Mix 2 tablespoons baking soda with
1 quart warm water or use a mild
soap. Do not use strong cleaners,
scouring powder or pads. For
persistent odors, contact Sears
Service Center for odor removal
products. Do not put the drip tray in
the dishwasher.
4. Cleaning the evaporation tray:
Since the dust accumulated on the
evaporation tray will decrease the
evaporation efficiency, remove the
tray to clean.
The evaporation tray is set on the
back of the refrigerator. This can be
removed by pulling it out from the
back of the unit.
Energy Saving tips
1. Close the door as soon as you can
after opening it to remove the food.
Make sure that the door is fully shut
after each use so that cold air
doesn't escape from the refrigerator
cavity.
2. Adjust the Cold Control. Try a
warmer setting. Your refrigerator
may be colder than necessary. Use
the condition of the milk to check
the refrigerator temperature. As
long as milk keeps without spoiling
your refrigerator is cold enough.
3. Do not place hot foods in the
refrigerator.
4. Reduce the number and length of
time you open the door. Your
cooling system won't have to run as
often.
5. Keep your refrigerator level, so that
the door seals tightly. When the
door is closed, the door gaskets
should touch the refrigerator all the
way around.
6. If not, make the refrigerator level by
use of the adjustable leg located
under the unit.
7. Keep the refrigerator away from
stoves or other heat sources. A cool
and dry place allows your
refrigerator to operate more
efficiently.
Before calling for service
• Check the plug and fuse.
• Test the outlet with a lamp
• Be sure the control is not set to
OFF
• Read the manual, especially the
items under Use and Care
Information. You may find the
answer to your questions.
• If you do not find the answer to
your questions in this manual,
find the unit model number (on
the upper back of the
refrigerator) and contact your
Sears Service Center.
When requesting or ordering parts,
always provide the following information
• Product name
• Model number
• Part name
• Part number
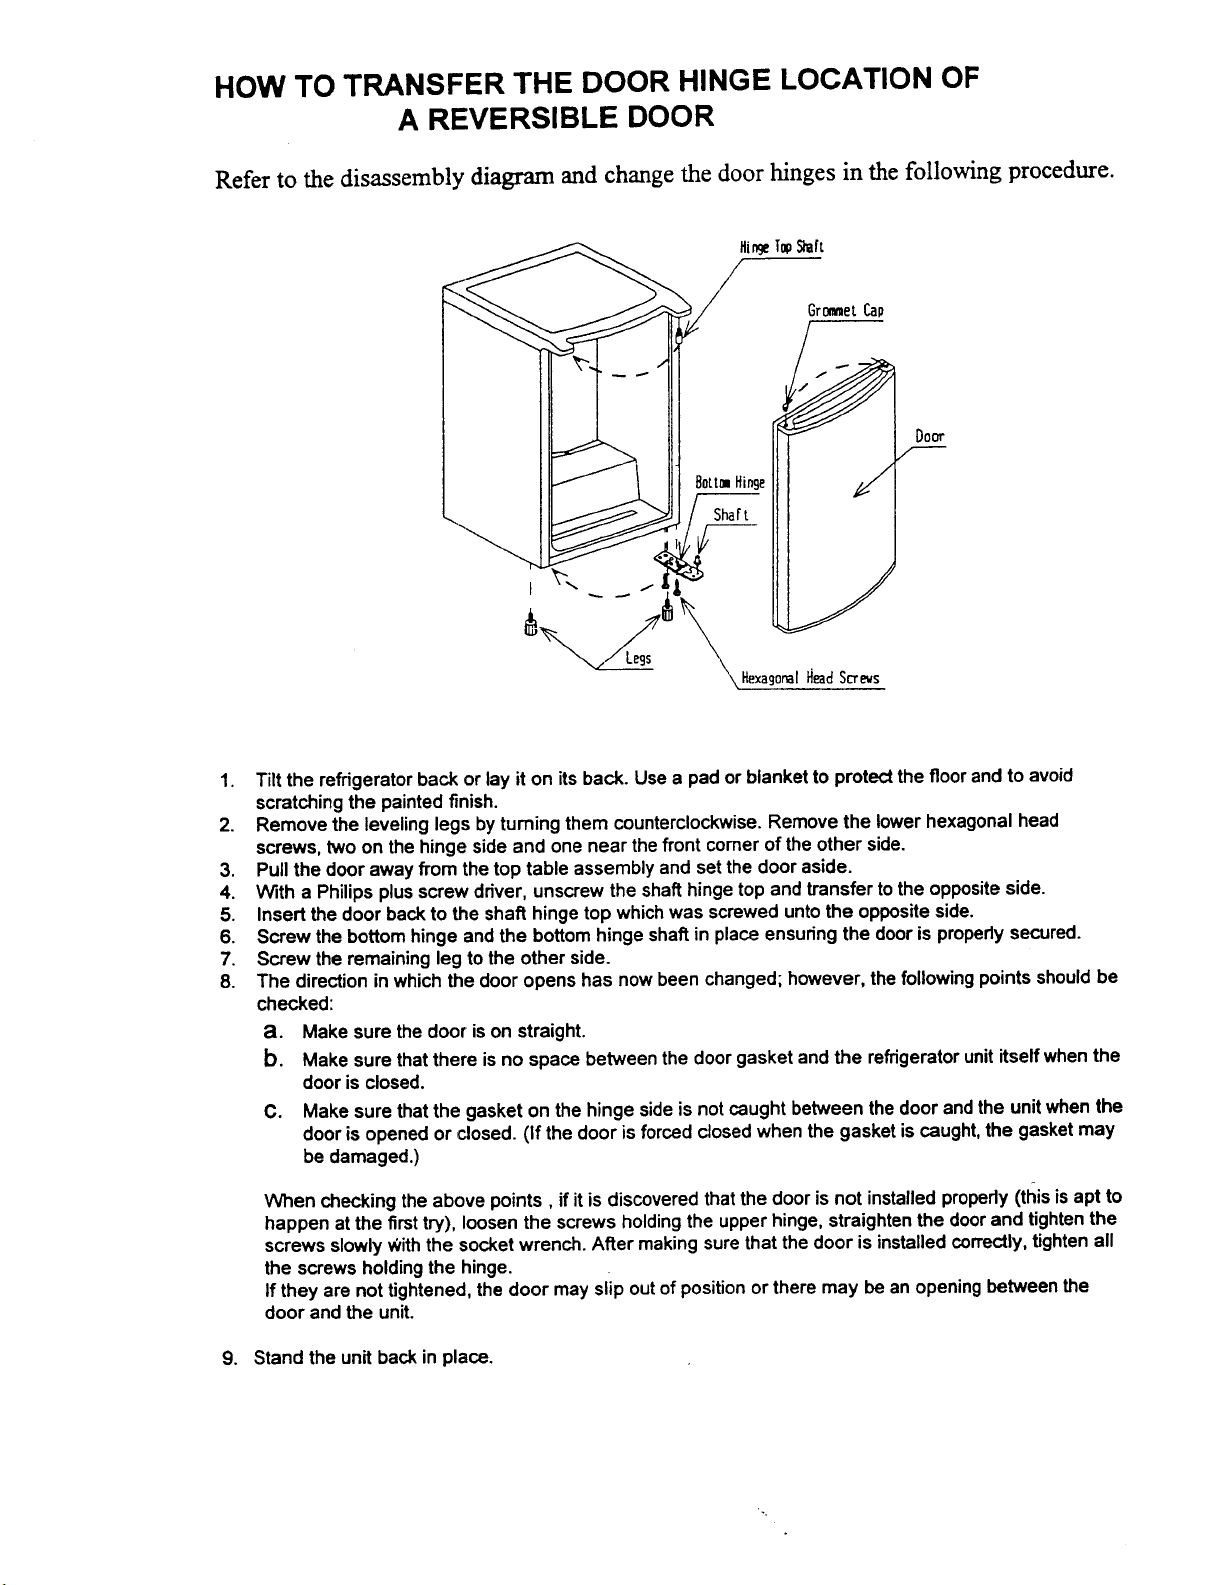
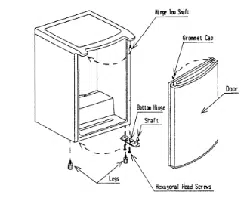
HOW TO TRANSFER THE DOOR HINGE LOCATION OF
A REVERSIBLE DOOR
Refer to the disassembly diagram and change the door hinges in the following procedure.
Bottom Hin9e
9oo1"
1. Tilt the refrigeratorback orlay iton itsback. Use a pad or blanketto protectthe floor and to avoid
scratchingthe painted finish.
2. Remove the levelinglegs byturning them counterclockwise.Remove the lowerhexagonal head
screws, twoon thehinge side and one near thefront comer ofthe other side.
3. Pullthe door away fromthe top table assembly and setthe door aside.
4. With a Philipsplusscrewdriver, unscrewthe shafthingetop and transfertothe oppositeside.
5. Insert the door backto the shaft hingetop whichwas screwed untothe oppositeside.
6. Screw the bottomhinge and the bottomhinge shaftin place ensuringthe dooris propedysecured.
7. Screw the remaining leg tothe other side.
8. The directionin whichthe door opens has nowbeen changed;however, the followingpointsshouldbe
checked:
a. Make sure thedoor ison straight.
b. Make sure thatthere isno space between the door gasketand the refrigeratorunititselfwhen the
dooris closed.
C. Make sure thatthe gasket on the hinge side isnot caughtbetween thedoor andthe unitwhen the
door isopened or closed. (If the door is forced closedwhen the gasket iscaught,the gasketmay
be damaged.)
When checkingthe above points, ifit isdiscovered thatthe door is not installedproperly(tillsisapt to
happen at the firsttry), loosenthe screwsholdingthe upperhinge, straightenthe doorand tightenthe
screws slowlyWiththe socketwrench. After makingsure thatthe door is installedcorrectly,tightenall
the screws holdingthe hinge.
If they are nottightened, the door may slipoutof positionor there may bean openingbetween the
door and the unit.
9. Stand the unit back in place.
Your Home
For repair-in your home-of all major brand appliances,
lawn and garden equipment, or heating and cooling system,
no matter who made it, no matter who sold it!
For the replacement parts, accessories and
owner's manuals that you need to do-it-yourself.
For Sears professional installation of home appliances
and items like garage door openers and water heaters.
1-800-4-MY-HOME ® (1-800-469-4663)
Call anytime, day or night (U.S.A. and Canada)
www.sears.com www.sears.ca
Our Home
For repair of carry-in items like vacuums, lawn equipment,
and electronics, call or go on-line for the location of your nearest
Sears Parts & Repair Center.
1-800-488-1222
Call anytime, day or night (U.S.A. only)
www.sears.com
!:i_i:i:i:i_i:iTo purchase a protection agreement on a product serviced by Sears:
i!ii!!Ti!!_ii!!
i!iiiiiiiiT!ii
_i;i;i;iiiiTi_
i:!:!:!:i31:?
81:i:i:_:!:i:
{iiiiT!ilili!i
ii[iiiiiii!ili;
iiiiiii777i!
ii!iiiii!ii!L
Printed in Mexico
(29/07/02)
1-800-827-6655 (U.S.A.)
1-800-361-6665 (Canada)
Para pedir servicio de reparaci6n
a domicilio, y para ordenar piezas:
1-888-SU-HOGAR sM
(1-888-784-6427)
Au Canada pour service en frangais:
1-888-LE-FOYER Mc
ww. sears, ca
® Registered Trademark/'_' Trademark/_'_' Service Mark of Sears, Roebuck and Co.
® Marca Registradaf MMarca de Fabrica/-_" Marca de Servicio de Sears, Roebuck and Co.
_,cMarque commercef '_ Marque deposee de Sears, Roebuck and Co.
Part No. 8336460154600A