- over -
in the filtered water, or approximately
10 minutes.
Do not use with water that is micro-
biologically unsafe or of unknown quali-
ty without adequate disinfection before
or after the system.
The filter element contains activated
carbon, a black powder. After the new
element is installed, flush 5 gallons of
water through to allow fine, harmless
carbon particles to purge from the ele-
ment, until you no longer see the “fines”
For installation assistance, call 1-800-426-9345
Sears Brands Management Corporation, Hoffman Estates, IL 60179
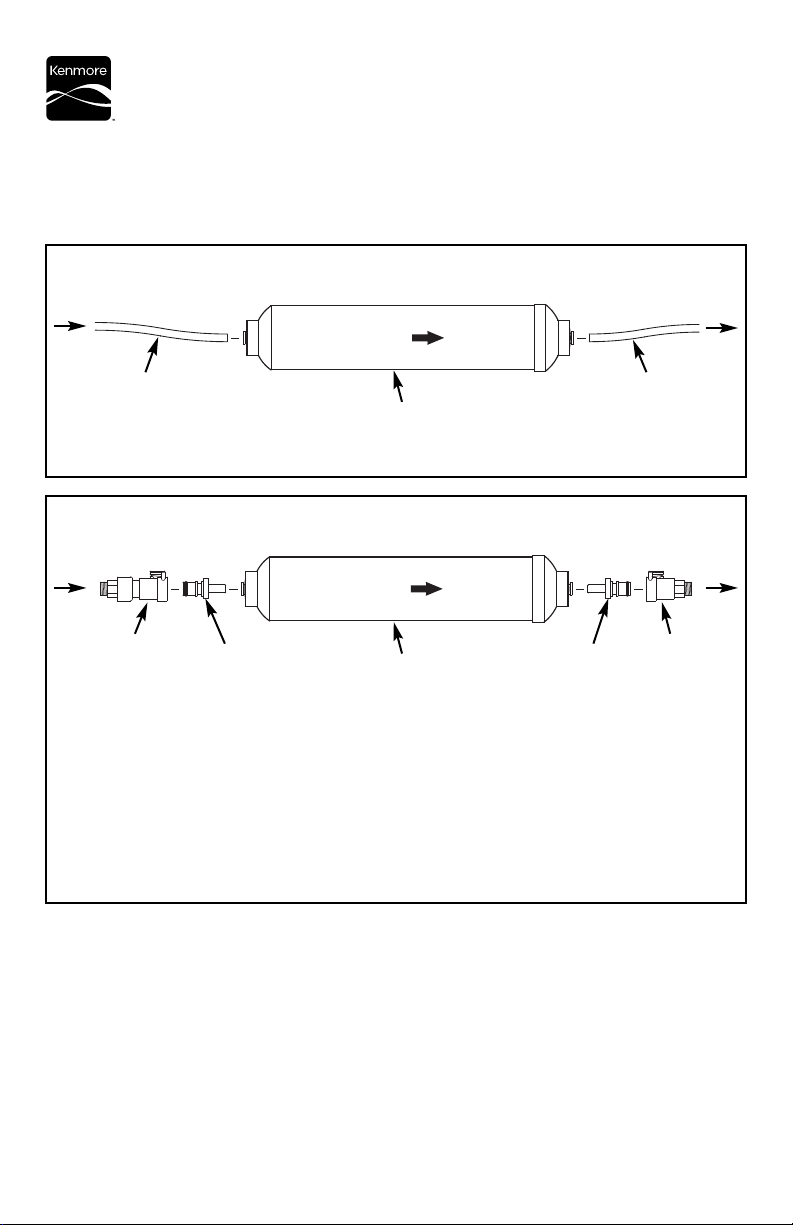
Typical Connection for a NEW Installation
Typical Connection for an EXISTING Installation
1. Push down on lever to disconnect female connectors from existing male connec-
tors. When replacing filter element, first disconnect end with automatic shutoff.
2. Remove foam plugs (if present) from the new filter element.
3. Push a male connector (included) into each end of the new filter element, as far
as it will go (See “Connect Tubes” on the reverse side of this sheet).
4. Push down on lever to connect female connectors to male connectors. Be sure
the flow direction arrow points toward the refrigerator.
See reverse side for instructions to connect tubes to filter element.
7310456 (Rev. C 6/16/10)
Filter Element
1/4” Tubing
Male
Connector
1/4” Tubing
Male
Connector
To Refrigerator
From Water Supply
To RefrigeratorFrom Water Supply
Filter Element
Female Connector
with automatic
shutoff
Female
Connector
FLOW
FLOW
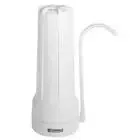
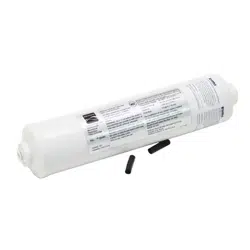
REFRIGERATOR ICEMAKER FILTER ELEMENT KIT
KIT INCLUDES: Filter Element & 2 Male Connectors
NOTES: l For cold water use only
l Locate the filter element in the supply tubing, where accessible
for changing (behind the refrigerator, in the basement, etc.)
l All installations must comply with state and local laws and regulations.
- over -
in the filtered water, or approximately
10 minutes.
Do not use with water that is micro-
biologically unsafe or of unknown quali-
ty without adequate disinfection before
or after the system.
The filter element contains activated
carbon, a black powder. After the new
element is installed, flush 5 gallons of
water through to allow fine, harmless
carbon particles to purge from the ele-
ment, until you no longer see the “fines”
For installation assistance, call 1-800-426-9345
Sears Brands Management Corporation, Hoffman Estates, IL 60179
Typical Connection for a NEW Installation
Typical Connection for an EXISTING Installation
1. Push down on lever to disconnect female connectors from existing male connec-
tors. When replacing filter element, first disconnect end with automatic shutoff.
2. Remove foam plugs (if present) from the new filter element.
3. Push a male connector (included) into each end of the new filter element, as far
as it will go (See “Connect Tubes” on the reverse side of this sheet).
4. Push down on lever to connect female connectors to male connectors. Be sure
the flow direction arrow points toward the refrigerator.
See reverse side for instructions to connect tubes to filter element.
7310456 (Rev. C 6/16/10)
Filter Element
1/4” Tubing
Male
Connector
1/4” Tubing
Male
Connector
To Refrigerator
From Water Supply
To RefrigeratorFrom Water Supply
Filter Element
Female Connector
with automatic
shutoff
Female
Connector
FLOW
FLOW
REFRIGERATOR ICEMAKER FILTER ELEMENT KIT
KIT INCLUDES: Filter Element & 2 Male Connectors
NOTES: l For cold water use only
l Locate the filter element in the supply tubing, where accessible
for changing (behind the refrigerator, in the basement, etc.)
l All installations must comply with state and local laws and regulations.
HOW TO CUT AND CONNECT THE TUBES
(for a new installation)
The filter element has push-in fittings
for quick tubing connection. Review the
following instructions before connecting
the tubes in the next step. Failure to
follow these instructions may lead to
future leaks.
Cut tubes
1. Use a sharp cutter or knife to cut the
end of tubing. Always cut the tubing
square. See Fig. 2.
2. Inspect the tube up to 1” from the
end to be sure there are no nicks,
burrs, scratches or other rough spots.
If needed, cut the tubing again. See
Fig. 2.
NOTE: Tubing lengths should allow
for the removal of the filter for
changing.
Connect tubes
NOTE: Remove foam plugs (if present)
before connecting tubes (See Fig. 1).
Discard foam plugs.
1. Push tubing through collet, until it
engages the o-ring. See Fig. 3A.
Continue pushing until the tube bot-
toms out against the back of the fit-
ting. See Fig. 3B. Do not stop pushing
when the tube engages the o-ring.
When a 1/4” tube is fully engaged,
11/16” of the tube has entered the fit-
ting. Mark tube with a piece of tape
or marker. See Figs. 3A & 3B.
- over -
Push-in Fitting
Foam Plug
Remove and Discard
Foam Plugs (if present)
FIG. 1
Push-in Fitting
Tube
Tube Correctly Cut
FIG. 2
Cut tubing square with end of tubing round,
smooth, with no cuts, nicks or flat spots.
O-RingCollet
Tube Partially Engaged
with Fitting
FIG. 3A
O-RingCollet
Tube Fully Engaged
with Fitting
FIG. 3B
Disconnect Tubing
FIG. 4
Tubing
Collet (depress to
remove tubing)
To Disconnect Tubes
1. Push the collet inward with a finger
tip. See Fig. 4.
2. Continue holding collet inward while
pulling the tubing out. See Fig. 4.
Install so that flexible tubing does
not support the filter’s weight and
does not bend sharply at the fittings.