Loading ...
Loading ...
Loading ...
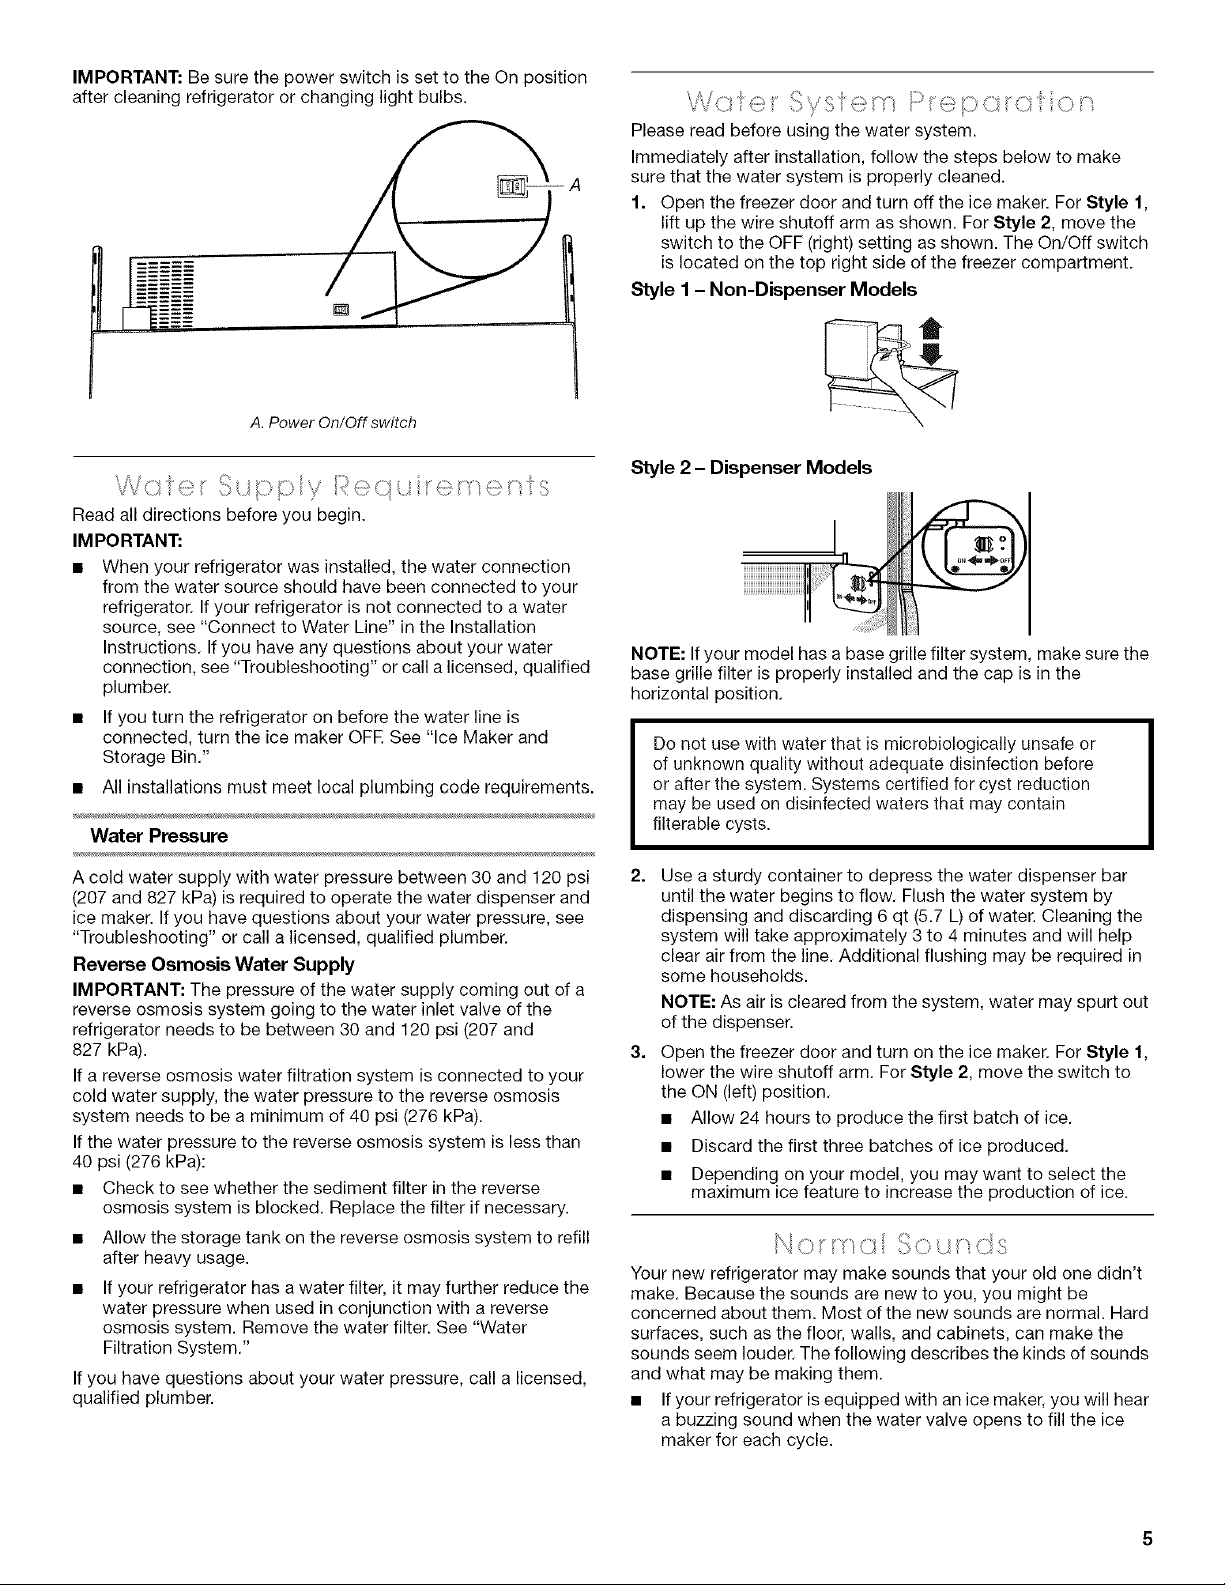
IMPORTANT:BesurethepowerswitchissettotheOnposition
aftercleaningrefrigeratororchanginglightbulbs.
[]
)
A. Power On/Off switch
Read all directions before you begin.
IMPORTANT:
• When your refrigerator was installed, the water connection
from the water source should have been connected to your
refrigerator. If your refrigerator is not connected to a water
source, see "Connect to Water Line" in the Installation
Instructions. If you have any questions about your water
connection, see "Troubleshooting" or call a licensed, qualified
plumber.
• If you turn the refrigerator on before the water line is
connected, turn the ice maker OFR See "Ice Maker and
Storage Bin."
• All installations must meet local plumbing code requirements.
Water Pressure
A cold water supply with water pressure between 30 and 120 psi 2.
(207 and 827 kPa) is required to operate the water dispenser and
ice maker. If you have questions about your water pressure, see
"Troubleshooting" or call a licensed, qualified plumber.
Reverse Osmosis Water Supply
IMPORTANT: The pressure of the water supply coming out of a
reverse osmosis system going to the water inlet valve of the
refrigerator needs to be between 30 and 120 psi (207 and
827 kPa). 3.
If a reverse osmosis water filtration system is connected to your
cold water supply, the water pressure to the reverse osmosis
system needs to be a minimum of 40 psi (276 kPa).
If the water pressure to the reverse osmosis system is less than
40 psi (276 kPa):
• Check to see whether the sediment filter in the reverse
osmosis system is blocked. Replace the filter if necessary.
• Allow the storage tank on the reverse osmosis system to refill
after heavy usage.
If your refrigerator has a water filter, it may further reduce the
water pressure when used in conjunction with a reverse
osmosis system. Remove the water filter. See "Water
Filtration System."
If you have questions about your water pressure, call a licensed,
qualified plumber.
',!,,J _- ' 3 [[ 1) !........ i _,, _-,,
Please read before using the water system.
Immediately after installation, follow the steps below to make
sure that the water system is properly cleaned.
1. Open the freezer door and turn off the ice maker. For Style 1,
lift up the wire shutoff arm as shown. For Style 2, move the
switch to the OFF (right) setting as shown. The On/Off switch
is located on the top right side of the freezer compartment.
Style 1 - Non-Dispenser Models
Style 2 - Dispenser Models
NOTE: If your model has a base grille filter system, make sure the
base grille filter is properly installed and the cap is in the
horizontal position.
Do not use with water that is microbiologically unsafe or
of unknown quality without adequate disinfection before
or after the system. Systems certified for cyst reduction
may be used on disinfected waters that may contain
filterable cysts.
Use a sturdy container to depress the water dispenser bar
until the water begins to flow. Flush the water system by
dispensing and discarding 6 qt (5.7 L) of water. Cleaning the
system will take approximately 3 to 4 minutes and will help
clear air from the line. Additional flushing may be required in
some households.
NOTE: As air is cleared from the system, water may spurt out
of the dispenser.
Open the freezer door and turn on the ice maker. For Style 1,
lower the wire shutoff arm. For Style 2, move the switch to
the ON (left) position.
• Allow 24 hours to produce the first batch of ice.
• Discard the first three batches of ice produced.
• Depending on your model, you may want to select the
maximum ice feature to increase the production of ice.
I 1
Your new refrigerator may make sounds that your old one didn't
make. Because the sounds are new to you, you might be
concerned about them. Most of the new sounds are normal. Hard
surfaces, such as the floor, walls, and cabinets, can make the
sounds seem louder. The following describes the kinds of sounds
and what may be making them.
• If your refrigerator is equipped with an ice maker, you will hear
a buzzing sound when the water valve opens to fill the ice
maker for each cycle.
Loading ...
Loading ...
Loading ...