Note: Remove the plug from the socket
before carrying out adjustment, servicing or
maintenance.
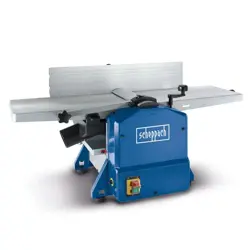
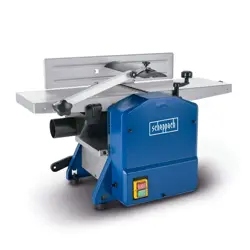
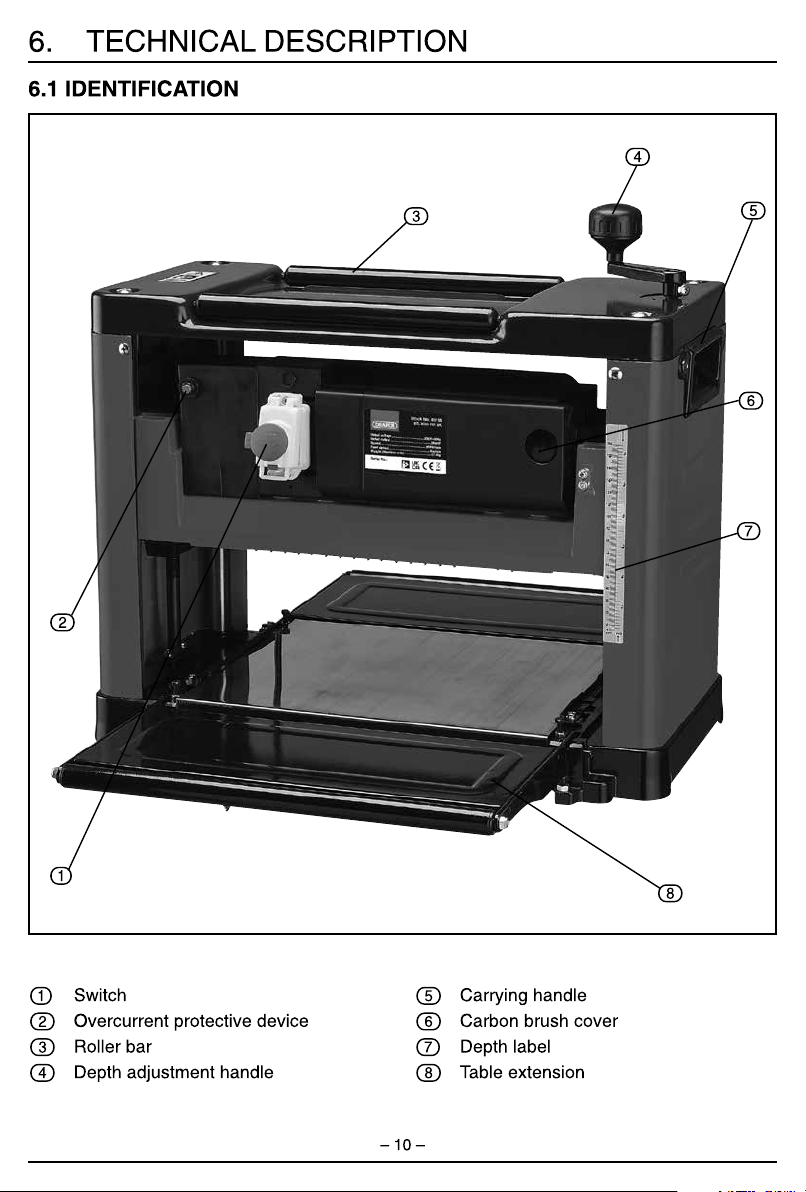
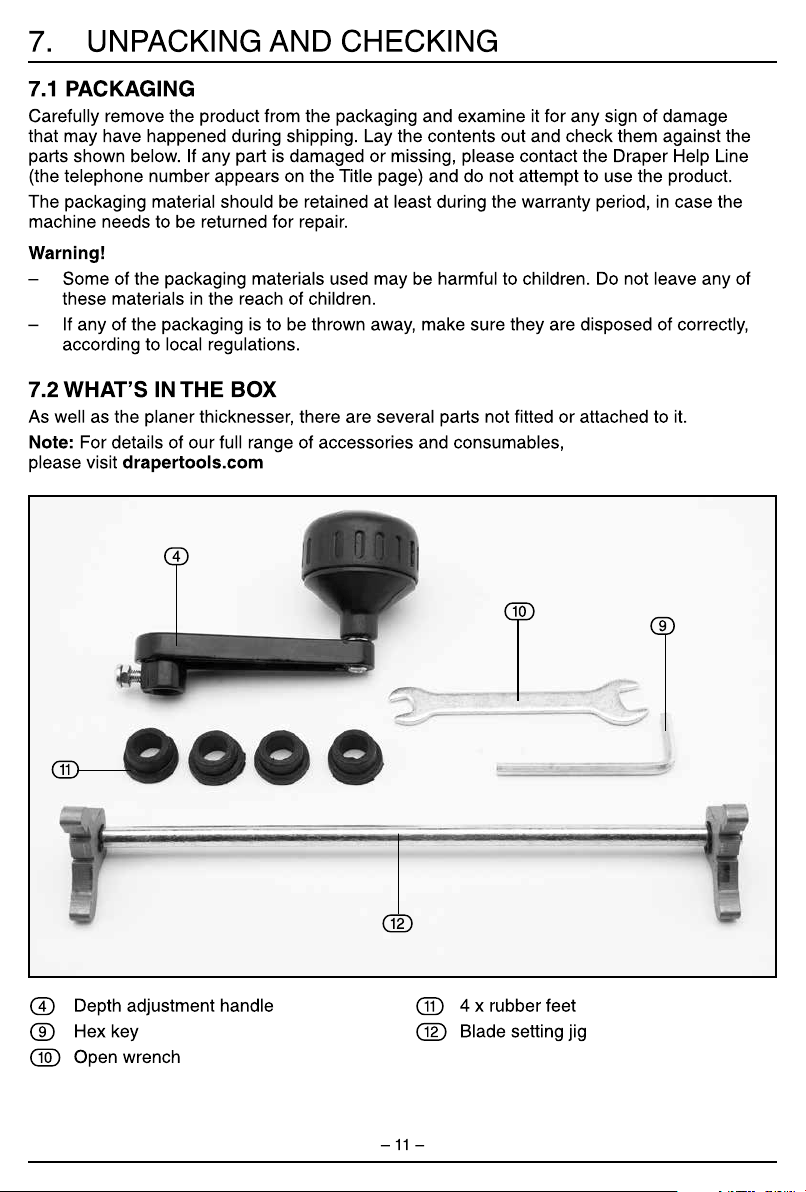
8.1 INSTALLING THE DEPTH
ADJUSTMENT HANDLE –
FIGS. 1 – 2
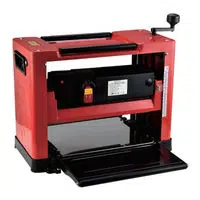
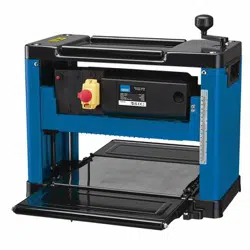
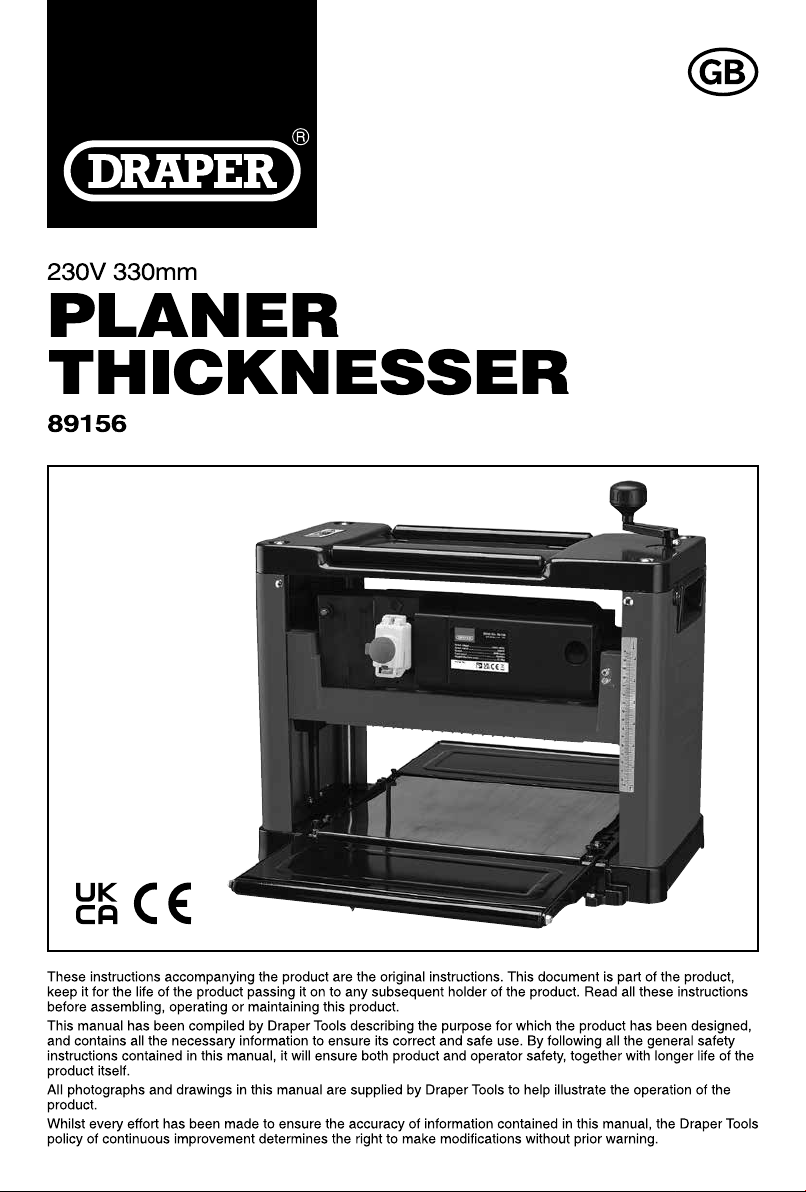
Place the depth adjustment handle (4) on the
protruding shaft to the right of the machine’s
top surface. Push on the handle firmly and
lock it with the supplied screw.
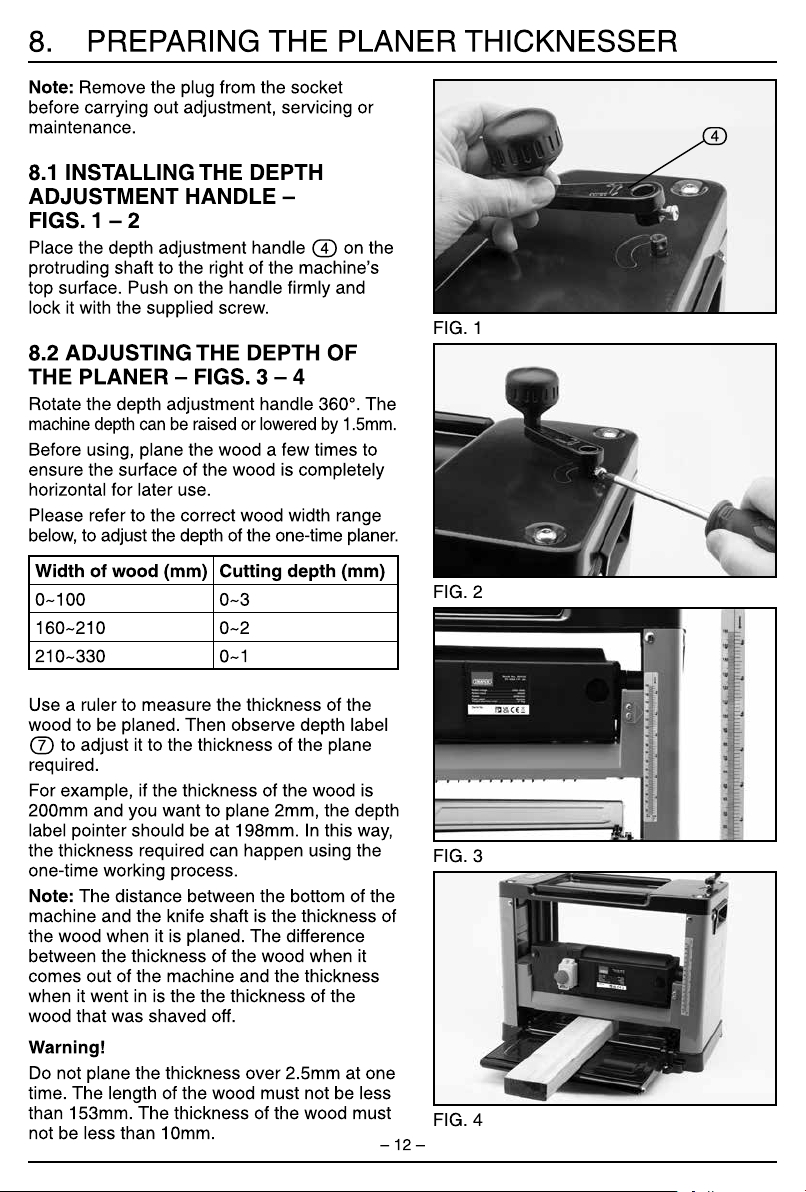
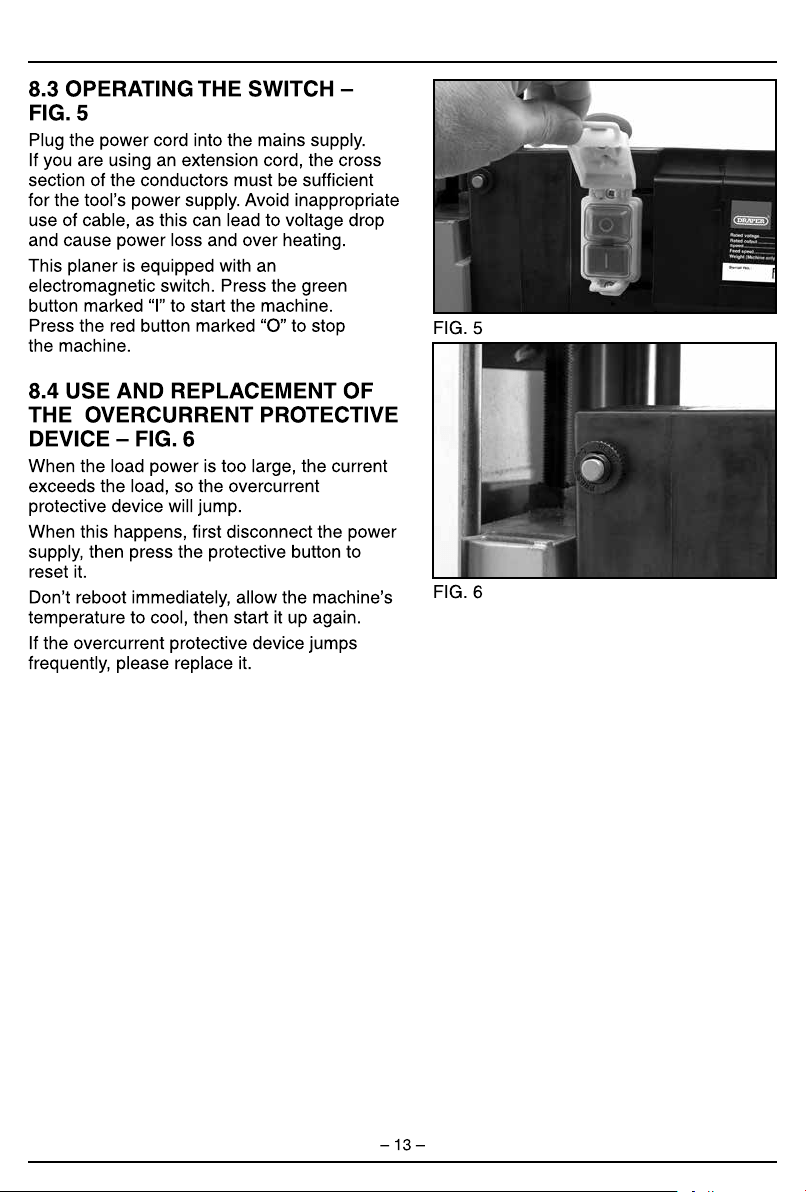
8.2 ADJUSTING THE DEPTH OF
THE PLANER – FIGS. 3 – 4
Rotate the depth adjustment handle 360°. The
machine depth can be raised or lowered by 1.5mm.
Before using, plane the wood a few times to
ensure the surface of the wood is completely
horizontal for later use.
Please refer to the correct wood width range
below, to adjust the depth of the one-time planer.
Width of wood (mm) Cutting depth (mm)
0~100 0~3
160~210 0~2
210~330 0~1
Use a ruler to measure the thickness of the
wood to be planed. Then observe depth label
(7) to adjust it to the thickness of the plane
required.
For example, if the thickness of the wood is
200mm and you want to plane 2mm, the depth
label pointer should be at 198mm. In this way,
the thickness required can happen using the
one-time working process.
Note: The distance between the bottom of the
machine and the knife shaft is the thickness of
the wood when it is planed. The difference
between the thickness of the wood when it
comes out of the machine and the thickness
when it went in is the the thickness of the
wood that was shaved off.
Warning!
Do not plane the thickness over 2.5mm at one
time. The length of the wood must not be less
than 153mm. The thickness of the wood must
not be less than 10mm.
11.1 TROUBLESHOOTING GUIDE
Warning!
For your own safety, turn the switch off and remove the plug from the power supply socket.
Problem Possible Cause Remedy
Machine will not start. Machine not plugged in.
Fuse blown.
Cable damaged.
Incorrectly set up.
Plug in the machine.
Replace fuse.
Replace cable.
Double check micro-swich/
selector switch positions.
Loss of cutting
performance.
Blades have become blunt.
Drive belt slipping.
Replace the pair of blades.
Tension or replace belt.
Work piece surface
uneven or cracked.
Blades have become blunt.
Cutter block clogged.
Blades fitted backward.
Work piece insufficiently dry.
Work piece cut against
the grain
Excessive amount of
material removed.
Replace the pair of blades.
Remove sawdust/sap.
Refit correctly.
Use another piece with lower
moisture content.
Reverse work piece and
feed again.
Reduce material removal on
next pass (maximum 3mm
removal per pass).
Reduced feed rate. Table surface dirty.
Roller drive belt slipping
Roller drive mechanism stiff.
Clean off any sap.
Replace belt
Lubricate drive bearings
and mechanism
Work piece jams when
thicknessing.
Work piece too large.
Excessive amount of
material removed.
Maximum capacity 160mm.
Reduce material removal on
next pass (maximum 3mm
removal per pass).
Note: Repairs should only be carried out by a qualified person.
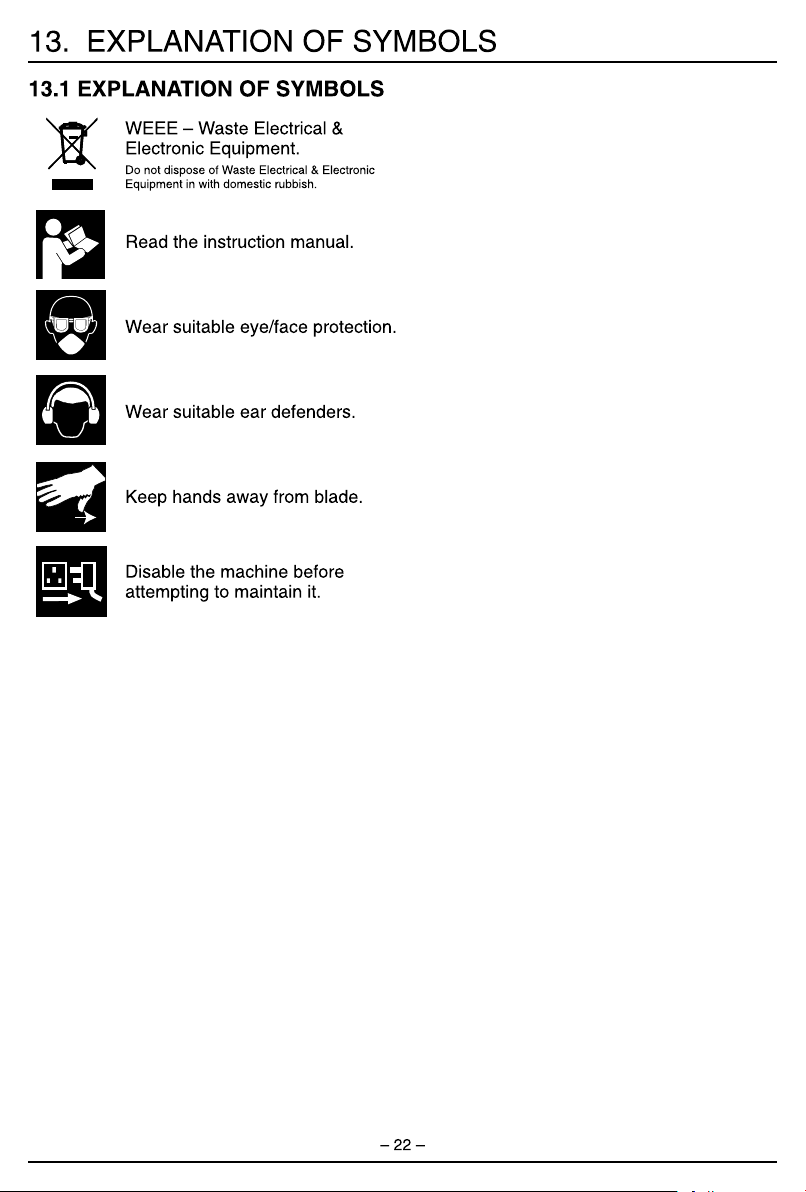
13.1 EXPLANATION OF SYMBOLS
WEEE – Waste Electrical &
Electronic Equipment.
Do not dispose of Waste Electrical & Electronic
Equipment in with domestic rubbish.
Read the instruction manual.
Wear suitable eye/face protection.
Wear suitable ear defenders.
Keep hands away from blade.
Disable the machine before
attempting to maintain it.