Loading ...
Loading ...
Loading ...
OPERATION
SAFETY PRECAUTIONS
WARNING: Always observe the following safety
precautions.
Whenever adjusting or replacing any parts on the planer
turn the switch off and remove the plug from the power
source.
Check that all fasteners are securely tightened.
Make sure guards are properly attached. Guards should
be fastened securely and working properly.
Make sure that the knives are aligned and properly at-
tached to the cutterhead.
Be certain that all moving parts are clear of interference.
Check that knives rotate freely without obstruction.
Do not plug the planer in unless the switch is in the "off"
position. After turning the switch on, allow the planer to
come to full speed before operating.
Keep hands clear of all moving parts.
Do not force the work into the knives. Allow the
automatic feed to work properly.
Replace or sharpen knives when they become damaged
or dull.
Always wear eye protection.
DEPTH OF CUT
Thickness planing refers to the sizing of lumber to a
desired thickness while creating a level surface parallel
to the opposite side of the board.
The quality of thickness planing depends on the
operator's judgement about the depth of the cut.
The depth of the cut depends on the width, hardness,
dampness, grain direction and grain structure of the
wood.
The maximum thickness of wood which can be removed
in one pass is 3/32".
For optimum planer performance the depth of the cut
should be less than 1/16".
The board should be planed with shallow cuts until the
work has a level side.
Once an even surface has been created, flip the lumber
and create parallel sides.
Plane alternate sides until the desired thickness is ob-
tained.
When half of the total depth of the cut istaken from each
side, the board will have a uniform moisture content and
additional drying will not warp it.
The depth of cut should be shallower when the work is
wider.
When planing hard wood, take light cuts or plane the
wood in thin widths.
Make a test cut when working with a new type of board
or different kind of operation.
Check the accuracy of the test cut prior to working on
finished product.
ADJUSTING THE DEPTH OF CUT
Refer to Figure 5.
The height of the cutter blades is shown by indicators
(Ref. N0.24) located on either side of the planer in-feed
roller support, The indicators ride on scales (Ref. No. 25)
to show the thickness of the planed board.
The thickness is adjusted by rotating the handwheel
(Key No. 21) towards the front of the machine to raise
the knife height.
To reduce the knife height, rotate the handwheel
towards the back.
Do not set the knife below 13/32". Do not plane a board
which is less than 1/2" thick.
The knife height will be moved 1/16" with every complete
revolution of the handwheel.
The action between the crank shaft (Key No. 17) and the
elevation screws (Key Nos.8,9) is coupled with beveled
gears.
If play develops in the action of the handwheels, the
gears have become misaligned.
One or both of the gears (Key No.12) on the elevation
screws must be repositioned to eliminate the play.
Lower the knife height to access the bevel gears.
Loosen the set screw (Key No.13) and firmly hold the
gears together.
Tighten the set screw to lock the position.
When the depth of cut adjustment is operating correct-
ly, make sure that the indicator is positioned correctly.
Make a test cut on a piece of wood and measure the
thickness produced.
Loosen the screw (Key No.22) (Refer to Figure 5) and
set the indicator to show the thickness produced.
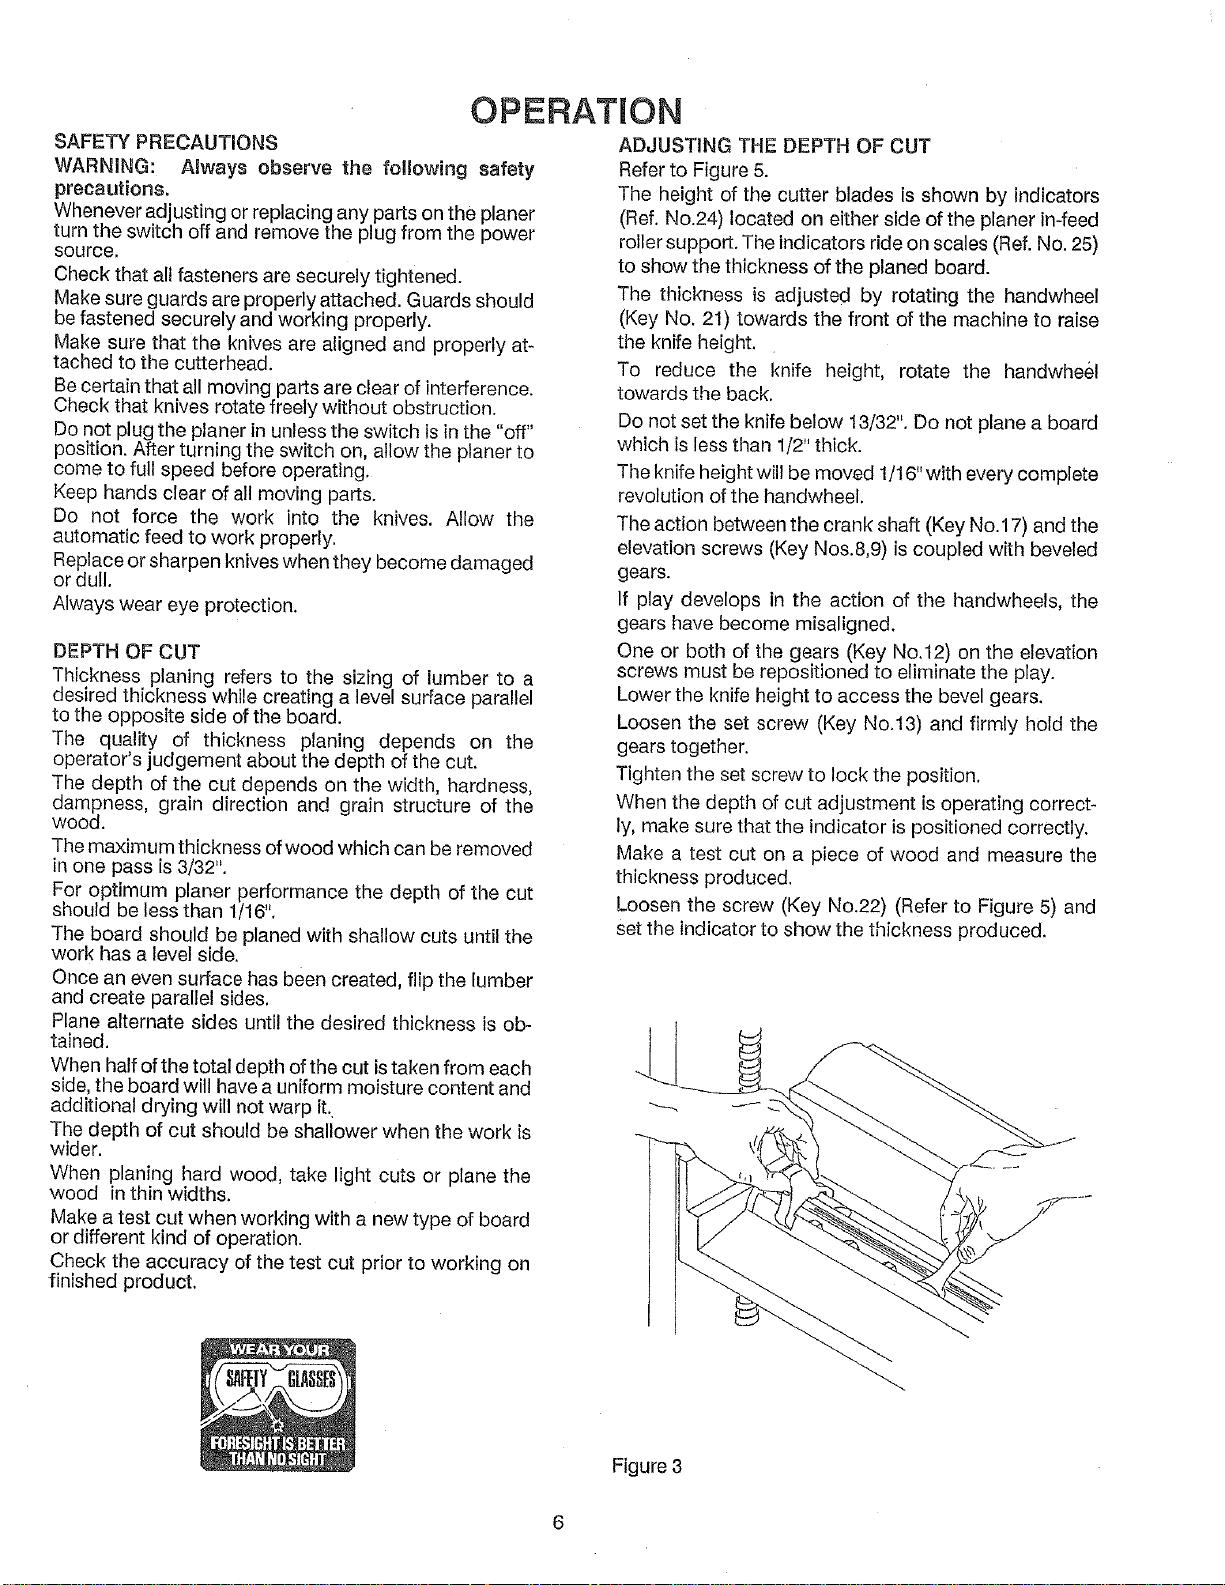
Figure 3
Loading ...
Loading ...
Loading ...