Loading ...
Loading ...
Loading ...

EXTENSION CORD LENGTH
Wire Size A.W.G.
Up to 50 ft.................................. 16
NOTE: Using extension cords over 50 ft. long is not
recommended.
Refer to Figures 4 - 13, pages 5-8.
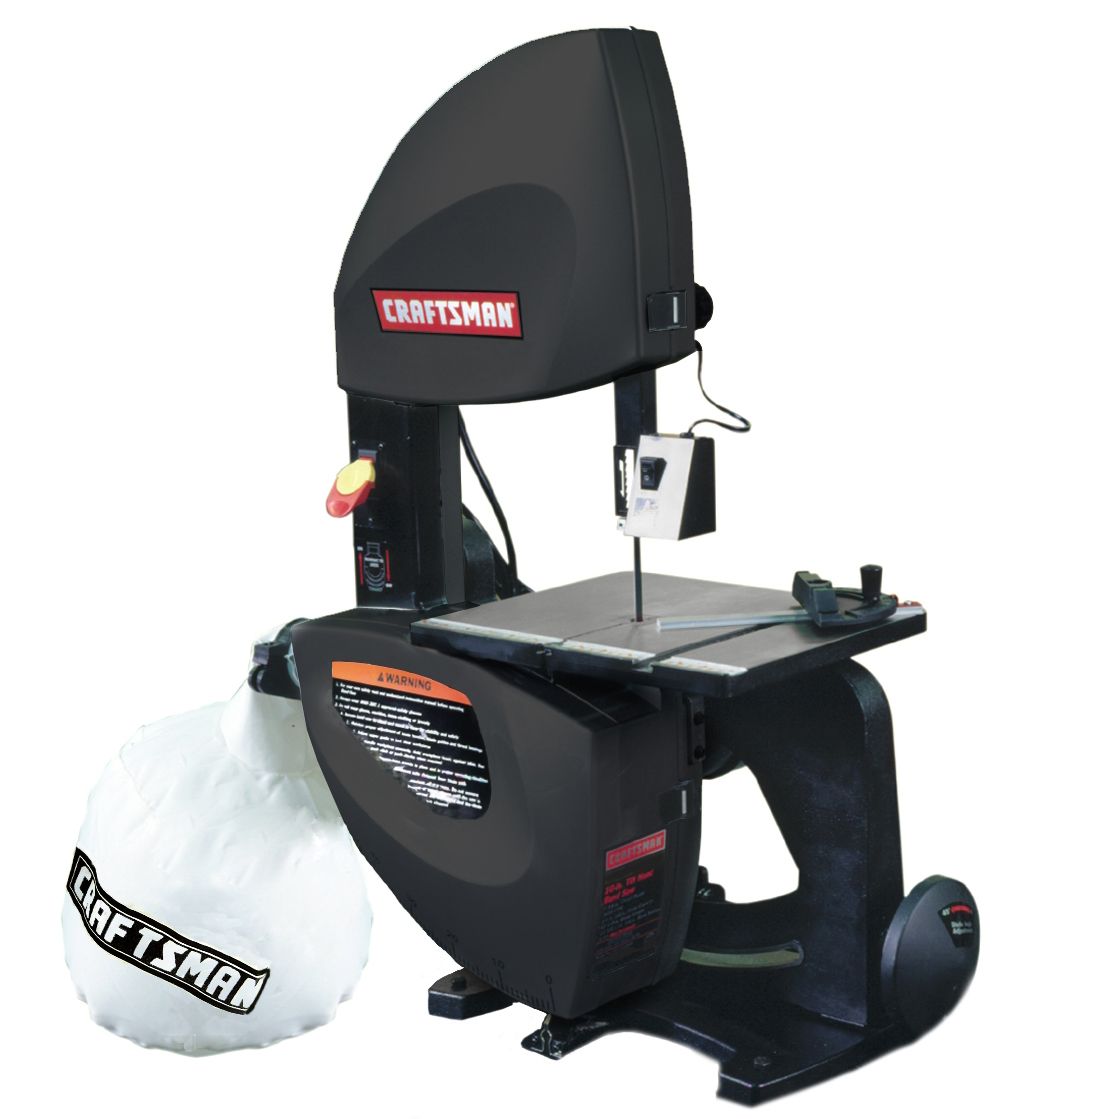
The Craftsman 10" Tilting Head Band Saw features alu-
minum frame construction and a solid cast iron table
surface to insure durability. It is designed for cutting
hard and soft woods, as well as nonferrous metals and
plastics. Head of the saw tilts from 90° to 45 ° while the
table remains in horizontal position for straight line
feeding of the material. The saw is equipped with a
miter gauge for performing many different operations.
The built-in dust collection system helps to keep the
worksurface clean. A convenient quick tensioning and
comprehensive tracking mechanism makes blade
changing quick and easy.
SPECIFICATIONS
Depth of throat at 90° . ...................... 9%"
Maximum depth of cut at 90 ° . .................. 5"
Depth of throat at 45 ° . ........ 7'/4"for 1" thick board
4" for 3" thick board
Maximum depth of cut at 45 °. ................. 3W'
Table size .......................... 13_/2x 11V2"
Head tilt .............................. 0° to 45°
Wheel diameter ............................. 8"
Blade length .............................. 63_/Z'
Blade range ........................ 63V6- 639/_c,''
Blade width ............................. '/4- 3/j,
Blade speed ......................... 3600 FPM
Overall dimensions .................. 29 x 16 x 34"
Shipping weight .......................... 95 Ibs
Dust collection port ......................... 21/2"
CAUTION: Always observe the following safety
precautions:
• Make sure that blade guides and thrust bearings are
positioned and adjusted correctly to prevent side-
ways and rearward movement of the blade. Adjust
upper guide to just clear workpiece.
• Check to make sure blade is tensioned and tracking
properly. Do not over tension the blade in order to
prevent premature blade wear and breakage. Avoid
under tensioning to eliminate back and forth, side to
side blade movement as it cuts.
• Use proper blade for the cutting operation.
• After turning saw on, allow blade to come to full
speed before attempting any cutting operation.
• Support workpiece properly and use a smooth
steady feed to guide work through the cut. Use push
sticks or push blocks when required.
• Keep hands away and out of line with moving parts.
• Always wear eye protection.
REMOVING BLADE
WARNING: Disconnect band saw from power source
when changing or adjusting blades. Wear leather gloves
when handling band saw blades. Never wear gloves
when operating saw.
• Turn blade tensioning lever on the back of the tool
clockwise all the way until it locks in position to
release blade tension (see Figure 4).
Blade Tensioning I
Figure 4 - Blade Tensioning Lever
• Release two latches on the side of the tool and open
front door.
NOTE: When opening door, make sure latches are
completely free from tabs on frame.
• Remove table locking insert located in the front of
the table slot, take out the released blade and
replace with another blade.
INSTALLING BLADE
• Although most of the adjustments are not changed
when blade is removed, every adjustment should be
checked prior to using a newly installed blade.
• Make sure blade teeth are pointing down towards
table. Turn blade inside out if necessary.
• Slip new blade into table slot and over the upper,
lower and idler blade wheels. Slide blade in between
blade guards.
• Tension blade by turning blade tensioning lever
counterclockwise, as far as it will go (see Figure 4).
This is a spring loaded, tensioning mechanism and it
will automatically apply required tension to the blade.
• Close the front door and fasten latches.
NOTE: When closing door, make sure that the edges of
the door and frame are firmly fitted together before
attempting to secure door. This is necessary for proper
operation of dust collection system. The latches will not
pull the door and frame together.
• Install table insert.
• Track blade as described in the following sections.
Loading ...
Loading ...
Loading ...