DWM-222
User Manual
2016/04/15
Ver. 1.00(EU)

Index
LTE USB Adapter Introduction ....................................... 2
Internet service .............................................................. 6
SMS service .................................................................... 7
Contacts ....................................................................... 11
USSD ............................................................................. 14
STATISTICS .................................................................... 15
Settings ........................................................................ 16
FAQs ............................................................................. 20
Technical Specifications ............................................... 21
LTE USB ADAPTER INTRODUCTION
1. To launch the Network Connect, double-click the shortcut icon
on the desktop. It should be noted that:
If the PIN code enabled, enter the correct one, then click OK.
The (U)SIM will be locked after three retries of incorrect PIN
code inputting;
Enter the correct PUK to retrieve the default PIN code. After
ten retries of incorrect PUK code inputting, please contact with
your service provider;
With the wrong PIN and PUK, all the network services are
unavailable.
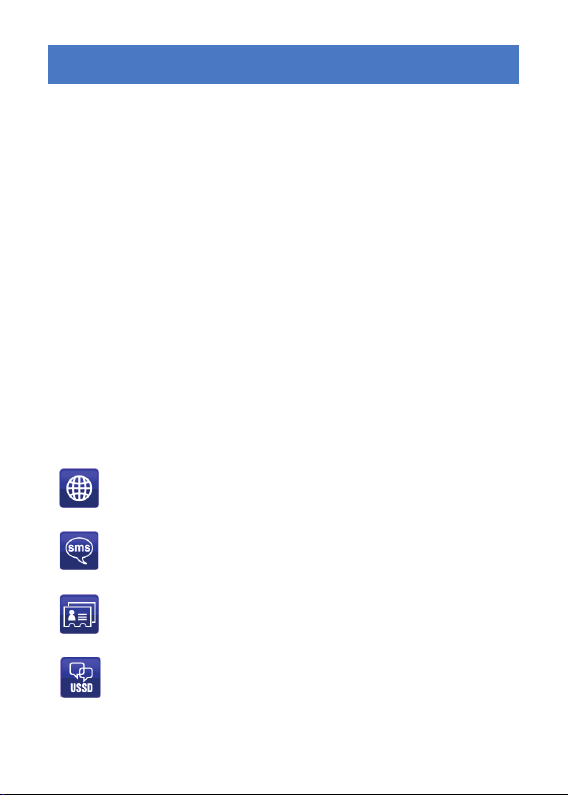
2. Main interface introduction
: Connection
: Access to the Text Message
: Access to the Phonebook interface
: Access to USSD
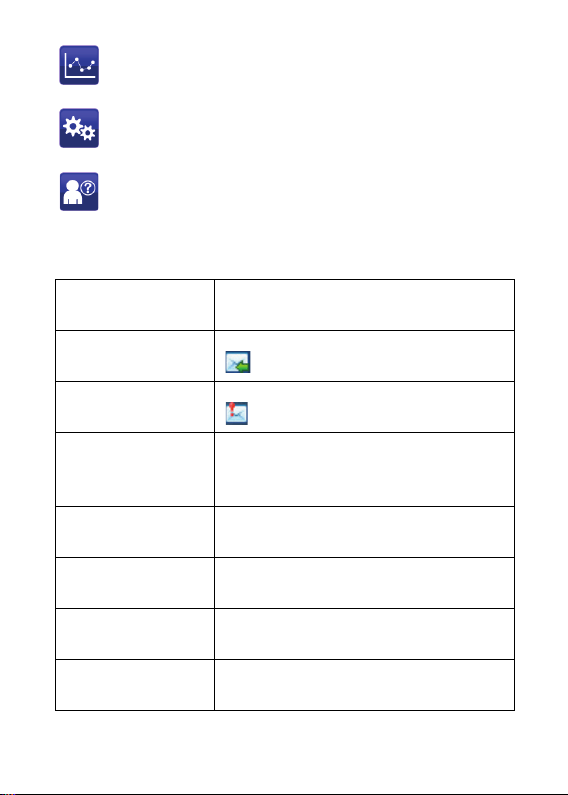
: Access to check usage statistics
: Set parameters options
: Help (User Manual)
3. Status information
Status Description
New message
New message(s) arrived.
Message full
Indicates the (U)SIM’s storage of SMS
No device Indicates that system cannot find the
device.
Initializing Indicates that the device is in the process
Searching The device is searching for the network.
No service No suitable network.
No (U)SIM card (U)SIM card not inserted or the device

Invalid (U)SIM card The (U)SIM is out of service.
Network signal
Indicate the signal strength of
Network type
GSM/GPRS, UMTS, LTE
Data service
EDGE available, HSPA
4. LED Indicator description
State of LED indicator Description
Red (blinking) No SIM card/ Error
Green solid on Register to network (not connect)
Green blinking Connected to 4G network
Blue solid on Register to network (not connect)
Blue blinking Connected to 3G network
Purple solid on Register to network (not connect)
Purple blinking Connected to 2G network
*Blinking: Flash once every 0.5 seconds
INTERNET SERVICE
1. Connecting with the default connection profile
Click to set up the connection;
2. Statistics information
The following window will be displayed at lower right corner of
main interface when connecting to the internet.
3. Disconnect from the internet
Click to disconnect the internet
connection.
SMS SERVICE
Click to enter SMS (Short Message Service) service interface.
1. Creating and sending a message.
Click :
Input the recipient number by one of the following
options:
Enter the number directly;
Click Send to, choose the recipient number from
the phonebook and add to the sending list , then
click OK.
Enter the message content;
Click Send or Save to Draft. The message will be saved in
the Draft when failed to send.
Note:
You can group send a message at most 100
recipients;
Each number should be separated by “,”;

The message cannot expand 2,048 characters at most.
2. Inbox
The following prompt box will be displayed when
received a new message;
Reply : Access the edit interface, write the content,
click Send or Save to Draft;
Forward : Forward the selected message;
Delete : Delete the selected message.
Note:
The new message will be saved in PC when LTE Connect
running only, else in (U)SIM instead;
You can use “Shift” or “Ctrl” to selected several
messages;
3. Outbox
The message in the Outbox can be deleted or forwarded.

4. Draft
The MSG sent unsuccessfully will be saved in the Draft .
Click the selected message;
Confirm the recipient and the content, and click Send or
Save to Draft.
5. Recycle
All deleted information will be saved in the Recycle.
6. The selected SMS can be operated as follows:
Save number:
To save the sender’s information to the (U)SIM card or
PC.
Delete text message: To delete the selected message.
Move to:
To move the selected message to Outbox or Draft.
Copy to:
To copy the selected message to Outbox or Draft.

SMS Export
Right-click the selected the message;
Click SMS Export ;
Specify the path and the file name, and click Save.
Note: The exported message will be saved as a *.csv file.
CONTACTS
Click to enter Contacts interface.
1. New
Click ;
Enter the Name and Mobile, and save it in the (U)SIM
card or PC.
2. Searching a contact
Click ;
Enter the key characters of you want to find in the
;
The result will be displayed in turn.
3. Viewing a contact
Click Local or (U)SIM to display the contacts interface
accordingly;
Select a contact, then you can operate as follows:

Edit : Modify the selected contact;
Delete : Delete the selected contact;
Send SMS : Send a message to the selected
contact;
Copy to: Copy the contact between (U)SIM card
and PC.
Note: The deleted contact information cannot be retrieved.
4. Import
Right-click the mouse;
Click Contacts Import;
Select the *.vcf or *.csv file and click Open;
The import file will be saved in the current interface.
5. Export
Right-click the selected contact;
Click Contacts Export;
You can saved the contact file as *.csv file or *.vcf file;

Confirm the name and the path the file saved, then click
Save.

USSD
Click to enter USSD interface.
You can add, edit, delete, and send USSD operation. The
result of sending will display on the edit box.

STATISTICS
Click to enter STATISTICS interface.
View various connection statistics.

SETTINGS
Click to list the functions.
1. PIN Management
Enable PIN
Click Enable PIN;
Enter the correct PIN code and click OK.
Note: The PIN code should be a numeric string of
4-8 digits.
Disable PIN
Click Disable PIN;
Enter the correct PIN code and click OK.
Modify PIN
Click Modify PIN;
Enter the old PIN code and new PIN code, confirm
the new PIN code and click OK.

2. Options (also can use )
General
You may choose the alert tone when
connected/disconnected to the internet.
Text Message Setting
You may active the message alert tone, and also
can set up your favorite tone via selecting a *.wav
file in the PC.
The number showed in the SMS center is read
from the (U)SIM card automatically; modification is
not recommended;
Note: SMS would not work with the wrong SMSC.
Contact with the service provider to get the correct
SMSC. You may select the period in the drop-box, it
specifies the validity which the message would
save in the network;
Note: The validity setting of SMS should be supported by
the network.
Network
Network Type

You can choose Auto or Only UMTS/HSPA
or Only GPRS/EDGE. The device will Register
network according to the selected mode.
The default mode is Auto.
Registration Mode
Auto search and Register is set as default
value;
Select Manual search and Register before
dialing, available networks will be listed
when finished;
Select an available network and click
Register, and then the device will try to
Register.
Statistics
You can get the statistics of
daily/weekly/monthly/yearly report on
downloading/uploading/connection time
Diagnostic
Language Selection
You can choose the different language UI

3. Contacts Import
For more details, refer to Internet Contacts-4.
4. Contacts Export
For more details, refer to Internet Contacts-5.
5. SMS Export
For more details, refer to Internet Text Message-5.
6. Help &About
Help: To open the User Manual
About: To get the Connection Manager information.
7. Show Menu Bar
You can display/not display the Menu Bar

FAQS
1. Q: What shall I do if I cannot connect to the internet?
A: Checking Setting and check the Profile is correct to
match the (U)SIM card operator. If not, can manual to enter the
APN information to connect to the internet.
2. Q: Why can’t I receive the message?
A: Please confirm whether the (U)SIM’s SMS memory is full or
not.
3. Q: Why the software doesn’t run automatically when the device
is plugged in?
A: Click My computer->data card disk->StartModem.exe. Or run
the Connection Manager from Start of the OS if D-Link
Connection Manager was installed.

TECHNICAL SPECIFICATIONS
GSM Band (GSM/GPRS/EDGE)
Quad-band 850/900/1800/1900 MHz
Power Class 4 (850/900 MHz)
Power Class 1 (1800/1900 MHz)
DC-HSPA+/ HSDPA/HSUPA/UMTS
900/2100 MHz
Power Class 3 (+24 dBm)
Data Rates
DC-HSPA+:DOWNLINK UP TO 42 Mbps/ UPLINK UP TO 5.76
Mbps
HSDPA/HSUPA:DOWNLINK UP TO 14.4 Mbps / UPLINK UP TO
5.76 Mbps
UMTS:DOWNLINK UP TO 384 Kbps / UPLINK UP TO 384 Kbps
LTE
800/1800/2600 MHz
Power Class 3 (+23 dBm)
Data Rates

FDD-LTE:DOWNLINK UP TO 150 Mbps / UPLINK UP TO 50 Mbps
Antenna
Internal main and diversity antenna
LED Status Indicators
1 Signal LED
Red (blinking): No SIM card/ Error
Green (Solid On): Register to network (not connect)
Green blinking: Connected to 4G network
Blue (solid on):
Register to network (not connect)
Blue blinking: Connected to 3G network
Dimensions (L x W x H)
103mm x 34mm x 11.5mm
Operating Humidity
Operating Temperature: -10 to 45° C
Storage Temperature: -20 to 70° C
Certifications
CE
