
Loading ...
Loading ...
Loading ...
After installation
13
TR4000 | TR4000R – 6 720 876 021 (2017/11)
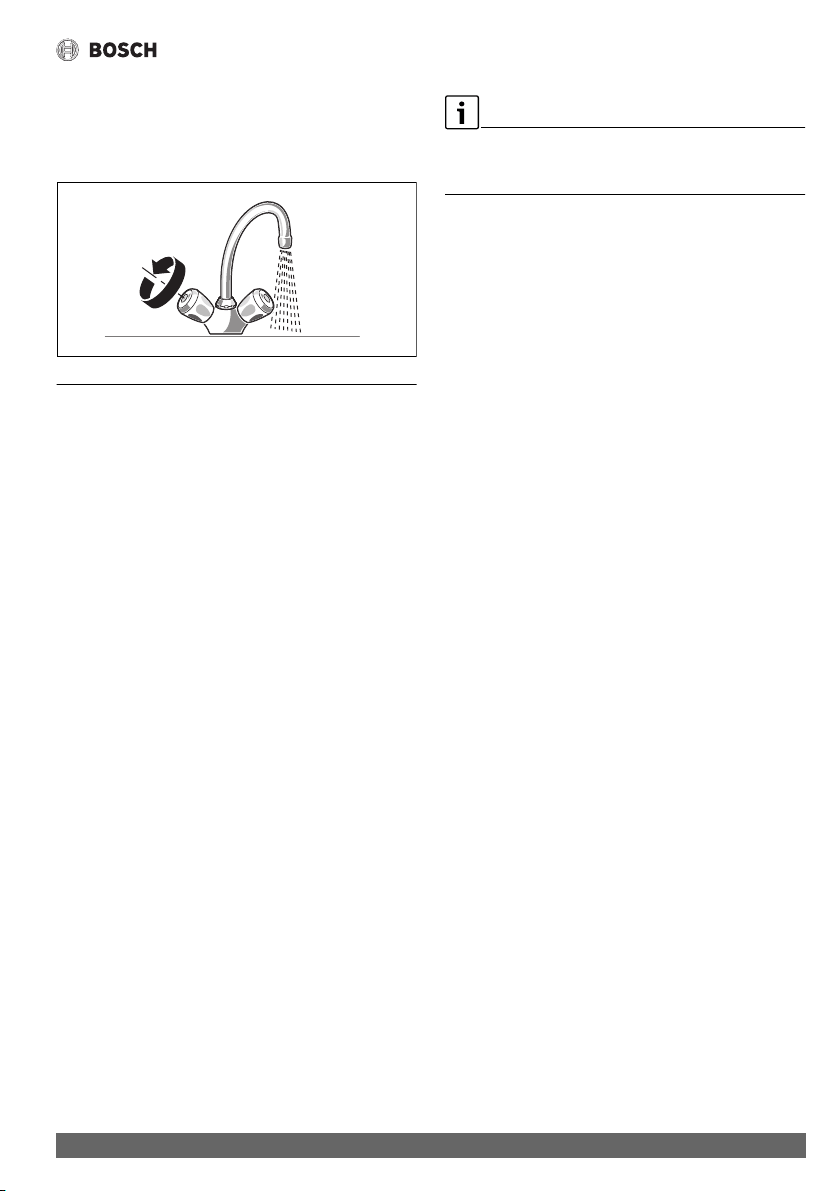
2.13 For all appliances
• Vent the continuous-flow heater: Fully open the warm water
tap and flush out the appliance for about 1 minute (G), until
bubbles no longer emerge.
3 After installation
3.1 TR4000 5 ET, TR4000 6 ET, TR4000 6 EB,
TR4000 8 ET and TR4000 8 EB
(fixed electrical connection)
Switch on the fuses.
3.2 TR4000 4 ET and TR4000R 4 ET
• Insert the plug into the mains socket.
First start-up (Fig. 6)
3.3 Initial rinsing
• Open the warm water tap and allow water to flow for at least
1 minute (flow-rate at least 2 litres per minute). Only then
(for safety reasons) will the appliance begin to heat.
Info: The appliance will not heat if the dispensed water flow is
interrupted prematurely. Open the warm water tap again and
allow water to flow for at least 1 minute.
Tip: Should the appliance not start because of a reduced flow-
rate, remove the perlator, aerator or similar before starting and
repeating the process.
Important: If the continuous-flow heater does not have
sufficient water flow due to low water line pressure in your
domestic plumbing system:
• Switch off the circuit-breakers/fuses or remove the mains
plug.
• Remove the flow-rate limiter (H1–H4).
3.4 Controlling temperature
The supply temperature (probably lower in winter) and
pressure fluctuations can influence the temperature of the
water leaving the tap (see Fig. 4, left: pressurised [closed],
right: unpressurised [open]).
• Turn the valve slowly in the closed direction for higher
temperatures (F1).
• Add cold water for lower temperatures (F2).
• Hand over the installation and operating instructions
to the user and explain how the appliance operates.
1 min
G
Loading ...
Loading ...
Loading ...