Loading ...
Loading ...
Loading ...
English
114
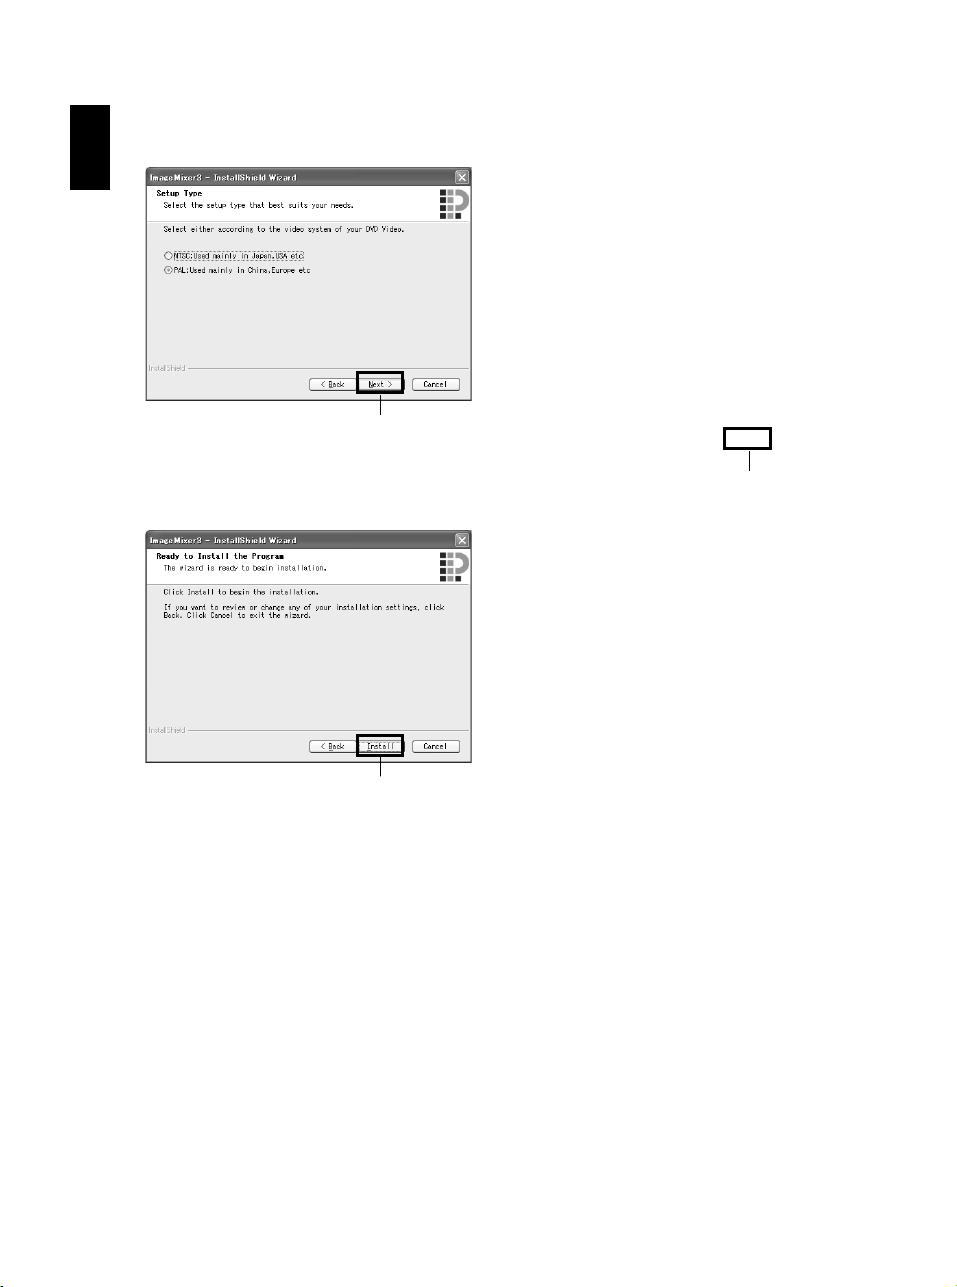
7 Choosing video system:
The screen for setting the video system will
appear, and then click “Next”.
8 Executing installation:
The setups for installation are now complete.
Click “Install” to execute installation.
Important information for customers who use
Easy CD Creator 5 made by Roxio
Corporation:
If ImageMixer 3 provided with this DVD
video camera/recorder is installed, Easy CD
Creator 5 may not operate normally. The
screen shown below will appear after you
click “Install”:
If you are using Easy CD Creator 5, click
“Yes”, and do not install ImageMixer 3.
9 After installation is finished, the screen for
prompting restart will appear: Click “Finish”
to restart the PC.
After restart, remove the CD-ROM from the
PC.
Installing the software is now complete.
Note:
• After installation is finished, the installation of Direct X
may start depending on the PC used: In this case,
follow the instructions on screen to install Direct X.
Click
Click
Click
Loading ...
Loading ...
Loading ...