Loading ...
Loading ...
Loading ...
Oven Operation
NOTES:
° Highly perishable foods such as dairy products, pork,
poultry or seafood are not recommended for delayed
cook operations.
° Clock controlled baking is not recommended %r baked
items that require a preheated oven, such as cakes,
cookies and breads.
, The dock must be functionh_g and ¢orrect|y set.
Clock Controlled Oven Cooking is used to turn the oven off
at a preset time of day or delay the star_ and then turn off the
oven. This feature can be used with either oven cooking or
self-cleaning. See page 19 for instructions on delaying the
start of a clean cycle.
Immediate Start: Oven turns on immediately and automati-
cally turns off at a preset time.
Delayed Start: Delays the start of cooking or cleaning and
automatically turns off at a preset time.
Cook time can be set for up to 11 hours and 59 minutes
(11:59).
If more than 30 seconds elapse between pressing a function
pad and pressing the appropriate number pads, the oven is
NOT set and display will return to the previous display.
Setting the Controls
To Start hnmediatdy and Tm'n Off AutomatkaHy:
iiiiiiiiiiiiiiiiiiiiiiiiI.Pressthe.A.EorCONVECT,A.E(se,ectmode,s pad
iiiiiiiiiiiiiiiiiiiiiii_
iiiiiiiiiiiiiiiiiiiiiiiiBAKEw, f ashand000w, appear, thed sp ay
iiiiiiiiiiiiiiiiiiiiiiii Whenconvectioncookh_gisselected, afanicm_ _will
iiiiiiiiiiiiiiiiiiiiiiiiappear, thed sp a>
iiiiiiiiiiiiiiiiiiiiiiii
iiiiiiiiiiiiiiiiiiiiiiii °
iiiiiiiiiiiiiiiiiiiiiii2. Press the PRESET (0) pad to set. 50 F. When convection
iiiiiiiiiiiiiiiiiiiiiiiicooking,325°vwi.automaticallybeset Or,pressthe
iiiiiiiiiiiiiiiiiiiiiiiiappr°priatenumberpadsf°rthedeshed°ventemperature"
iiiiiiiiiiiiiiiiiiiiiii
iiiiiiiiiiiiiiiiiiiiiiii3. PresstheCOOKTiMEpad.
COOK TiME will flash and 0HR:00 will Hght in the
iiiiiiiiiiiiiiiiiiiiiiiiiiiiiiiiiiiiiiiiiiiiiiidisplay.
17
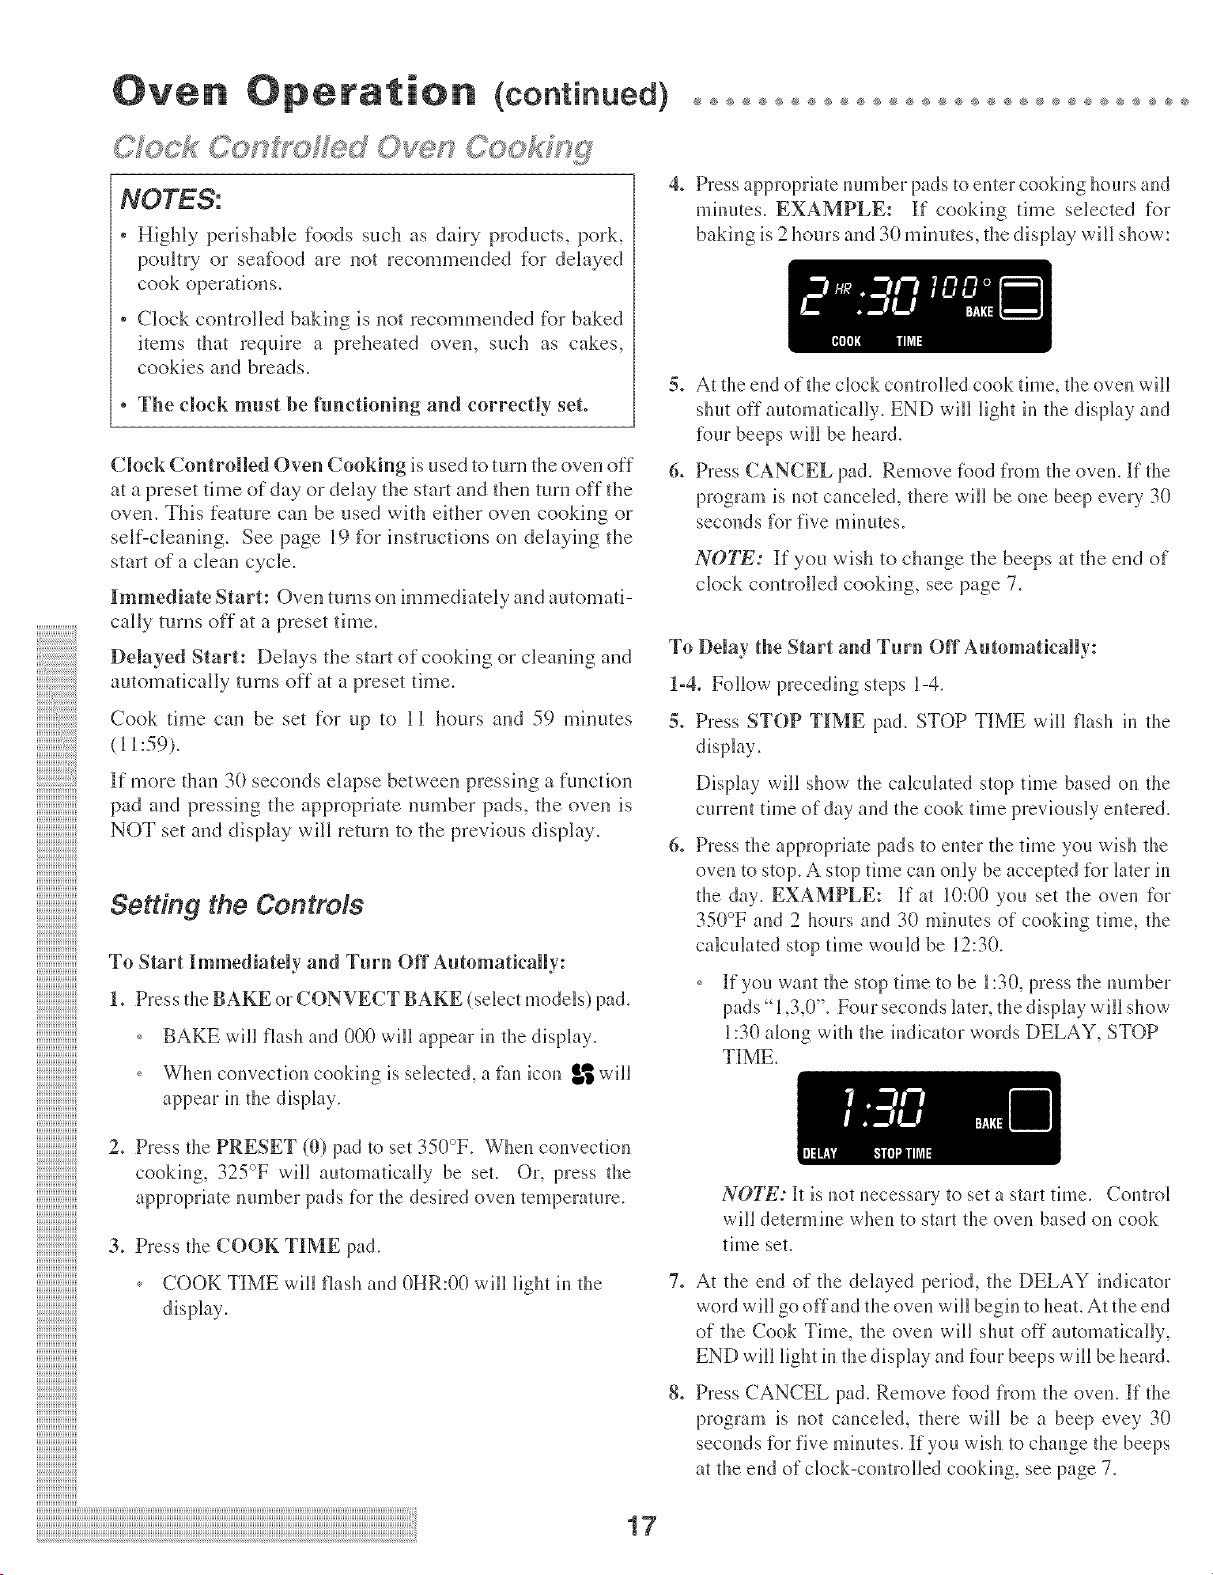
4. Press appropriate hum ber pads to enter cooking hours and
mhmtes. EXAMPLE: if cooking time selected for
baking is 2 hours and 30 minutes, the display will show:
5° At the end of the clock controlled cook time, the oven will
shut off automatically. END will light in the display and
four beeps will be heard.
6o Press CANCEL pad. Remove food from the oven. If the
program is not canceled, there will be one beep every 30
seconds for five minutes.
NOTE: If yon wish to change the beeps at the end of
clock controlled cooking, see page 7.
To Dday the Start and Tm'n Off AutomatkaHy:
1-4. Follow preceding steps 1-4.
5. Press STOP TIME pad. STOP TIME will flash in the
display.
Display will show the calculated stop time based on the
current time of day and the cook time previously entered.
6. Press the appropriate pads to enter the time you wish the
oven to stop. A stop time can only be accepted for later Jn
the day. EXAMPLE: [f at 10:00 you set the oven for
350°F and 2 hours and 30 minutes of cooking time, the
calculated stop time would be 12:30.
If you want the stop time to be 1:30, press the number
pads "1,3,0". Four seconds later, the display will show
1:30 akmg with the indicator words DELAY, STOP
TIME.
NOTE: It is not necessary to set a start time. Control
will determine when to start the oven based on cook
time set.
7. At the end of the delayed period, the DELAY indicator
word will go offand the oven will begin to heat. At the end
of the Cook Time, the oven will shut off automatically,
END will light in the display and four beeps will be heard.
8. Press CANCEL pad. Remove food from the oven. If the
program is not canceled, there will be a beep evey 30
seconds for five minutes. If you wish to change the beeps
at the end of clock-controlled cooking, see page 7.
Loading ...
Loading ...
Loading ...