Loading ...
Loading ...
Loading ...
iSpring WDS Series Whole House Systems
Version 2020-05
Page 7
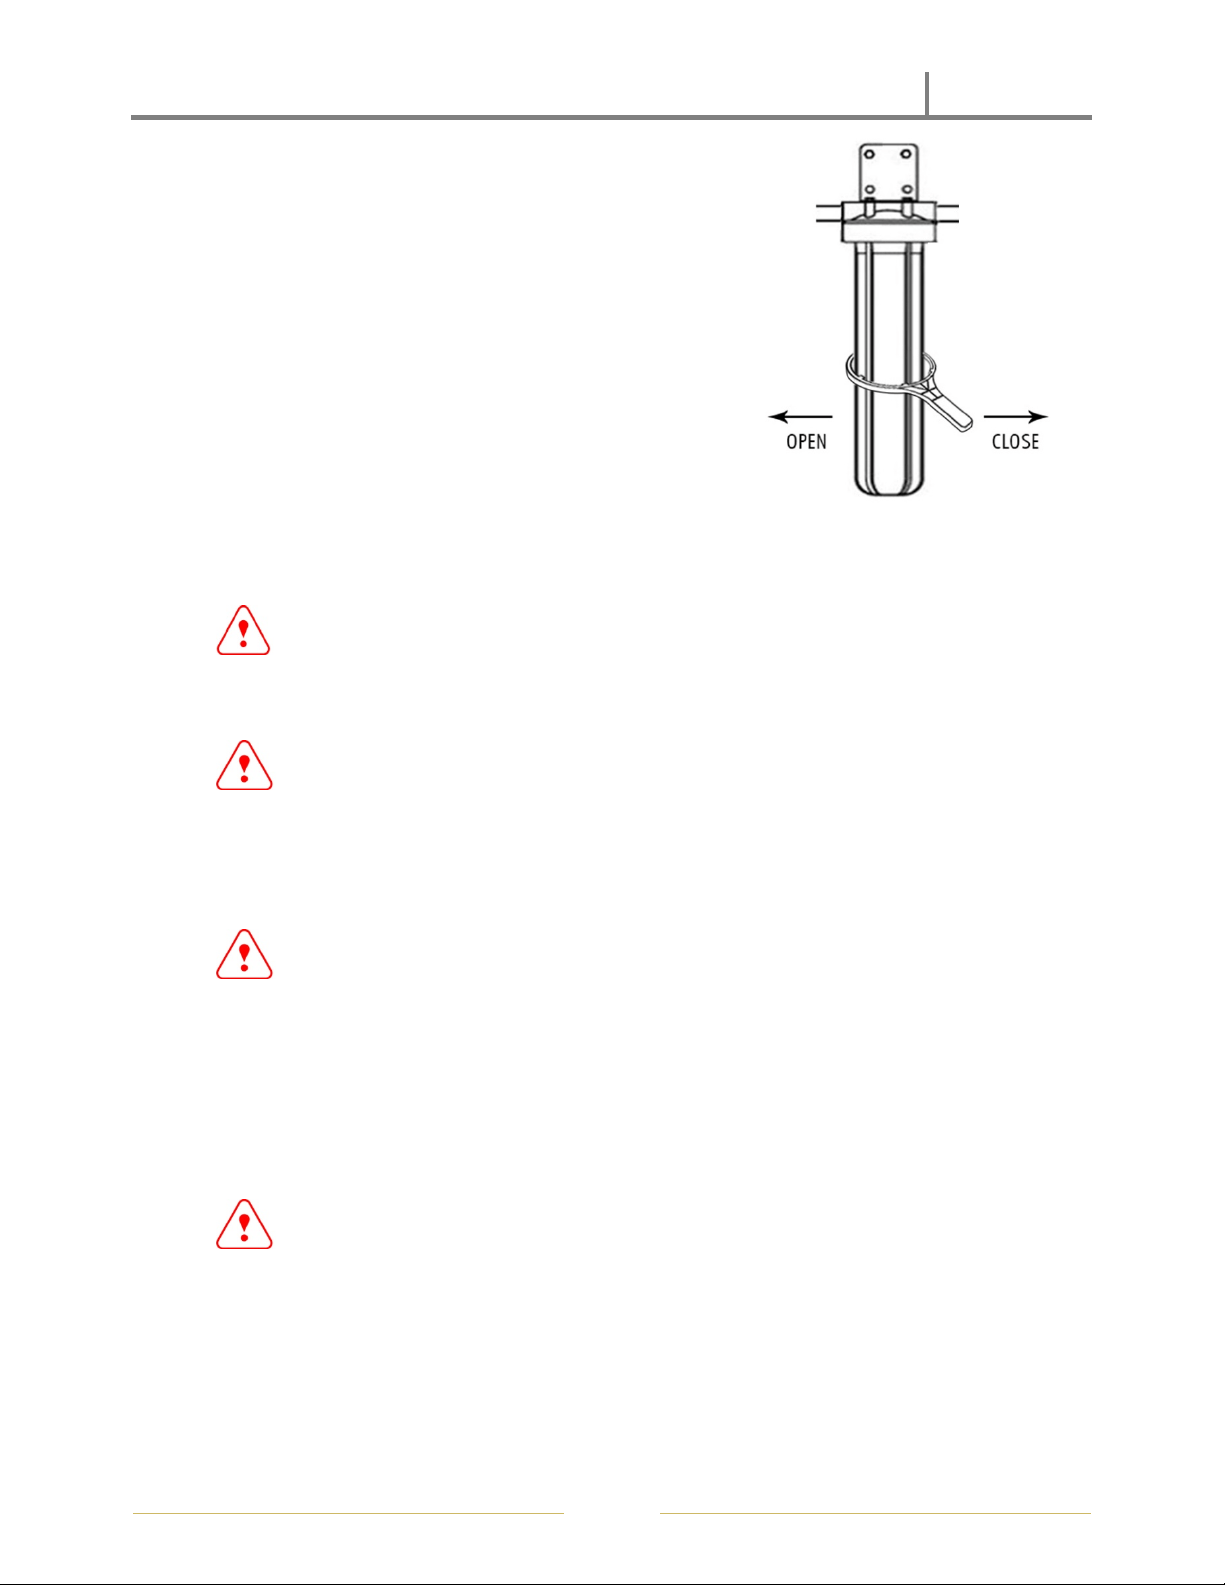
Step 5- Filter Cartridges and Housings Assembly
Unwrap cartridges and insert each into each of the housing
centering on the standpipe.
Hand tighten the Blue Filter Housing. Then, using the
supplied Filter Wrench, lightly snug the housing while
making sure not to over-tighten.
Step 6 - Turn on water and flush system
Slowly turn on water main to fill the housing. After a few
minutes, the sound of water entering the system will stop.
Check for leaks.
Open the nearest COLD water faucet and run water for about 10 minutes.
CAUTION:
Do not use a hot water faucet to perform the initial system flush.
NOTICE:
Continue to run water until it runs clear and all air has been purged. Shut the water off and let
the unit sit for a while, and then flush again. It is not unusual for the water to appear "cloudy"
for a day or so following installation. This cloudiness is actually tiny air bubbles being purged
from the filters. This is normal and will clear up in a day or two.
NOTICE:
After prolonged periods of nonuse (such as a vacation), it is recommended that the system be
flushed thoroughly for at least 10 minutes before using the water.
Step 7 - Turn off the faucet and your system is ready for use.
NOTICE:
Even though there is filtered water in the cold water lines, the hot water heater is still full of raw
water. Through normal use, this water will be replaced with filtered water in about 2 or 3 days.
Loading ...
Loading ...
Loading ...