Loading ...
Loading ...
Loading ...
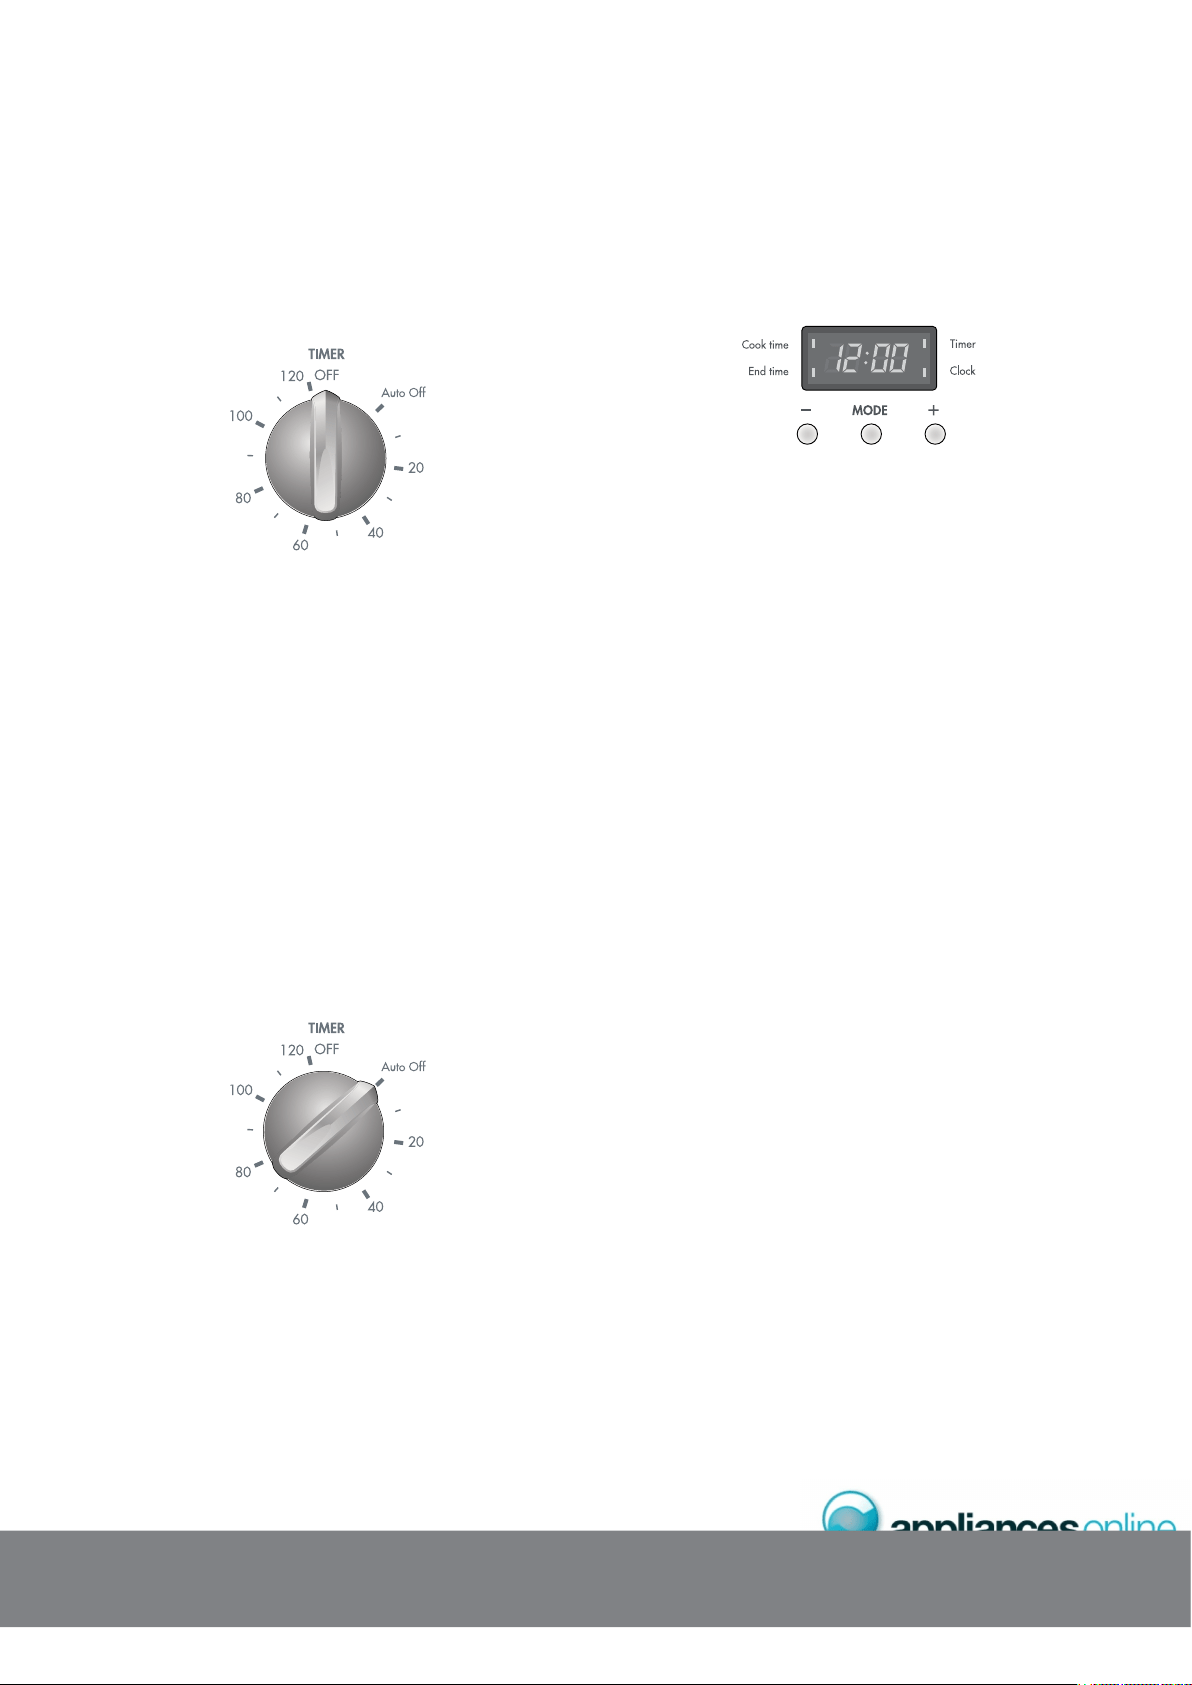
The timer needs to be set at the “OFF” marker for the
oven to be used manually.
The 2-hour timer features an automatic oven “cut-off”.
This means that a cooking period of up to 120 minutes
can be set.
1. Set the Oven Temperature Control Knob to the required
temperature.
2. Turn the cut-off timer to the required number of minutes.
For timer settings of less than 20 minutes, turn the
knob past 20 minutes, and then go back to the required
number of minutes. This is to ensure that the timer’s bell
ringer is correctly set.
3. When the timer returns to the “Auto Off” position, it will
give a short ring and the oven element will be switched
off. Although the oven element is off, the oven light, the
cooling/venting fan and the oven fan will remain on
whilst the Timer is in “Auto Off” mode. They will stay on
until both the Timer and the Oven knobs are moved to the
“Off” position.
4. The oven will not operate again until you turn the timer
back to the “OFF” marker. This will set the timer to manual
mode.
It is not recommended to use this timer for short
durations, e.g. boiling eggs.
Your 3 button programmable timer has the following features:
• Timer – your 3 button programmable timer allows you to
set a countdown time that will beep when the set time has
elapsed.
• Cooking duration – You can set a cooking duration. A
timer will count down the preset cooking time, beep when
the time has elapsed and turn the oven off.
• End cooking time – you can set a cooking nish time. A
timer will count down the preset cooking time, beep when
the nish time has been reached and turn the oven off.
• Delayed start cooking time – You can combine the
cooking time and stop cooking time to switch the oven on
and off at a specific time during the day.
Your 3 button programmable timer only operates with
your main oven.
You must set the time of day before you can operate your
appliance. When power is supplied to your oven “12.00“
will be displayed and the “clock” indicator will ash.
1. To set the time of day in hours and minutes, press the – or
+ buttons. 5 seconds after the last change, the “clock”
indicator will disappear, conrming the time has been set.
The clock has a 24-hour display.
1. Press the “mode“ button until the “timer” indicator begins
ashing.
2. Set the countdown time you want by using the – and +
buttons. 5 seconds after the last change the “timer” indicator
will stop ashing, conrming the timer has been set.
3. To stop the beeper, press any button.
1. Check the clock displays the correct time of day.
2. Select the desired oven function and temperature. The
oven indicator light will glow and the heating source will
come on.
3. Press the “mode“ button until the “cook time” indicator
begins ashing.
4. Set the cooking duration you want by using the – or +
buttons. 5 seconds after the last change, the “cook time”
indicator will stop ashing, and the time of day will be
displayed.
Do not forget to add preheating time if necessary.
Loading ...
Loading ...
Loading ...