Loading ...
Loading ...
Loading ...
14
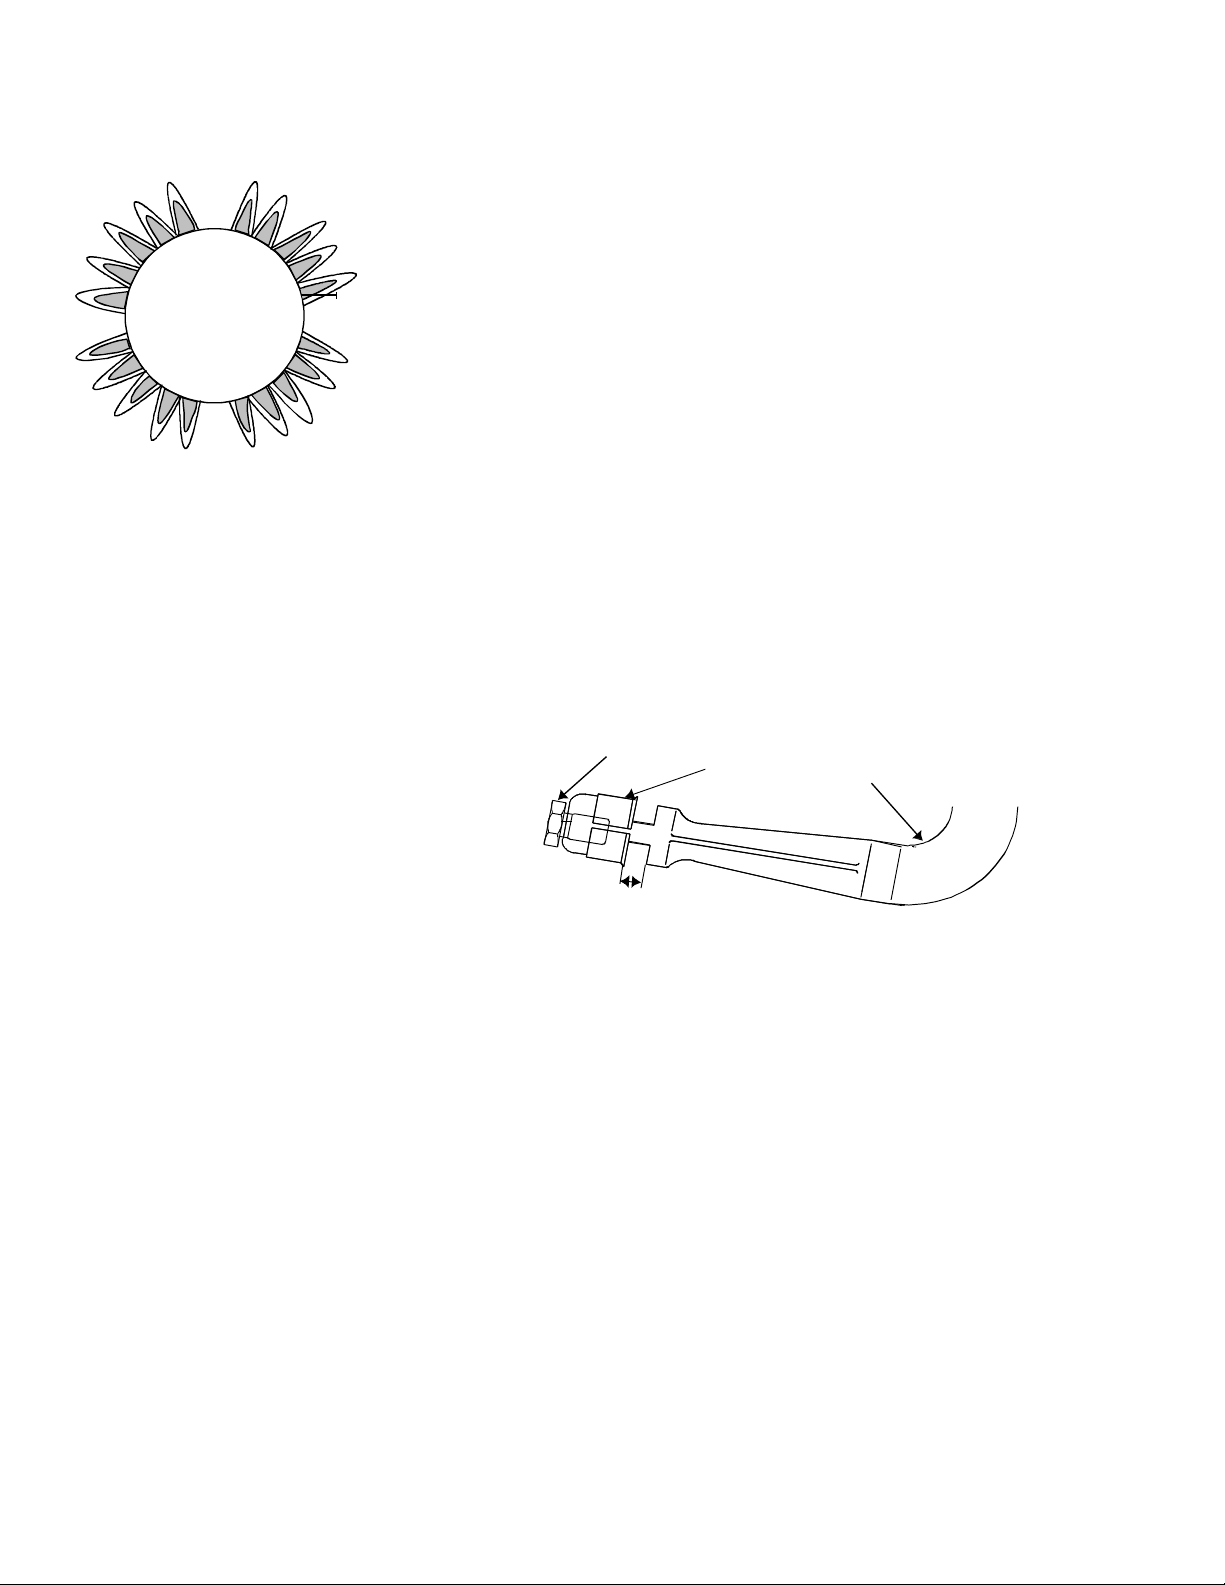
A—Orifice Hood
B—Air Shutter
C—Venturi Tube
Operating Surface Burner During a Power
Failure
Although the system that lights the burners is electric, surface burners can be
ignited during a power failure. Never attempt to light bake or broil burners
during power failure.
1. Hold ignited match at base of desired burner.
2. Push in burner control knob and turn to
LITE
position.
3. After gas ignites, remove match from burner and turn burner control knob
to desired setting.
Cleaning Cooktop, Burners, and Grates
Clean cooktop, caps, and grates using damp cloth and soapy water. If
necessary, clean with nonabrasive cleaners or pads. Dry thoroughly when
finished to avoid rusting.
• Do not use harsh powders, oven cleaners, scouring pads, or steel wool.
Adjusting Surface Burner Flame
Properly adjusted surface burner flames are clean and blue with a distinct
inner cone approximately
1
/4 inch to
1
/2 inch long. See "Operating Burners"
section for burner operating instructions.
• If burner flame is blowing or noisy, reduce airflow to burner by adjusting
air shutter.
• If burner flame is yellow and does not hold its shape, increase airflow to
burner by adjusting air shutter.
Adjusting Air Shutter
1. Remove control knobs, grates, caps, and burner bowls.
2. Remove burners by removing burner screw with phillips screwdriver.
Unplug burners from burner wires.
3. Lift top up off burner box to expose air shutters.
4. Slide air shutter open or closed depending on appearance of burner flame.
• If flame is yellow and does not hold its shape, open air shutter.
• If flame is blowing or noisy, close air shutter.
5. Reassemble.
6. After adjustment retest burner flame.
A
B
C
1/8" nominal
A—
1
/4" to
1
/2" inner cone length
Operation
1
/
4
to 1
/
2
"
Burner
Loading ...
Loading ...
Loading ...