Loading ...
Loading ...
Loading ...
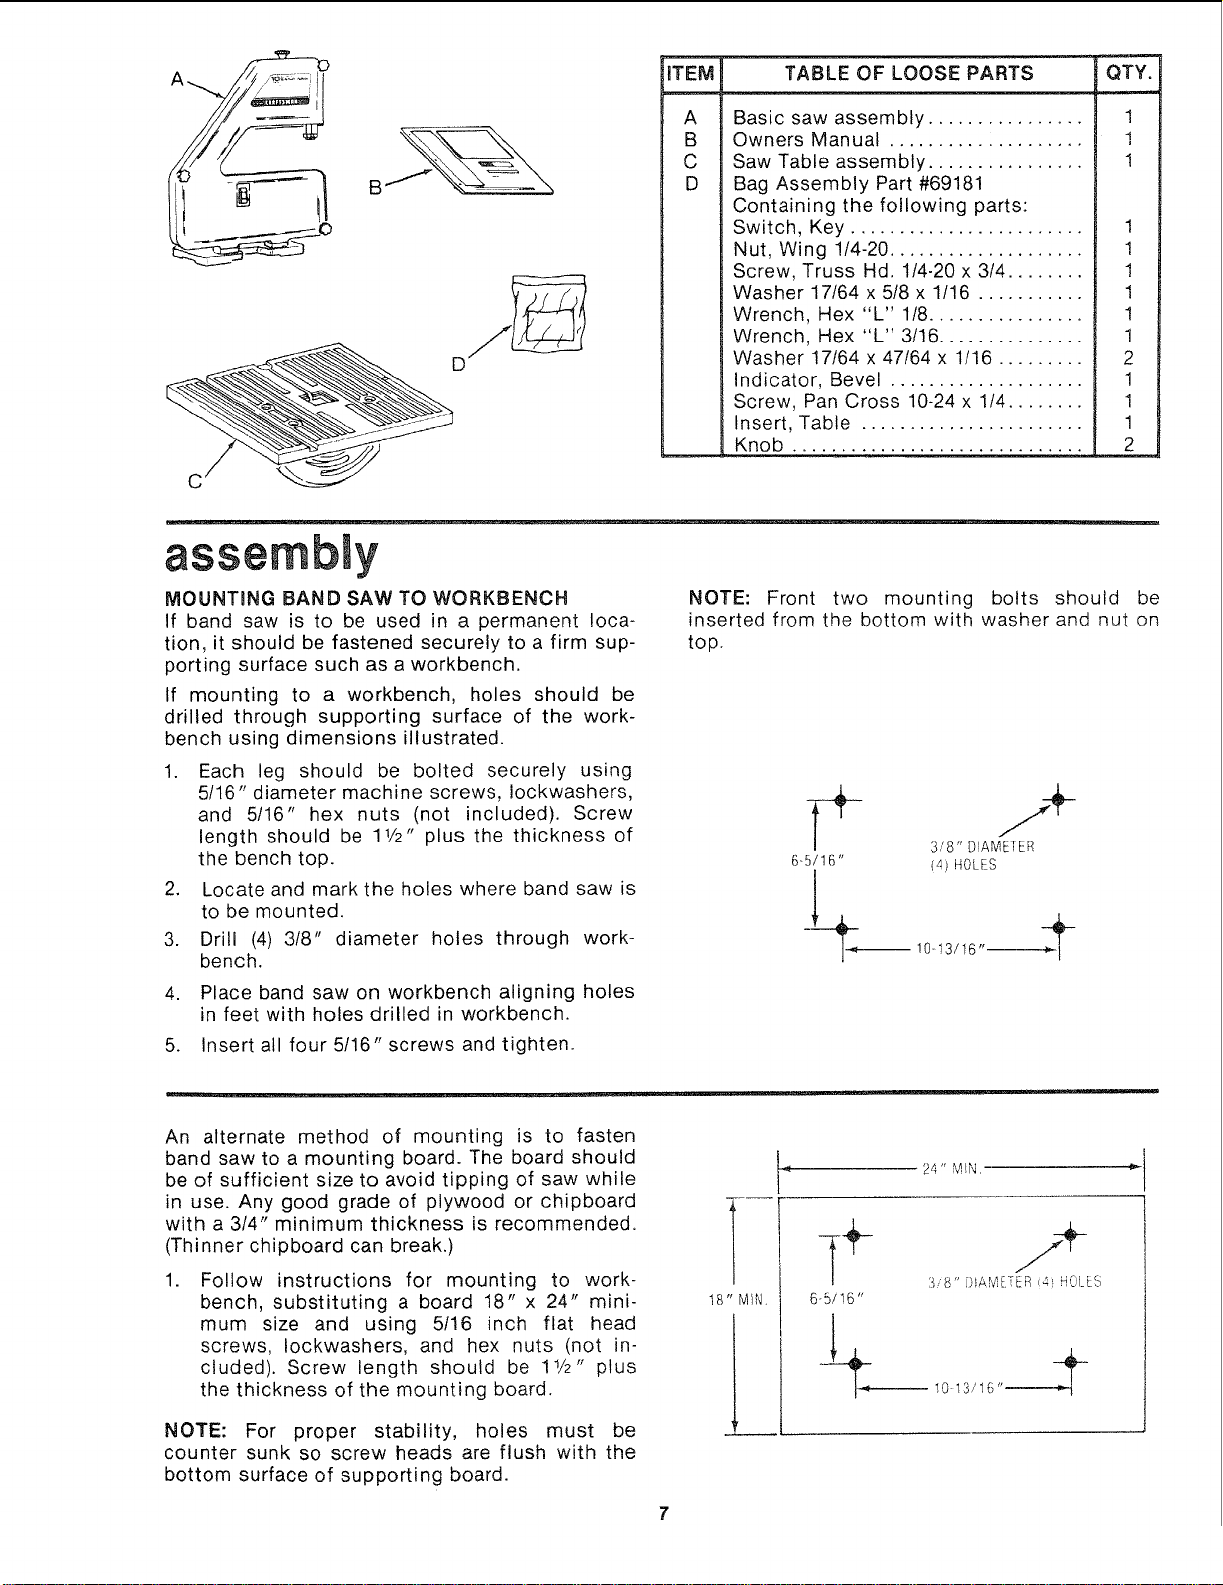
C
assem ly
MOUNTRNG BAND SAW TO WORKBENCH
If band saw is to be used in a permanent loca-
tion, it should be fastened securely to a firm sup-
porting surface such as a workbench.
If mounting to a workbench, holes should be
drilled through supporting surface of the work-
bench using dimensions illustrated.
1. Each leg should be bolted securely using
5/16" diameter machine screws, Iockwashers,
and 5/16" hex nuts (not included). Screw
length should be 11/2" plus the thickness of
the bench top.
2. Locate and mark the holes where band saw is
to be mounted.
3. Drill (4) 3/8" diameter holes through work-
bench.
4. Place band saw on workbench aligning holes
in feet with holes drilled in workbench.
5. Insert all four 5/16" screws and tighten.
nTEM TABLE OF LOOSE PARTS
A
B
C
D
Basic saw assembly ................
Owners Manual ....................
Saw Table assembly ................
Bag Assembly Part #69181
Containing the following parts:
Switch, Key ........................
Nut, Wing 1/4-20 ....................
Screw, Truss Hd. 1t4-20 x 3/4 ........
Washer 17/64 x 5/8 x 1/16 ...........
Wrench, Hex "L" 1!8................
Wrench, Hex "L" 3/16...............
Washer 17164 x 47/64 x 1116 .........
Indicator, Bevel ....................
Screw, Pan Cross 10-24 x 1/4 ........
Insert, Table .......................
Knob ..............................
IoTY:....
1
1
1
1
1
1
1
1
1
2
1
1
1
2
NOTE: Front two mounting bolts should be
inserted from the bottom with washer and nut on
top.
-_ 3/8" DIAMETE_R +
6-5/16" (4) HOLES
I
t______________!Oq 3/16 ..._________-I_-
An alternate method of mounting is to fasten
band saw to a mounting board. The board should
be of sufficient size to avoid tipping of saw while
in use. Any good grade of plywood or chipboard
with a 3/4" minimum thickness is recommended.
(Thinner chipboard can break.)
.
Follow instructions for mounting to work-
bench, substituting a board 18" x 24" mini-
mum size and using 5116 inch flat head
screws, Iockwashers, and hex nuts (not in-
cluded). Screw length should be 1!/2" plus
the thickness of the mounting board.
NOTE: For proper stability, holes must be
counter sunk so screw heads are flush with the
bottom surface of supporting board.
18" MIN.
24" M!N
/
-_ _J_- 3,,8 " [_IAM[!ER i4i HOLES
6-5/16"
__--_!0 13/!6"----_
Loading ...
Loading ...
Loading ...