Loading ...
Loading ...
Loading ...
nuwavenow.com | 15
Basic Key Functions
GETTING STARTED
Function Button(s)
Slow Cook Probe + Menu
Probe Target Temperature Press and hold Probe
Sear (as an independent function) Press and hold Sear
Automatic Preheat Preheat + Menu
Mute/Unmute Sear + STAGE
Mute/Unmute Door Press and hold Function
Clock Preheat + Time
Lock Menu + STAGE
Time Format Change ‒ Min:Sec Press and hold Time (4 sec.)
Temperature Format Change ˚F to ˚C Press and hold Temp (4 sec.)
Wattage WiFi + Light
Control
Function
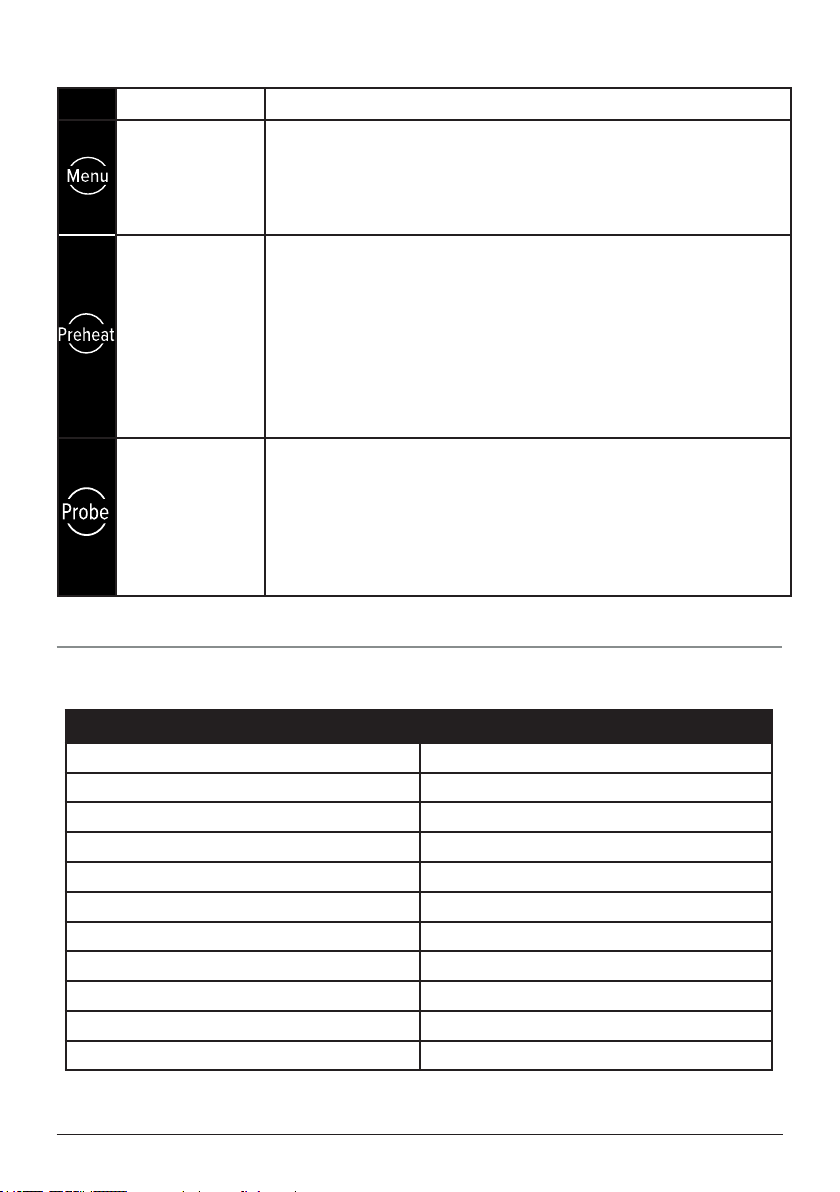
Menu
Provides access to the unit’s Cooking Presets. Press Menu
once for Presets 1–100, or twice for Presets 101–150. Once
the Preset is selected press START/PAUSE to begin cooking.
Refer to the 100 Presets on the back of the Quick Start Guide.
You can save 50 of your own.
Preheat
Ensures the Pro-Smart Oven is at the set cooking temperature
at the start of the main cooking cycle, giving you better results.
The default is 400°F (default cooking temperature). Once the
set temperature is reached, the Pro-Smart Oven will beep
twice, countdown for 10 seconds, beep once more, and then
start cooking automatically. To deactivate automatic Preheat,
press Menu + Preheat prior to cooking. Repeat to reactivate
automatic Preheat.
Probe
Allows you to accurately cook your food to a set internal tem-
perature. The Probe jack is on the upper right-hand side of the
cooking chamber. The default is 165°F. Plug the Probe into the
jack, then press and hold Probe for 1 second to set the Probe
target temperature using the Select dial. Insert the other end
of the Probe into your food at the thickest part not touching the
bone. Press START/PAUSE to begin cooking.
Control
Function
Power
The Power button turns the Pro-Smart Oven on and o.
Heat/FAN
Heat: Press Heat/FAN until the heater to be changed appears,
then adjust the rear, top, and/or bottom heat using the Select
dial. The odd percentage of Top/Bottom heat defaults to the
bottom.
Fan: Press and hold Heat/FAN and use the Select dial to
adjust the fan speed from 0–3. Note: If you are using the rear
heater, the fan speed must be 1 or more.
WiFi
Press WiFi to connect to your local wi- network and, through
that, to the NuWave Connect App.
Sear
Press Sear, then adjust the Sear temperature and time, if de-
sired, and press START/PAUSE to begin cooking. Sear defaults
to 450°F for 5 minutes.
Light/STAGE
Light: Press Light/STAGE once to turn on the oven lamp.
Press it again to turn it o.
STAGE: Press and hold Light/STAGE to access Stage Cook-
ing. You can program up to 5 cooking stages.
Select Dial
Used to change cooking times and temperatures, as well as to
scroll through and select cooking functions and presets.
START/
PAUSE
Clear
Once the cooking parameters are set, this starts and pauses
the cooking process. Pressing and holding the button allows
you to clear any selections.
Temp
Allows you to adjust the cooking temperature before and
during the cooking process. Press Temp and use the Select
dial to adjust the temperature.
Time
Allows you to adjust the cooking time before and during the
cooking process. Press Time and use the Select dial to adjust
the time.
Function
Allows you to choose from among 20 cooking functions, 9 on
the LED display and 11 under “Function+”. Press Function
and scroll through the cooking functions. At “Function+”, press
the Select dial for functions 10–20. Continue scrolling until you
reach the Function you want, then press the Select dial and
START/PAUSE to begin cooking.
Loading ...
Loading ...
Loading ...