Loading ...
Loading ...
Loading ...
MAINTENANCE / SERVICE
I
MAINTENANCE SUGGESTIONS
This heater has been designed and constructed for a long performance life when installed and operated
properly under normal conditions. Regular inspections, as outlined in this section, are strongly
recommended as means of keeping your heater operating efficiently and safely throughout the season.
Access to internal parts is from the front of the heater.
1. Cleaning
Clean air filter at least once a week. Do not wait for filter warning
lamp to come on before cleaning filter. Do not use the heater with
the filter warning lamp on, this may cause it to overheat. Dusty
filter reduces the air flow through the heater, as well as, reducing
the heater's effectiveness. Clean filter with air pressure or vacuum
cleaner. FILTER
Heater must be cleaned annually. Keep heater clear of dust and debris especially in and around the
ODS burner. Cleaning procedures of heater are as follows;
1) Turn heater off. Unplug electric cord and allow to cool for one hour.
2) Remove the two(2) screws that hold the louver and two(2) screws at the bottom of the left and
right hand side panel.
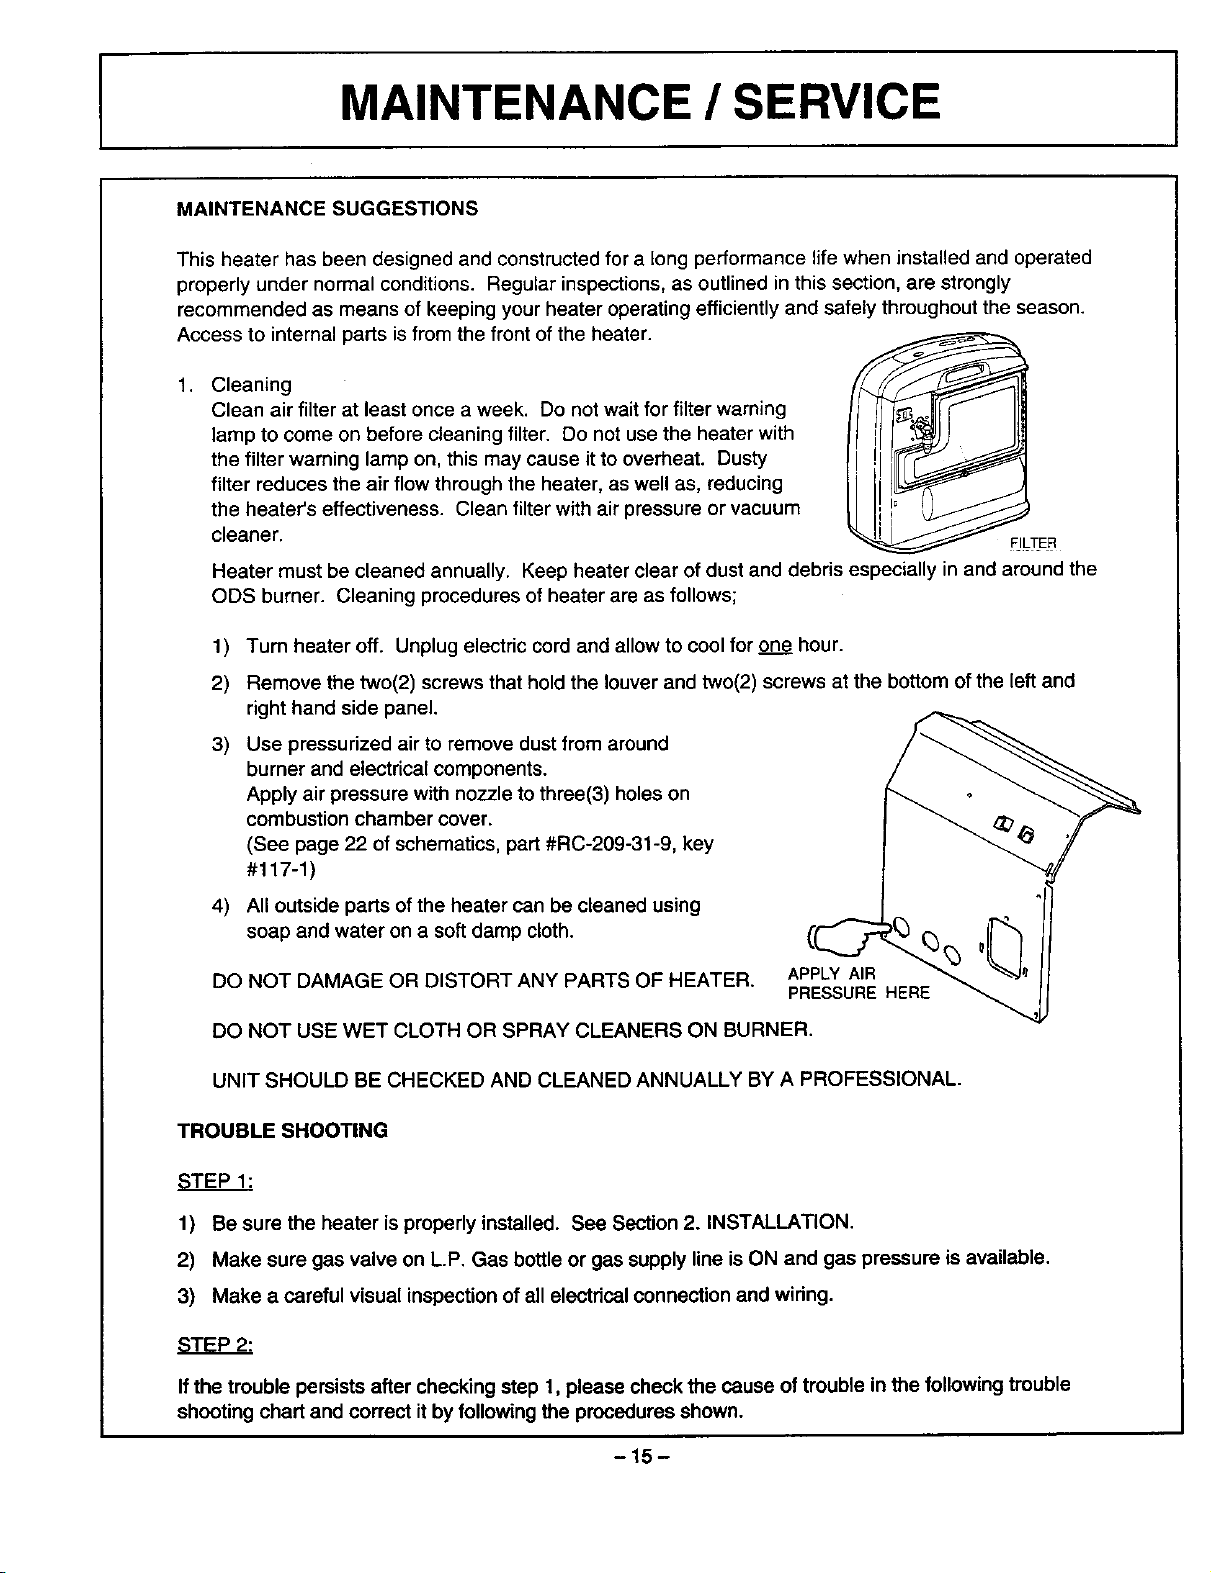
3)
4)
Use pressurized air to remove dust from around
burner and electrical components.
Apply air pressure with nozzle to three(3) holes on
combustion chamber cover.
(See page 22 of schematics, part #RC-209-31-9, key
#117-1)
All outside parts of the heater can be cleaned using
soap and water on a softdamp cloth.
DO NOT DAMAGE OR DISTORT ANY PARTS OF HEATER. APPLYAIR
PRESSUREHERE
DO NOT USE WET CLOTH OR SPRAY CLEANERS ON BURNER.
UNIT SHOULD BE CHECKED AND CLEANED ANNUALLY BY A PROFESSIONAL.
TROUBLE SHOOTING
STEP 1:
1) Be sure the heater isproperly installed. See Section 2. INSTALLATION.
2) Make sure gas valve on L.P. Gas bottle or gas supply line is ON and gas pressure
3) Make a careful visual inspection of all electdcal connection and widng.
is available.
STEP 2."
Ifthe trouble persists after checking step 1, please check the cause of trouble in the following trouble
shooting chart and correct it byfollowing the procedures shown.
-15-
Loading ...
Loading ...
Loading ...