Loading ...
Loading ...
Loading ...
Use
48
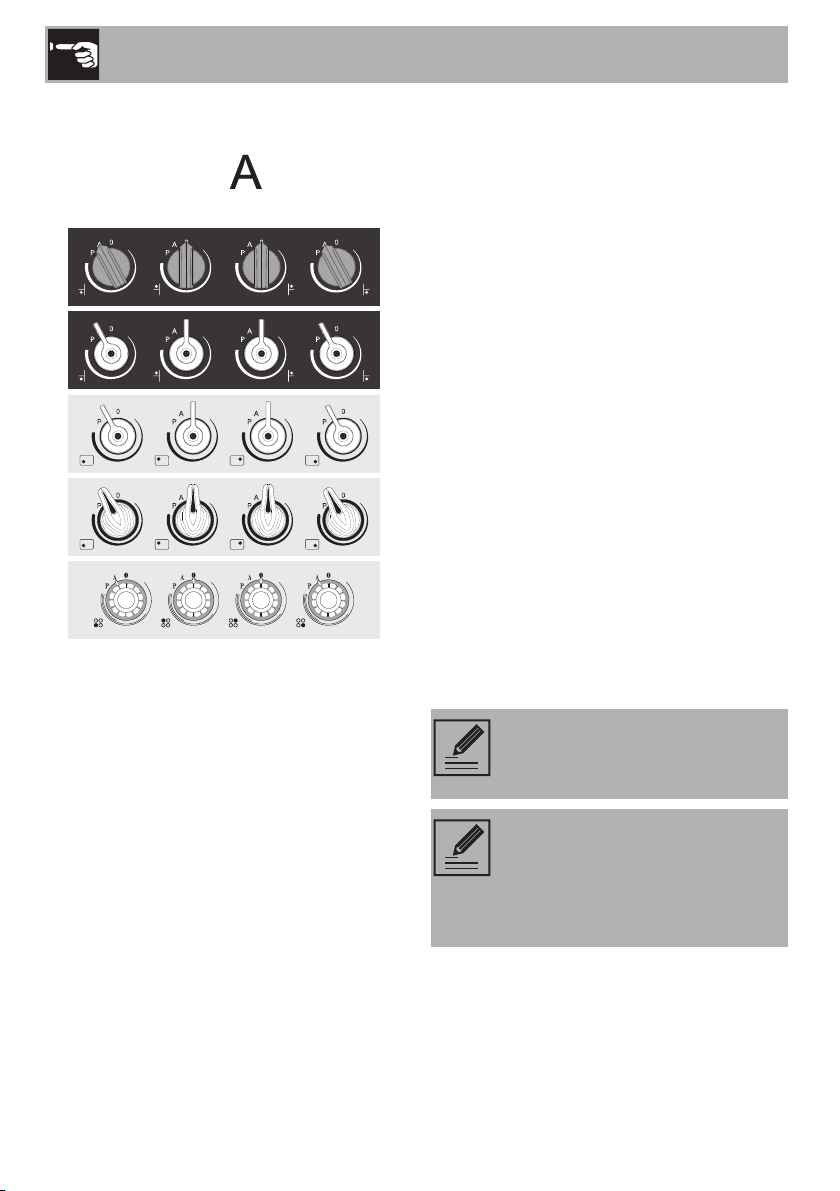
2. Turn and hold the front left and front right
cooking zone control knobs anti-
clockwise (position ) at the same
time.
The rear left and rear right cooking zone
displays will indicate “7.” and “4”.
3. Release the knobs.
4. Turn and hold both knobs anti-clockwise
again.
The rear left and rear right cooking zone
displays will indicate the power levels “4.”
and “5”.
5. Release the knobs.
6. Turn and hold both knobs anti-clockwise
again.
The rear left and rear right cooking zone
displays will indicate the power levels “3.”
and “8”.
7. Release the knobs.
8. Turn and hold both knobs anti-clockwise
again.
The rear left and rear right cooking zone
displays will indicate the power levels “3.”
and “0”.
9. Release the knobs.
10. Turn and hold both knobs anti-
clockwise again.
The rear left and rear right cooking zone
displays will indicate the power levels “2.”
and “6”.
11. Release the knobs.
12. Turn and hold both knobs anti-
clockwise again.
The rear left and rear right cooking zone
displays will indicate the power levels “1.”
and “9”.
13. Release the knobs.
After having released the knobs at
the required power level, wait until
the displays turn off.
The power level can be changed
again up to 4 minutes after the
displays have turned off (without
having to disconnect the appliance
from the power supply).
Loading ...
Loading ...
Loading ...