4
5
IMPORTANT
SAFEGUARDS
Read all instructions carefully before using the appliance.
Specically:
Danger!
Failure to observe the warning may result in life threatening
injury by electric shock.
- Do not operate any heater with a
damaged cord or plug or after the
heater malfunctions, has been dropped
or damaged in any manner. Return
heater to authorized service facility for
examination, electrical or mechanical
adjustment, or repair.
- This heater is not intended for use in bath-
rooms, laundry areas and similar indoor lo-
cations. Never locate heater where it may fall
into a bath tub or other water container.
- Do not use this heater in the immediate sur-
roundings of a bath, a shower or a swimming
pool.
- Do not insert or allow foreign objects to enter
any ventilation or exhaust opening as this
may cause an electric shock, re, or damage
the heater.
- CAUTION: to prevent electric shock
match wide blade of plug to wide slot,
then fully insert.
- CAUTION: In order to avoid a hazard due to
inadvertent resetting of thermal cutout, this
appliance must not be supplied through an
external switching device, such as a timer,
or connected to a circuit that is regulary
switched on and o by the utility.
- This heater may include an visual alarm to
warn that parts of the heater are getting
excessively hot.
If the alarm ashes, immediately turn the
heater o and inspect for any objects on or
adjacent to the heater that may cause high
temperatures. DO NOT OPERATE THE HEATER
WITH THE ALARM FLASHING.
Important!
Failure to observe the warning could result in injury or dam-
age to the appliance.
- The appliance is not intended for use by
persons (including children) with reduced
physical, sensory ormental capabilities, or
lack of experience and knowledge, unless
they have been given supervision or instruc-
tion concerning use of the appliance by a
person responsible for their safety. Children
should be supervised to ensure that they do
not play with the appliance.
- Extreme caution is necessary when any heat-
er is used by or near children and whenever
the heater is leftoperating and unattended.
- Always unplug heater when not in use.
- Use this heater only as described in this
manual. Any other use not recommended
by the manufacturer may cause re, electric
shock, or injury to persons.
- The heater must not be located immediately
below a socket-outlet.
- To prevent overload and blown fuses, be
sure that no other appliance is plugged into
the same outlet (receptacle) or into another
outlet (receptacle) wired into the same cir-
cuit.
- Be sure that the plug is fully inserted into an
appropriate outlet. Please remember that
outlets also deteriorate due to aging and
continuous use: check periodically if signs of
overheating or deformations are evi-denced
by the plug. Do not use the outlet and CALL
your electrician.
Danger of burns!!
Failure to observe the warning could result in burns or
scalds.
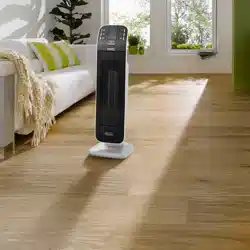
- This heater is hot when in use. To avoid
burns, do not let bare skin touch hot surfaces.
Use handle when moving this heater. Keep
combustible materials, such as furniture, pil-
lows, bedding, papers, clothes, and curtains
at least 3 feet (0,9 m) from the front and top
4
5
of the heater and keep them away from the
sides and rear.
- Do not run cord under carpeting. Do not
cover cord with throw rugs, runners, or the
like. Arrange cord away from trac area and
where it will not be tripped over.
- To prevent a possible re, do not block air
intakes or exhaust in any manner. Do not use
on soft surfaces,like a bed, where openings
may become blocked.
- A heater has hot or arcing or sparking parts
inside. Do not use it in areas where gaso-
line, paint, or ammable liquids are used or
stored.
- It is normal for the heater’s plug and cord
to feel warm to the touch. A plug or cord
which becomes hot tothe touch or becomes
distorted in shape may be a result of a worn
electrical outlet. Worn outlets or receptacles
should be replaced prior to further use of the
heater. Plugging heater into a worn outlet /
receptacle/ may result in overheating of the
power cord or re.
- If the supply cord is damage, it must be re-
placed by the manufacturer, its service agent
or similarly qualied person in order to avoid
a hazard.
- WARNING: Do not cover the appliance while
it is functioning in order to avoid overheating
which may cause risk of re.
Please note:
This symbol indicates recommendations and important in-
formation for the user.
- If your appliance is equipped with a poly-
thene tape used as carry handle, remove it
before connecting appliance to the outlet.
- Do not use outdoors.
- To disconnect heater, turn controls to o,
then remove plug from outlet.
- Connect to properly polarized outlets only.
- This heater is not intended for use with an
extension cord or outlet strip. Plug the cord
directly into an appropriate wall receptable.
- Check that neither the appliance nor the
power cable have been damaged in any way
during transportation.
- Do not use the appliance in rooms with a
oor area of less than 43 square feet (4mq).
- Make sure that no pieces of polystyrene or
other packaging material have been left on
the appliance. It may be necessary to pass
over the appliance with a vacuum cleaner.
- When switching on the appliance for the rst
time, allow it to run at full power for at least
two hours to get rid of the unpleasant smell.
Make sure that the room in which the appli-
ance is located is well ventilated during this
operation. It is normal for the appliance to
emit small cracking sounds when you turn it
on.
SAVE THESE
INSTRUCTIONS
For Household use only
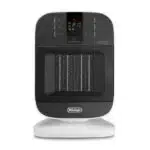
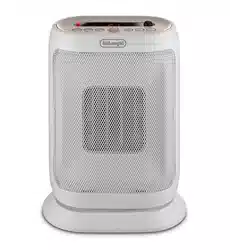
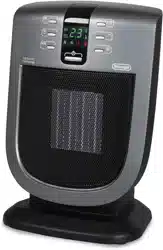
DESCRIPTION (page 3)
A ON/OFF button
B +/- Adjustment buttons
C Oscillation button
D “ECO” function button
E Timer button
F MODE button (for selecting the operating mode)
G Receiver for remote control
H Power indicator light
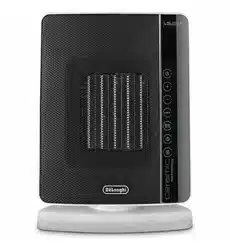
I Back cover
J Filter
Electrical connection
Before connecting the plug to the power outlet, make sure
that the voltage of your electrical system corresponds to the
voltage shown on the appliance rating label and the outlet
you are going to use is in good condition.
Installation
The appliance may be used on any rigid horizontal surface.
Do not overload the electrical circuit; avoid using the same
outlet for multiple appliances.
6
OPERATION AND USE
- Connect the appliance to the power outlet.
- The appliance emits a beep and the power indicator
light (H) comes on and remains on as long as the ap-
pliance is powered.
- The appliance goes into OFF. If the display show a
blinking dot, it means that the tip over switch has been
activated. See paragraph: “Additional safety features” .
- Press the ON/OFF button (A) to turn on the appliance. It
will begin to heat with the predened settings.
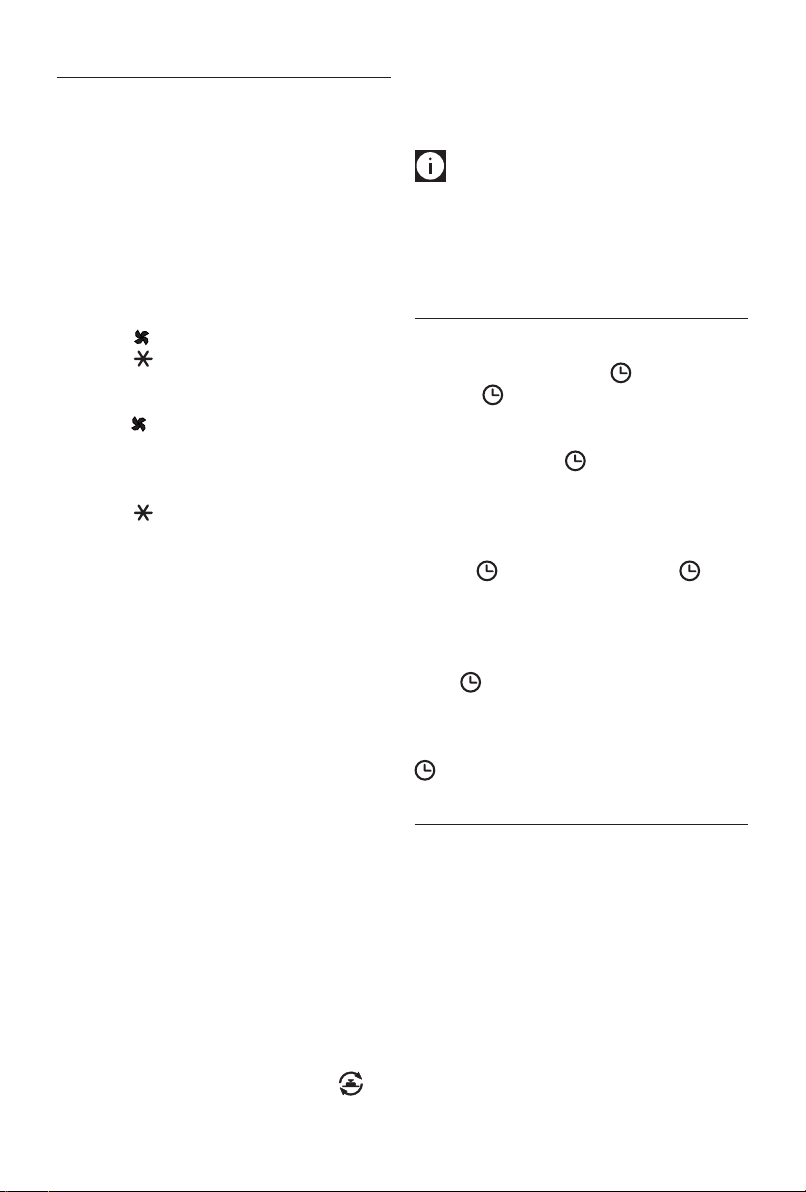
- Press the MODE button (F) to select one of the follow-
ing functions available:
Ventilation
Anti-freeze
Heating at minimum power (1)
Heating at maximum power/BOOST function (2)
Ventilation
In this operating mode only the fan operates, so the appli-
ance does not heat the room.
Anti-freeze
In this operating mode the appliance keeps the room at a
temperature of 45°F (7°C) to prevent freezing temperatures.
Heating 1 and Heating 2
In this operating mode you can set the desired temperature
by pressing the + and - adjustment buttons (B).
Heating 1 (minimum power level):
The appliance operates at the minimum power reducing
energy consumption to the minimum.
Heating 2/BOOST function (maximum power level):
The appliance operates at the maximum power for rapid
heating of the room.
Eco function
- In this operating mode the appliance will automati-
cally set the power level to guarantee the best comfort
reducing the energy consumption. In this operating
mode the unit may switch the heating power level
from maximum to minimum and viceversa, several
times in an hour. When using the ECO function, the
maximum temperature setting is 79°F (26°C). To acti-
vate this function, press the ECO button (D).
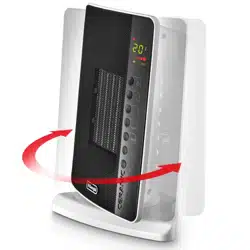
- If you want the appliance to distribute the airow over
a larger area, press the oscillation button (C) . The
appliance will then oscillate right and left. To stop the
oscillation in the desired position, just press oscillation
button (C) again.
- To turn o the appliance press button ON/OFF (A). The
display will show a count down for about 6 seconds.
Please note: The display can show the temperature
in both °F and °C. To change the temperature scale, press
and hold the + key for few seconds, then release. Please be
informed that as this is not a precision device, the showed
temperature not necessary corresponds to the real one.
24HOUR DIGITAL TIMER
This function can be activated from any operating mode.
Delayed switch-on: with the appliance in the OFF posi-
tion, press the timer button (E) . The display shows
the symbol and the time remaining before switch-on.
To set the timer, use the + and - adjustment buttons (B),
then wait a few seconds for the programming to be set. The
display shows the symbol to indicate you have set the
timer. When the programmed time has been reached, the
appliance turns on with the same settings it had during the
previous operation.
Delayed shut-o: With the appliance on, press the timer
button (E) . The display shows the symbol and the
time remaining before shut-o. To set the timer, use the +
and - adjustment buttons (B), then wait a few seconds for
the programming to be set.
The display returns to show the current settings and the
symbol to indicate you have set the timer. When the
programmed time as been reached the appliance shuts o
automatically. If you want to go back to operation without
the timer, press the timer button (F) twice. The timer symbol
disappears from the display.
USING THE REMOTE CONTROL
The remote control functions correspond to those on the
control panel. See the section “Operation and Use" on the
previous page for a description of the functions.
Inserting or replacing the batteries
- Remove the cover on the rear of the remote control;
- Insert two AAA (R03/1.5V) batteries (included but
packaged separately) making sure they are in the cor-
rect position (see the instructions inside the battery
compartment);
- Do not mix old and new batteries;
- Do not mix alkaline, standard (carbon-zinc), or re-
chargeable (ni-cad, ni-mh, etc) batteries;
7
- Replace the cover;
- Old batteries must be removed and disposed of in ac-
cordance with current legislation as they are harmful to
the environment.
MAINTENANCE
- Before carrying out any maintenance, always remove
the plug from the power outlet.
- During the season when the appliance is being used,
regularly clean the air intake and outlet grilles using a
vacuum cleaner.
- Never use abrasive powders or solvents to clean the ap-
pliance.
- Remove the back grille by pulling it outward.
- Remove the dust lter that lters impurities from the
air taken in from the room, blow it lightly, then reposi-
tion it in the appliance.
ADDITIONAL SAFETY FEATURES
- Overheating protection: a safety device switches
the heater o if it accidentally overheats (e.g.: air in-
take and outlet grilles obstructed, lter clogged). In
this case remove the plug from the power outlet and
leave it unplugged for a few minutes, eliminate the
cause of overheating, then plug the fan heater back
and turn it on again.
If the appliance doesn't work
please contact the De'Longhi Customer Service.
- Tip over safety switch: a safety tip-over switch turns
the heater o if it tips over or is positioned in an im-
proper way that could jeopardize safety.
The appliance emits a beep and the display will show
a blinking dot. After the appliance has been restored
in the vertical position it will take just few seconds to
start on again.
Please note: To avoid overheating the appliance, do
not cover it.
NOTE: This equipment has been tested and found to com-
ply with the limits for a Class B digital device, pursuant to
Part 15 of the FCC Rules. These limits are designed to pro-
vide reasonable protection against harmful interference in
a residential installation. This equipment generates, uses
and can radiate radio frequency energy and, if not installed
and used in accordance with the instructions, may cause
harmful interference to radio communications. However,
there is no guarantee that interference will not occur in a
particular installation. lf this equipment does cause harm-
ful interference to radio or television reception, which can
be determined by turning the equipment o and on, the
user is encouraged to try to correct the interference by one
or more of the following measures:
- Reorient or relocate the receiving antenna.
- Increase the separation between the equipment and
receiver.
- Connect the equipment into an outlet on a circuit dif-
ferent from that to which the receiver is connected.
- Consult the dealer or an experienced radio/TV techni-
cian for help.
Modications not approved by the party responsible for
compliance could void user’s authority to operate the
equipment.
CAN ICES-3 (B) / NMB-3 (B)
8
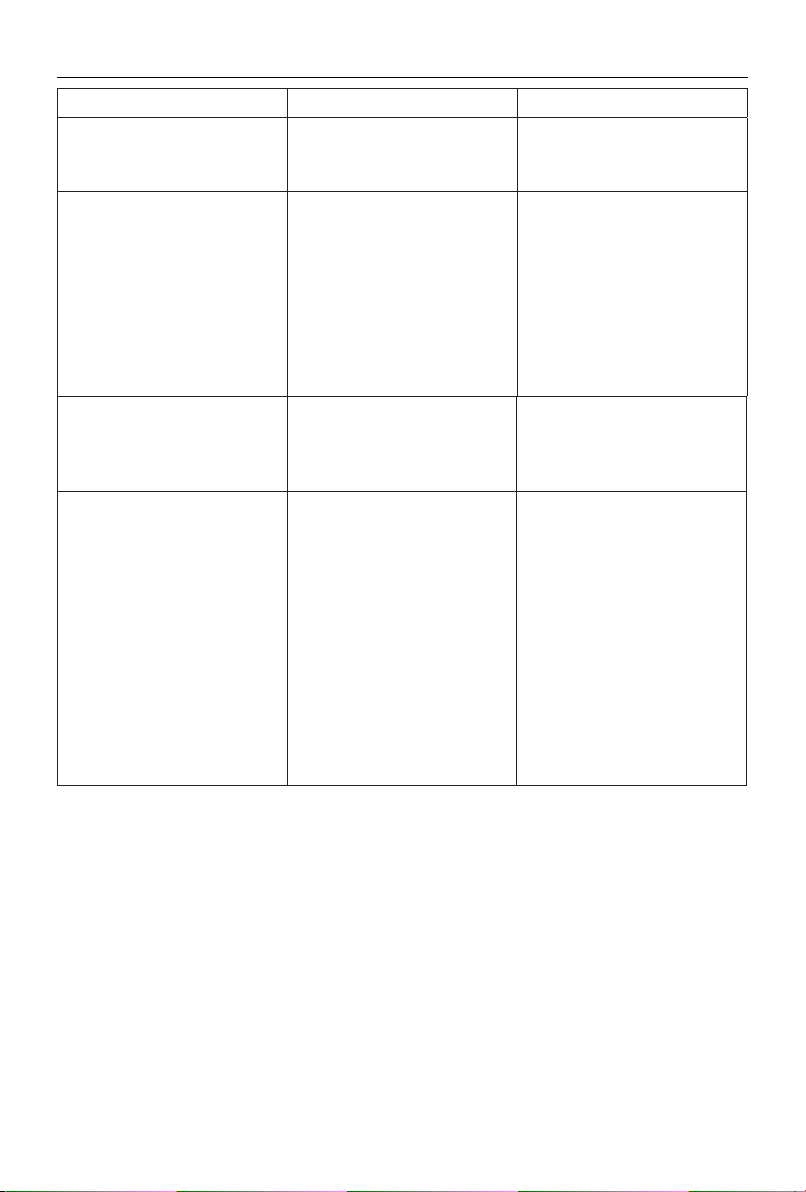
PROBLEM CAUSE SOLUTION
PF display
Temperature sensor is not working
properly
The product needs to be serviced,
contact our toll free number for
assistance
If the appliance shuts o unexpectedly Check that the appliance is receiving
power.
Delayed shut-o is activated
Room temperature reaches the set
temperature
Plug in
Wait till time elapsed or press the
button (E) twice to cancel the function
and push the button (A)
Use the “+” button to increase the set
temperature
A dot is ashing and unit is o The tip-over switch has been activated Make sure the appliance is standing
upright on a at surface, if the problem
persists contact our toll free number to
assist you
The display shows "Ht" blinking
The internal temperature is too high.
The air intake or outlet grille is
obstructed
Check the appliance is correctly
positioned respecting the minum
distances from the wall, or objects, as
indicated on the instruction manual,
if not, position the appliance correctly
Remove the obstruction
Disconnect the plug from the outlet
and let the appliance cool down. After
few minutes plug the appliance again.
If the appliance doesn't work please
contact the De longhi toll free number
TROUBLESHOOTING