
Instructions for use
HFXR40T20

2
HFXR40T20 Contents
DESCRIPTION ............................................................................................................3
APPLIANCE OPERATION AND USE ................................................................................ 4
Installation ............................................................................................................4
Electrical connection ..............................................................................................4
Use .........................................................................................................................4
Timer function ........................................................................................................5
Eco PLUS function ..................................................................................................5
Oscillation button ...................................................................................................5
Key lock ..................................................................................................................6
Turn the appliance o .............................................................................................6
USING THE REMOTE CONTROL .....................................................................................7
Installing or replacing the batteries ........................................................................ 7
ADDITIONAL SAFETY FEATURES - MAINTENANCE ..........................................................8
Additional safety features.......................................................................................8
Maintenance ..........................................................................................................8
Technical characteristics .........................................................................................8
TROUBLESHOOTING ................................................................................................... 9
3
HFXR40T20
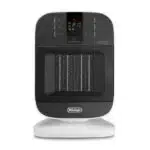
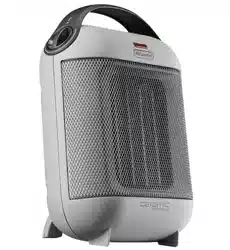
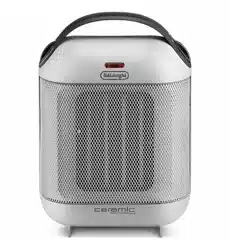
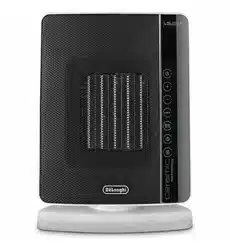
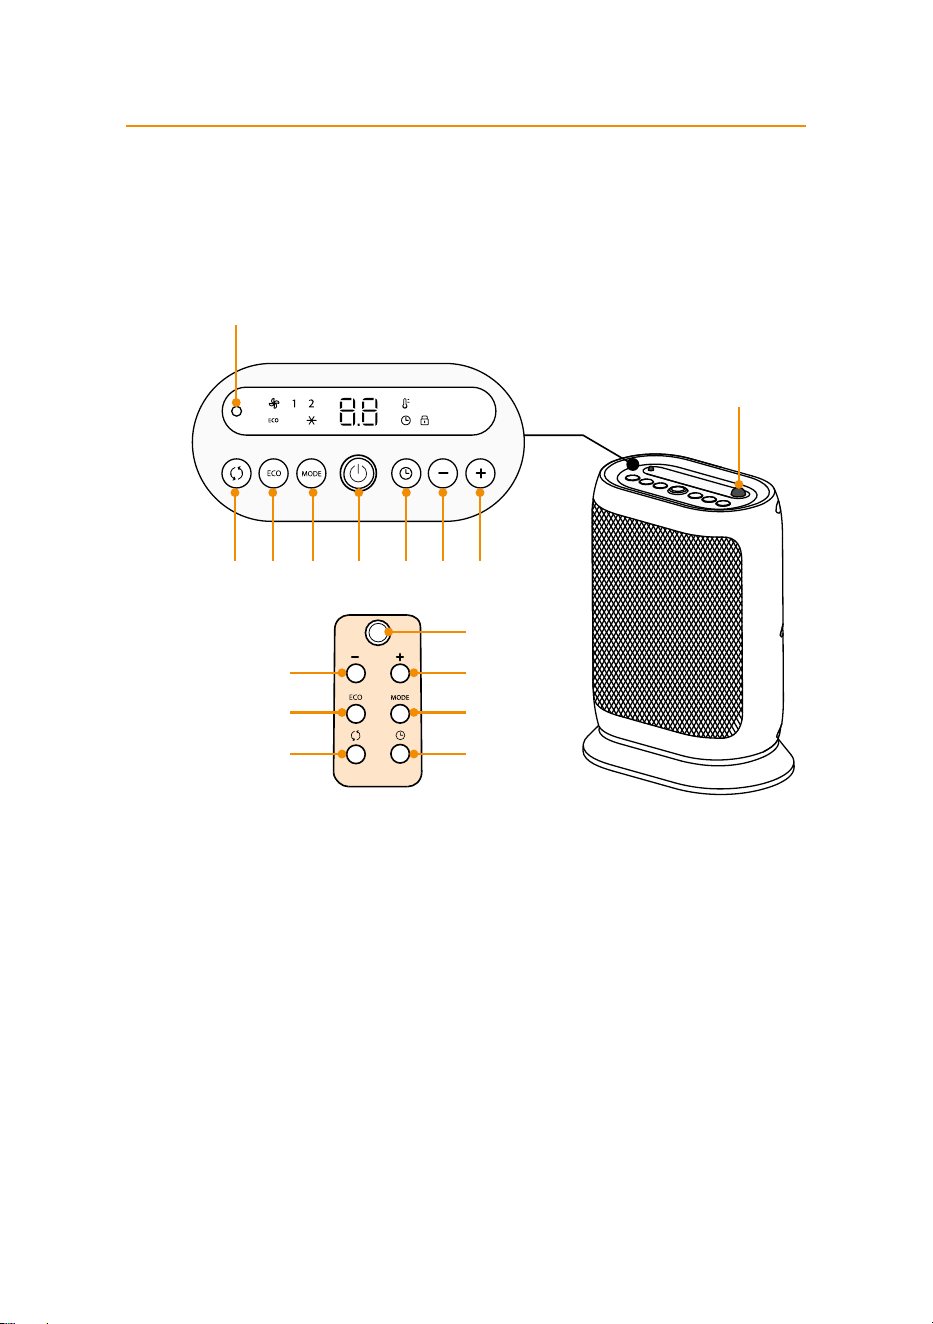
Description
G
H
A
BB
FD
EC
A. STAND-BY button
B. +/- Adjustment buttons
C. Oscillation button
D. “ECO PLUS” function button
E. Timer button
F. MODE button (for selecting the operating mode)
G.
Power indicator light
H. Remote control receiver
C D F A E B B
4
HFXR40T20
Appliance operation and use
Installation
The appliance can be used on any horizontal surface.
Do not overload the electrical circuit. Avoid using the same socket for
other appliances.
Electrical connection
Before plugging the appliance into the outlet, check that the power
supply corresponds to the value indicated on the rating plate and that the
power supply is adequate for the load.
Use
- Connect the appliance to the power outlet.
- The appliance emits a beep and after the intitial display self check,
the appliance goes into STAND-BY and the power indicator light (G)
turns ON and remains lit while the appliance is plugged to AC mains.
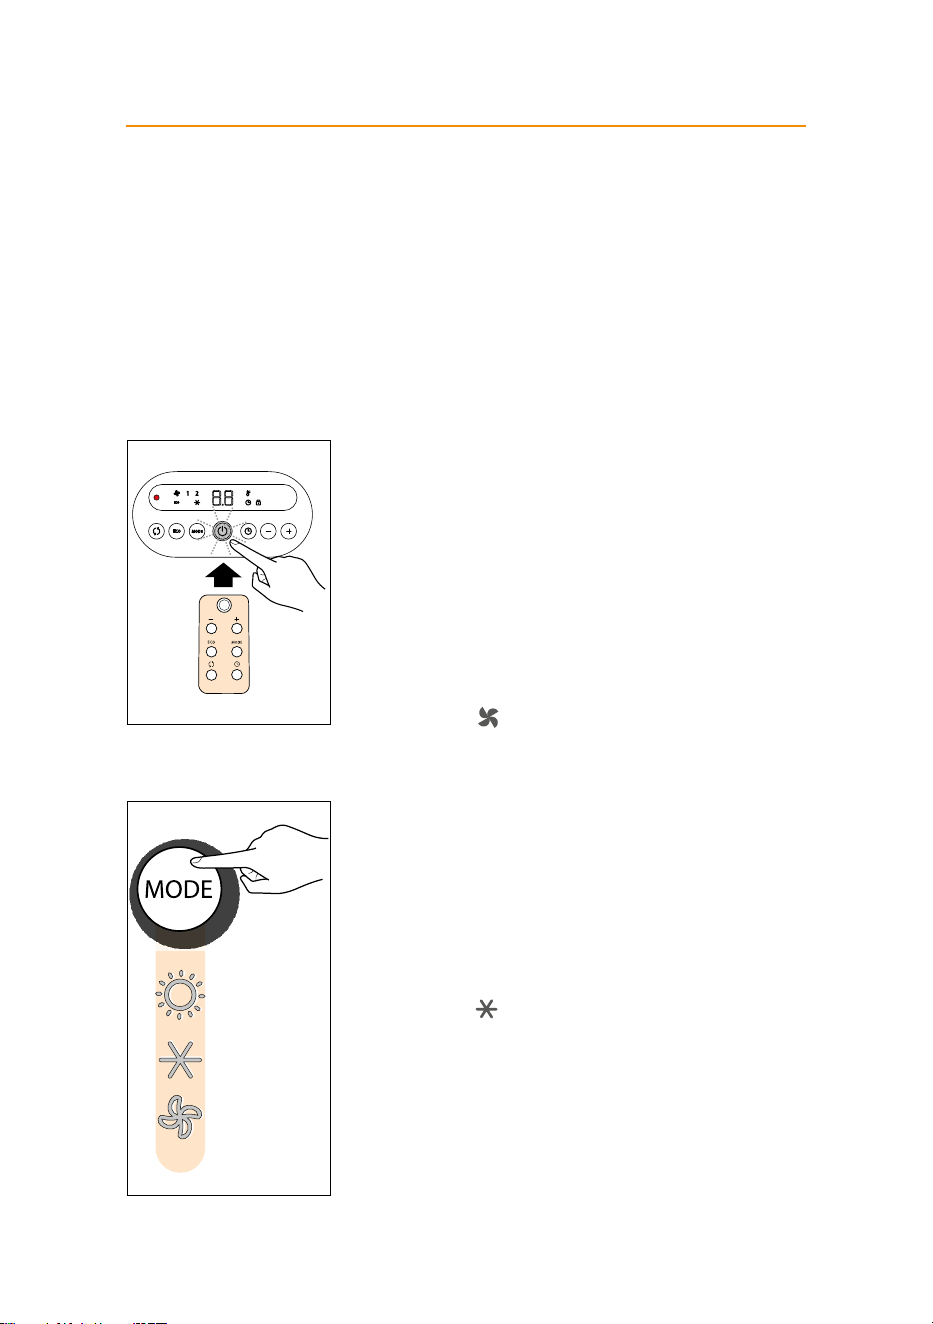
- Press the ON/STAND-BY button (A) to turn on the appliance. The
appliance will begin to heat with the predened settings.
- Press the MODE button (F) to select one of the following functions
available:
l
Ventilation
In this operating mode only the fan operates, so the appliance does
not heat the room.
l
Heating 1 and Heating 2
In this operating mode you can set the desired temperature by
pressing the + and - adjustment buttons (B).
- Heating 1 (minimum power level):
The appliance operates at the minimum power, reducing noise
and energy consumption to the minimum.
- Heating 2 (maximum power level):
The appliance operates at the maximum power for rapid
heating of the room.
l
Anti-freeze
In this operating mode the appliance keeps the room at a
temperature of 7°C to prevent freezing temperatures. The display
shows "AF" symbol.
5
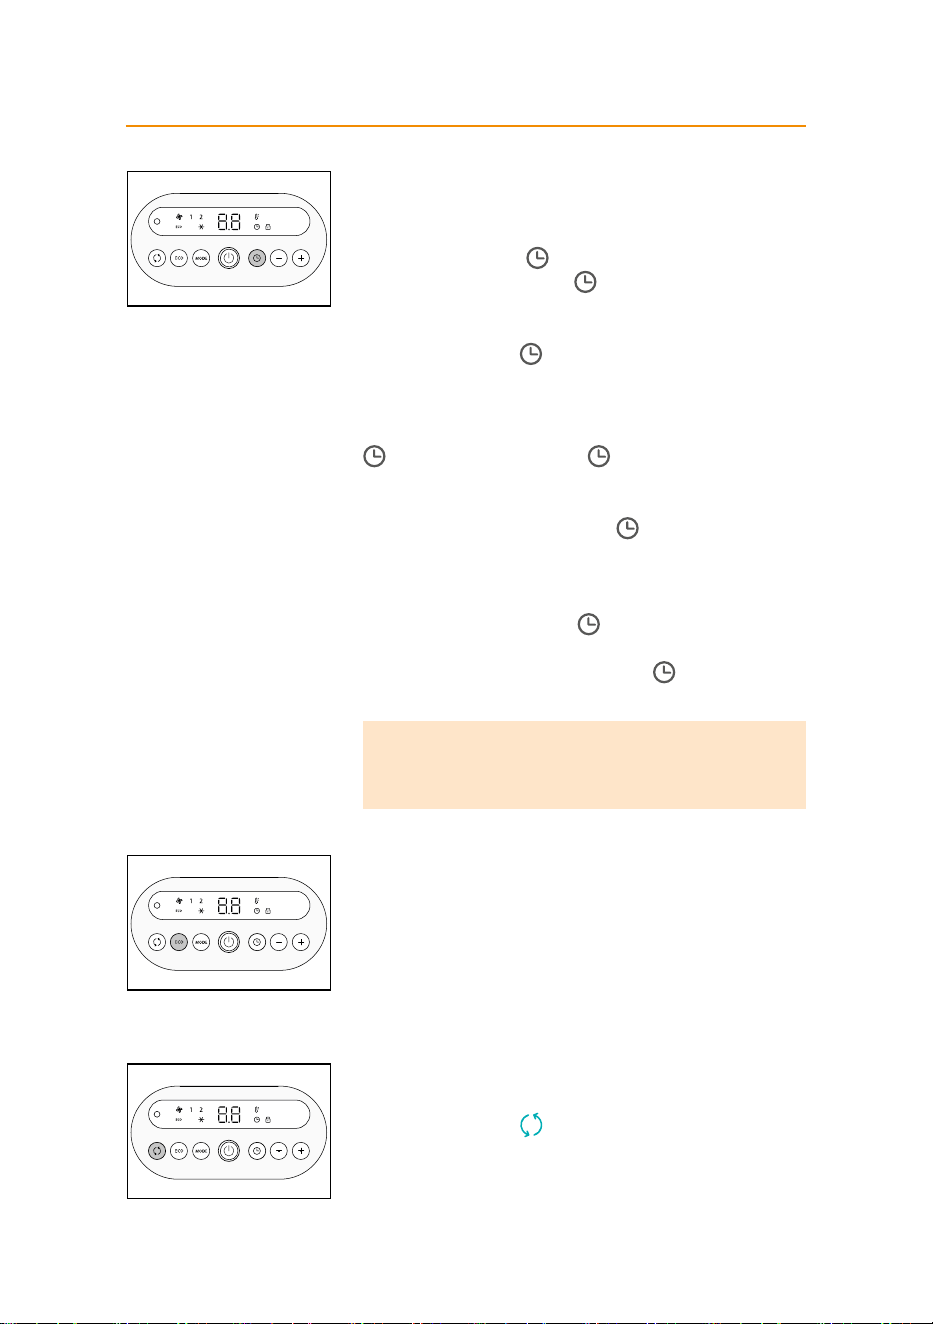
Timer function
This function can be activated from any operating mode.
Delayed switch-on: with the appliance in the STAND-BY position,
press the timer button (E) .
The display shows the symbol and the time remaining before
switch-on. To set the timer, use the + and - adjustment buttons (B), then
wait ve seconds for the programming to be set. The display returns to
stand-by and the symbol indicates you have set the timer. When the
programmed time has been reached, the appliance turns on with the
same settings it had during the previous operation.
Delayed shut-o: With the appliance on, press the timer button (E)
. The display shows the symbol and the time remaining before
shut-o. To set the timer, use the + and – adjustment buttons (B), then
wait ve seconds for the programming to be set. The display returns to
show the current settings and the symbol to indicate you have set the
timer. When the programmed time as been reached the appliance shuts
o automatically.
If you want to go back to operation without the timer, press the timer
button (E) twice. The timer symbol disappears from the display.
If you want to query the remaining time, press the timer button once (E)
during an ongoing program. The timer symbol blinks on the display
for 5 seconds showing the remaining time.
Note:
-
Timer can be set in 30 minutes intervals from 30 minutes to 10
hours, and in one hour increments thereafter.
Eco PLUS function
In this operating mode the appliance will automatically set the
power level to guarantee the best comfort and reducing the energy
consumption. In this operating mode the unit may switch the heating
power level from maximum to minimum and vice versa, several times in
an hour. When using the ECO PLUS function, the maximum temperature
setting is 26°C. To activate this function, press the ECO PLUS button (D).
The ECO light will turn on on the display.
Oscillation button
If you want the appliance to distribute the airow over a larger area, press
the oscillation button (C) . The appliance will then oscillate right and
left. To stop the oscillation in the desired position, just press oscillation
button (C) again.

6
Note:
-
The display can show the temperature in both °C and °F. To change
the temperature scale, press and hold the + key for 10 seconds,
then release. Please be aware that the shown temperature may not
correspond exactly to the actual temperature.
Key lock
In order to avoid accidental operation, you can lock the keyboard using
the keylock function.
To activate this function, press buttons + and - together for at least 3
seconds. The display shows the symbol and an acoustic signal will be
emitted.
To deactivate the function proceed in the same way. With this function
active during stand-by, all the buttons will be locked and it is required to
be disabled in order to turn the appliance ON. Otherwise, if the appliance
is ON with the Key-Lock function active, only the ON-Stand-by button will
remain active to allow to switch OFF the appliance at any time.
Turn the appliance o
To turn o the appliance press button ON/STAND-BY (A). The display
could show the count down between 6 and 30 seconds. To completely
turn o the appliance, remove the plug from the socket.
7
HFXR40T20
Using the remote control
The functions on the remote control are the same as those
on the appliance control panel.
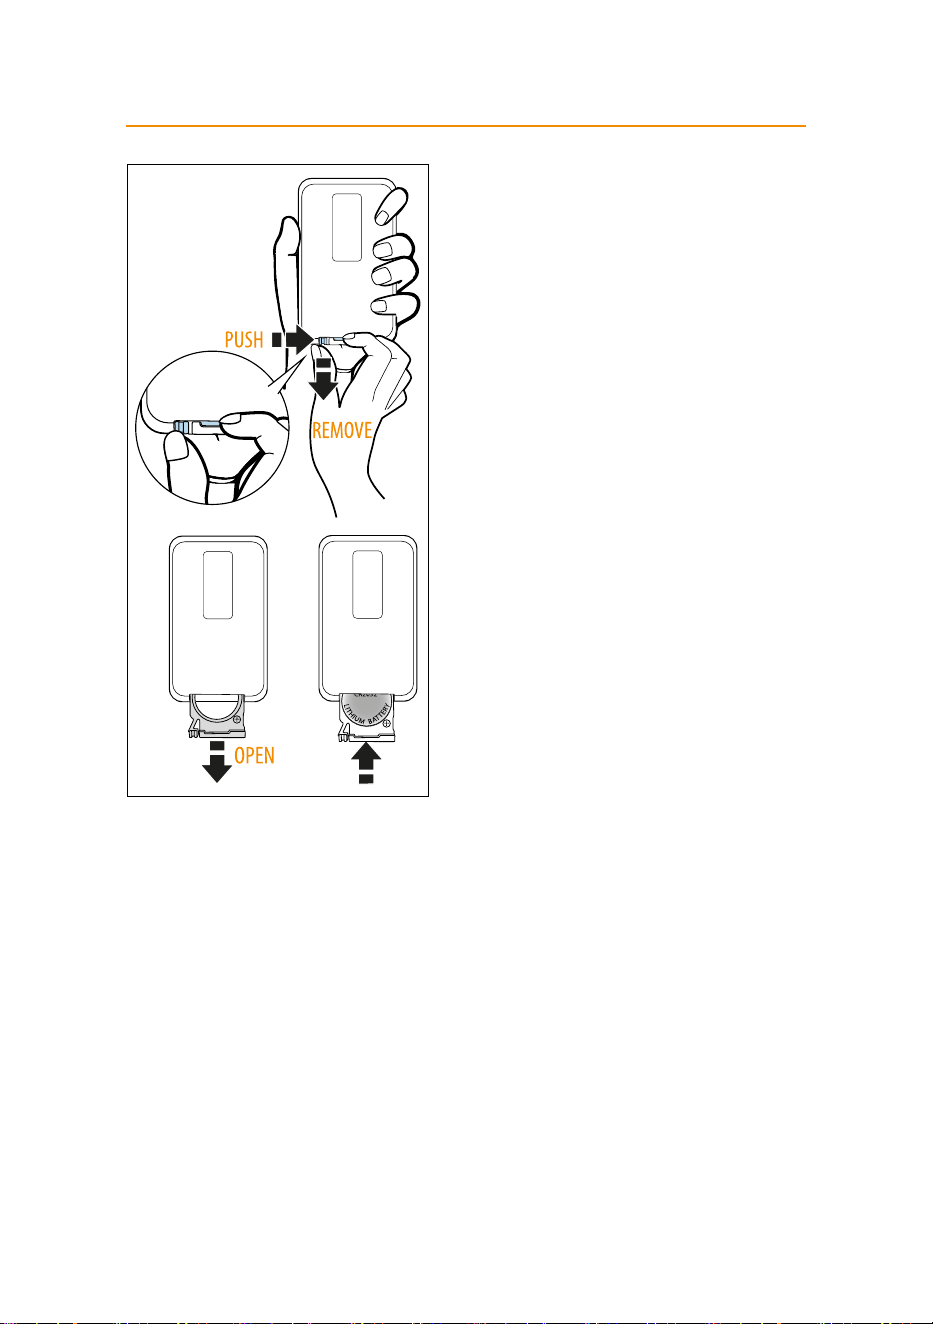
Inserting or replacing the batteries
The remote control is powered by one CR2032 3V lithium
battery (included in the packaging).
To insert or replace the
batteries, remove the battery cover by sliding it as shown
in the gure.
Insert or replace the battery paying attention to respect
the right polarity
, then replace the cover. Old batteries are
harmful to the environment and must be removed and
disposed of in compliance with current legislation. Non-
rechargeable batteries are not to be recharged.
WARNING: DO NOT DISPOSE OF BATTERIES IN FIRE.
BATTERIES MAY EXPLODE OR LEAK.

8
HFXR40T20
Additional safety features - Maintenance
Additional safety features
- Overheating protection: safety device switches the heater o if
it accidentally overheats (e.g.: air intake and outlet grilles obstruct-
ed). In this case remove the plug from the power outlet and leave it
unplugged for a few minutes, eliminate the cause of overheating,
then plug the fan heater back and turn it on again. If the appliance
doesn’t work please contact De’Longhi Customer Service.
- Tip over safety switch: Tip over safety switch: a safety tip-over
switch turns the heater o if it tips over or is positioned in an im-
proper way that could jeopardize safety.
After the appliance has been restored in the vertical position, it will
automatically go into STAND-BY mode.
Note:
-
To avoid overheating the appliance, do not cover it.
Maintenance
-
Before carrying out any maintenance, always unplug from the
outlet.
- During the season when the appliance is in use, clean the air intake
and outlet grilles regularly using a vacuum cleaner.
- Never use abrasive powders or solvents to clean the appliance.
Technical characteristics
Supply voltage See rating plate
Absorbed power “

9
HFXR40T20
Troubleshooting
PROBLEM CAUSE SOLUTION
PF display
Temperature sensor is not working
properly
The product needs to be serviced,
contact our toll free number for
assistance
If the appliance shuts o
unexpectedly
Check that the appliance is recei-
ving power.
Delayed shut-o is activated
Room temperature reaches the set
temperature
Plug in
Wait till time elapsed or press
the button (E) twice to cancel the
function and push the button (A)
Use the “+” button to increase the
set temperature
A dot is ashing and unit is o The tip-over switch has been
activated
Make sure the appliance is stan-
ding upright on a at surface, if
the problem persists contact our
toll free number to assist you
The display shows
Ht blinking
The internal temperature is too
high.
The air intake or outlet grille is
obstructed
Check the appliance is correctly
positioned respecting the
minimum distances from the
wall, or objects, as indicated on
the instruction manual, if not,
position the appliance correctly
Remove the obstruction
Disconnect the plug from the
outlet and let the appliance cool
down. After few minutes plug the
appliance again. If the appliance
doesn't work please contact the
De longhi toll free number

5711470231_01_0524