Loading ...
Loading ...
Loading ...
7
PREINSTALLATION REQUIREMENTS
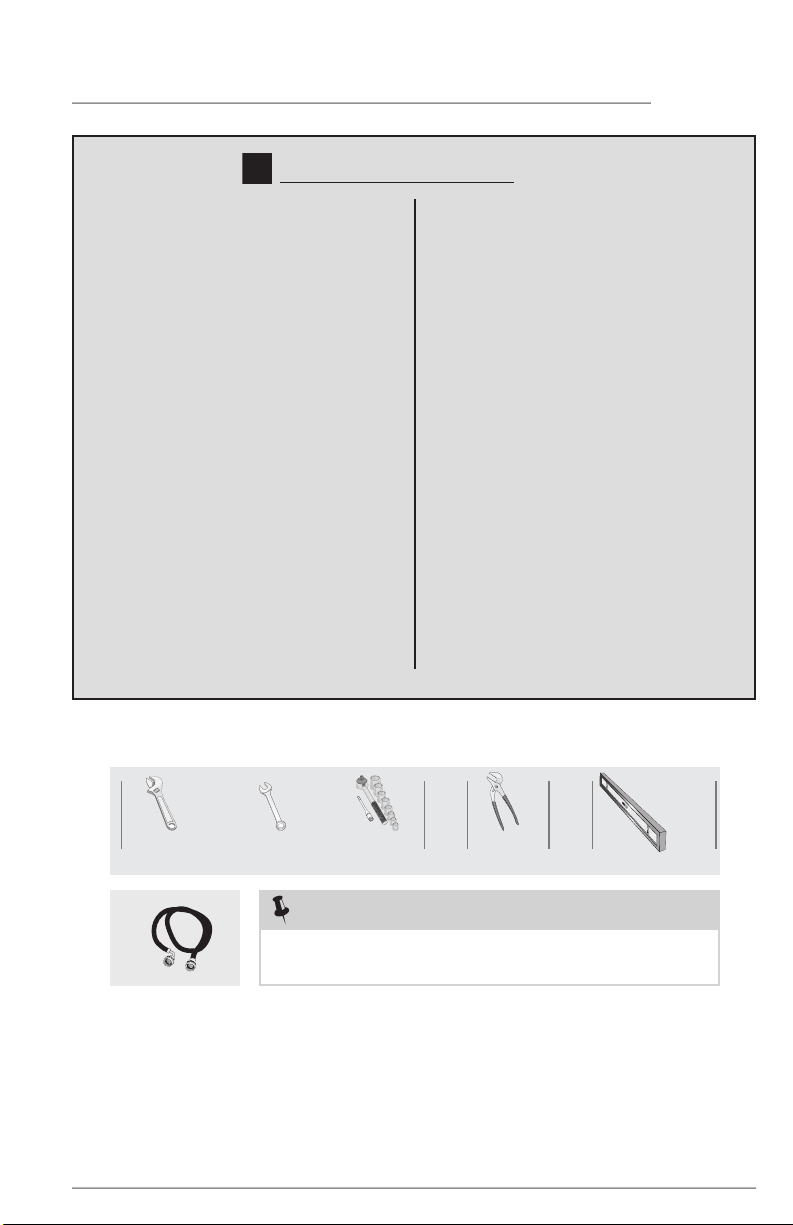
Tools and materials needed for installation:
Adjustable
pliers
Adjustable
wrench
OR OR AND AND
Carpenter’s level
Ratchet and
socket set
3/8" or
10 mm
box wrench
Shipping Hardware
Foam shipping support (under wash
tub) removed and stored
Shipping bolts and spacers removed
from rear of appliance and stored
Hole plugs (shipped in manual bag)
installed in holes in backsheet
Leveling
Washer is level, side-to-side and front-
to-back
Cabinet is sitting solid on all corners
Water Supply
Use only new hoses and verify rubber
sealing washers are installed
HOT supply is connected to HOT inlet
and COLD supply is connected to
COLD inlet
HOT and COLD water supply
turned on
No leaks present at water supply
connections or appliance inlet
connections - recheck in 24 hours
Drain
Stand pipe or wall drain height
minimum 24”
Verify anti-siphon disc is attached
toward end of drain hose
Drain hose secured in place with
cable tie (shipped in drum)
Door Reversal
Follow detailed instructions in
this manual
Test hinge and latch for function
Electrical Power
House power turned on
Washer plugged in
Final Checks
Installation instructions and Use
& Care Manual read thoroughly
Door locks and water enters drum
when cycle starts
Registration card sent in
Inlet Hose (x2)
Electrical system requirements
CIRCUIT - Individual, properly polarized
and grounded 15 amp. branch circuit
fused with 15 amp. time delay fuse or
circuit breaker.
POWER SUPPLY - 2 wire, with ground, 120
volt single phase, 60 Hz, Alternating
Current.
OUTLET RECEPTACLE - Properly grounded
3-prong receptacle to be located so
the power supply cord is accessible
when the washer is in an installed
position.
Installation Checklist
NOTE
Hoses are not included with washer purchase.
Loading ...
Loading ...
Loading ...