Loading ...
Loading ...
Loading ...
Home Menu
7
7
54
4
58
9
6
When you’re finished, press
RETURN
.
You return to the Manual SP Setup menu.
Tip
•
You can change the channel levels at any time by press
CH
SEL
and
CH LEVEL +/–
on the remote control. You can also
press
RECEIVER
, then press
CH SEL
and use
/
to select
the channel, and then use
/
to adjust the channel
levels.
Speaker Distance
For good sound depth and separation from your system, you
need to specify the distance of your speakers from the
listening position. The receiver can then add the proper delay
needed for effective surround sound.
1
Select ‘Manual SP Setup’ from the Home Menu.
2
Select ‘Speaker Distance’ from the Manual SP Setup
menu.
3
Adjust the distance of each speaker using
/
.
You can adjust the distance of each speaker in 0.03 m
increments.
4
When you’re finished, press
RETURN
.
You return to the Manual SP Setup menu.
The Input Assign menu
Assigns input function for analog audio input terminal.
•
For the assignment of the digital signal inputs, see
Selecting the audio input signal
on page 26.
Analog Input
ANALOG IN1 audio input terminal is assigned to CD under
factory settings, but this can be changed to TV input.
1
Select ‘Input Assign’ from the Home Menu.
2
Select ‘Analog Input’ from the Input Assign menu.
3
Select the desired input option for the ANALOG IN1
audio input terminal.
4
When you’re finished, press
RETURN
.
You return to the Input Assign menu.
Note
•
When playing analog input audio, switch to the CD or TV
input menu, press
RECEIVER
and press
SIGNAL SEL
several times to choose A (Analog). (see
Selecting the audio
input signal on page 26)
The Auto Power Down menu
Set to automatically turn off the receiver after a specified time
has passed (when the power has been on with no operation
and no audio signal).
•
Default setting: 15M
1
Select ‘Auto Power Down’ from the Home Menu.
2
Specify the amount of time to allow before the power
is turned off (when there has been no operation).
•
Select 15 minutes (default setting) or 30 minutes, 60
minutes or OFF.
Important
•
Auto power down will occur if the HDMI AUDIO
PARAMETER is set to THRU and there is no operation.
•
Even if images are being output, if the input volume level is
exceptionally low, it will automatically turn OFF.
•
Depending on the connected device, the static caused by
the device may prevent the auto power down function from
activating.
•
If the input volume level is exceptionally low, in some cases
the auto power down function may be activated.
•
During photo viewer playback, continuing playback without
performing any control operations will activate auto power
down.
3
When you’re finished, press
RETURN
.
You return to the Home Menu.
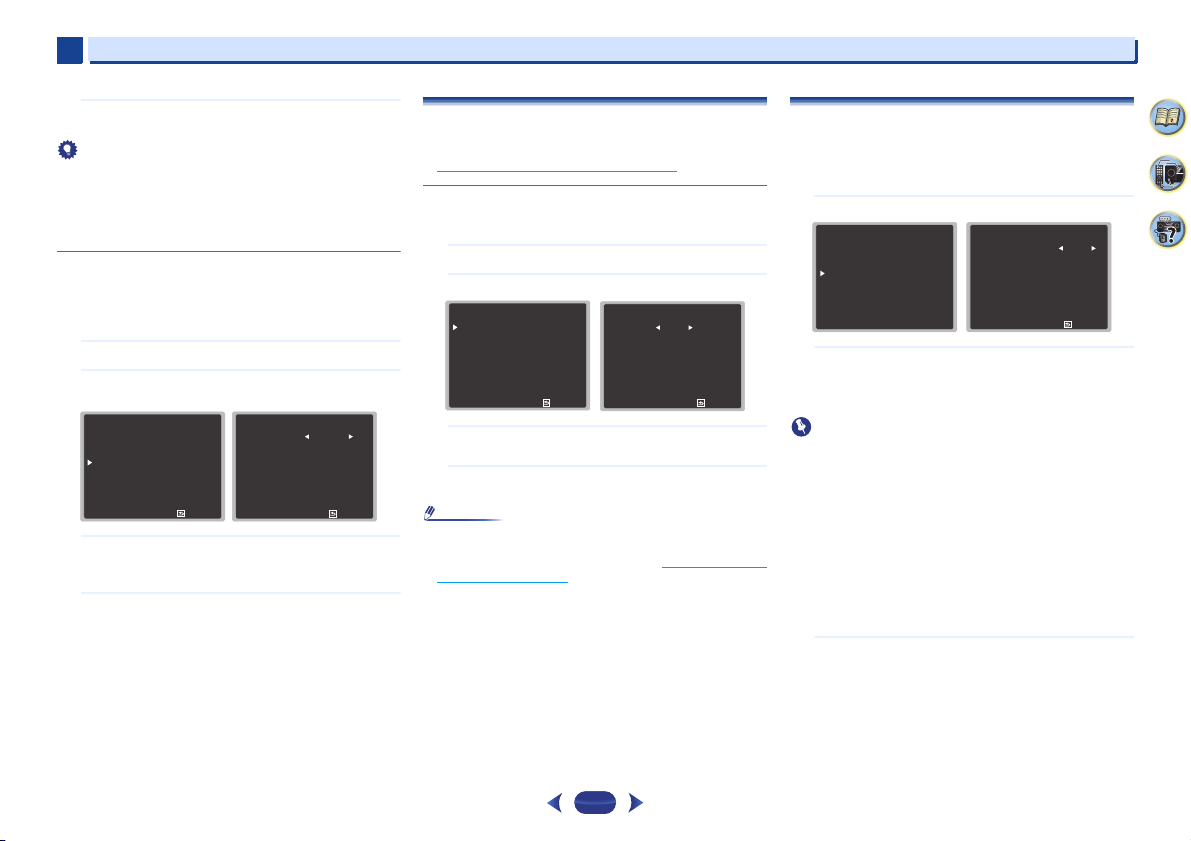
2
. Manual SP Setup
Return
a
. Speaker Setting
b
. X.Over
c
. Channel Level
d
. Speaker Distance
2d
. Speaker Distance
Front L
Center
Front R
Surround R
Surround L
Subwoofer
Return
[ 3 m ]
[ 3 m ]
[ 3 m ]
[ 3 m ]
[ 3 m ]
3 m
3
. Input Assign
Return
a
. Analog Input
3a
. Analog Input
Return
Analog CD
Home Menu
1
. Auto MCACC
2
. Manual SP Setup
3
. Input Assign
4. Auto Power Down
5. HDMI Setup
6. Network Standby
7. MHL Setup
8. OSD Setup
4
. Auto Power Down
Return
Auto Power Down
15M
Loading ...
Loading ...
Loading ...