Loading ...
Loading ...
Loading ...
12
Installation
Professional Vent Hoods
5
Step
Connect
Electrical
Verify that power is turned off at the source.
CAUTION
If house wiring is not 2-wire with a
ground wire, a ground must be
provided by the installer.
When house wiring is aluminum,
be sure to use U.L. approved anti-
oxidant compound and alumi-
num-to-copper connectors.
WARNING
•Connect white lead to branch circuit white
lead.
•Connect black lead to branch circuit black
lead.
•Connect green lead to branch circuit green
or bare ground lead.
•Secure all connections with wire nuts on
each electrical connector.
Duct Tape
Over Seam and Screw
Screw
Air
Flow
Cut a length of duct to connect hood flange to
the ductwork.
•Install ductwork, making connections in
direction of airflow as illustrated.
•Secure joints in ductwork with sheetmetal
screws.
•Wrap joints with duct tape for airtight seal.
Transition duct pieces are available for 48"
wide models.
ZX48AY, 4-1/2" x 18-1/2" transition to 10"
round straight up exhaust.
ZX48BY, 4-1/2" x 18-1/2" transition to 10"
round direct to rear exhaust.
Call your GE Dealer to order.
Connect
Ductwork
Step
6
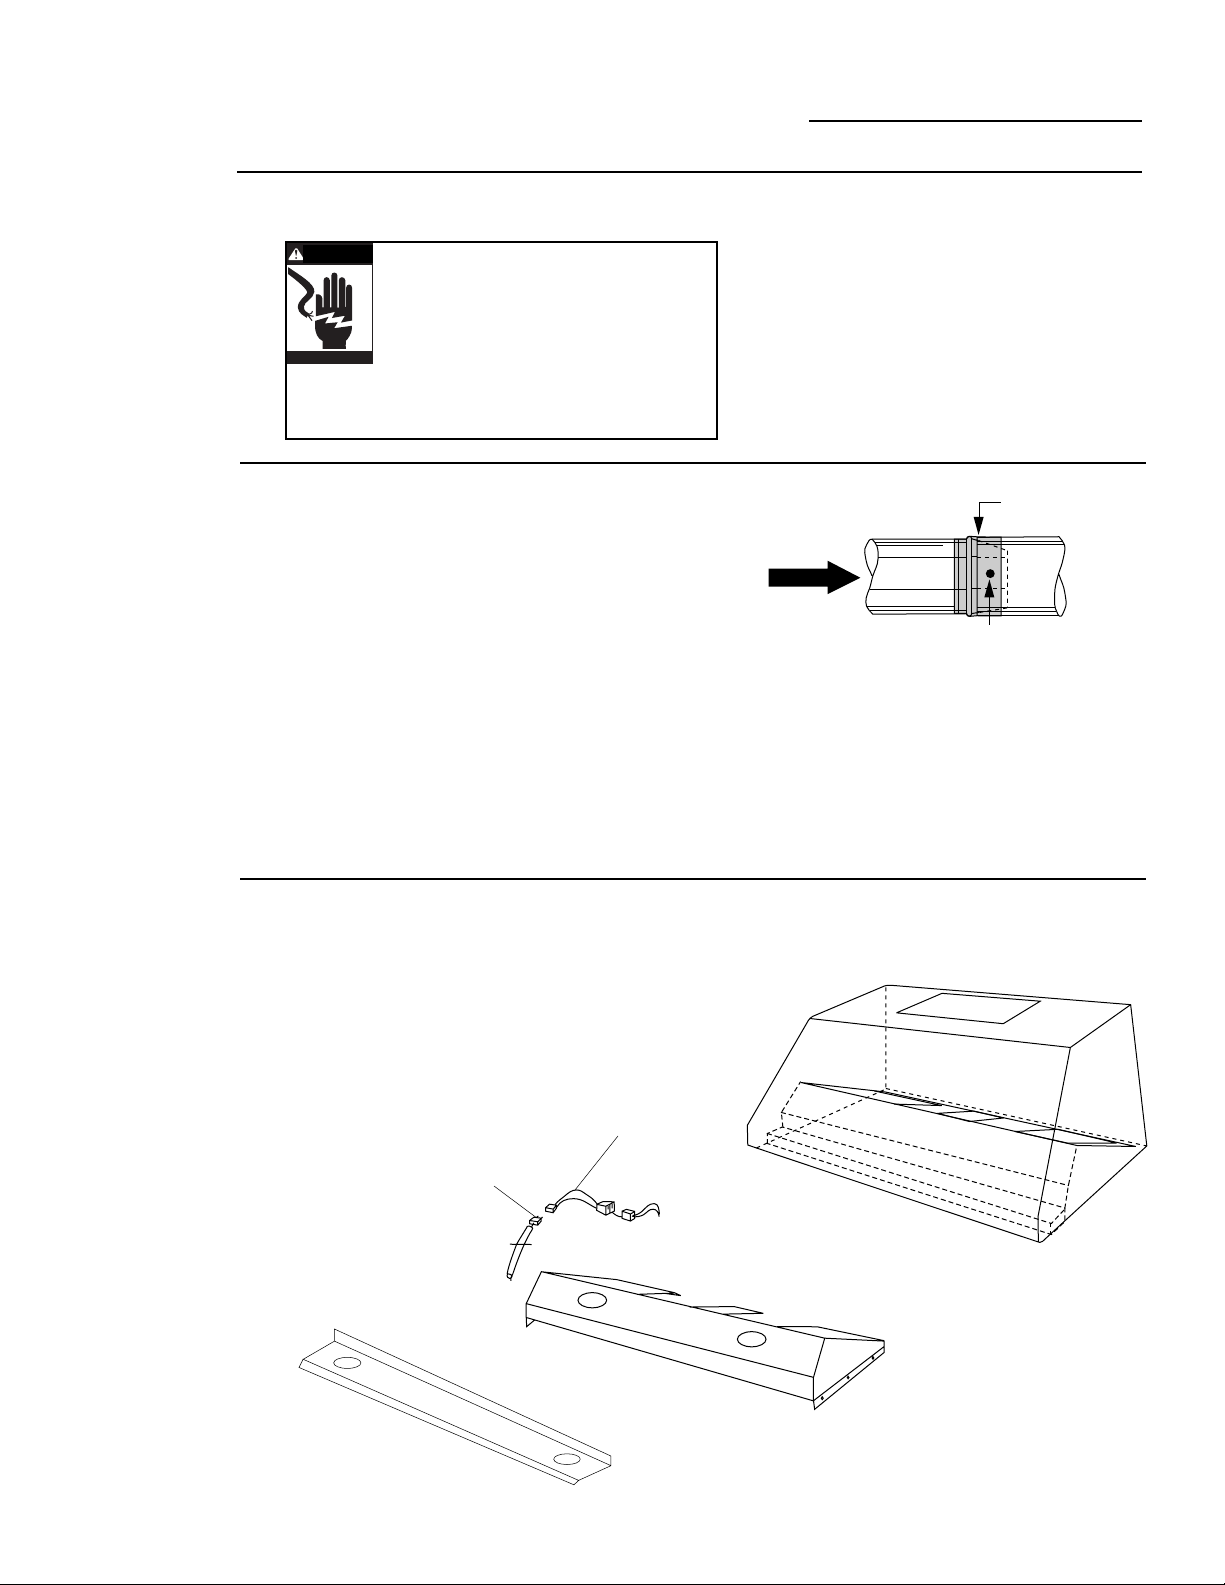
Hold the liner below the installed hood.
•Reconnect the male/female connector plug
to heat lamp and one to blower.
•Carefully, slide liner into installed hood.
•While holding in place, re-install the original
screws. Make sure that all screws have been
re-installed.
•Re-install light assembly with original screws.
7
Step
Reassemble
Hood
Reconnect Male/Female
Connector Plug
Connect to
Junction Box
Replace Screws That
Hold Inner Liner in Place.
To Blower Motor
Hood Inner Liner
Loading ...
Loading ...
Loading ...