Indoor 7-Day Digital Timer 2-C
368-1723
125V ac / 60Hz
15A / 1875W resistive
10A / 1250W tungsten
8A ballast
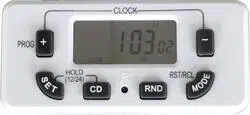
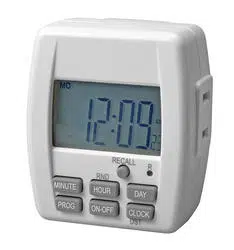
Day display
Random mode display
Timer mode display
RST-RCL button
Hour set button
Minute set button
Program button
Timer mode button
Clock set button
Clock display
AM/PM display
Memory erase (R) button
Day set button
1.
2.
3.
4.
5.
6.
7.
8.
9.
10.
11.
12.
13.
MO TU WE TH FR SA SU
AM
PM
48
MINUTE
PROG
HOUR
ON-OFF
DAY
CLOCK
RST-RCL R
RND
DST
AUTO
ON
OFF
RND
8 9
10
11
12
13
1
2
3
4
5
6
7
MO TU WE TH FR SA SU
PROG
ON
MO TU WE TH FR SA SU
PROG
ON
OFF
AM
48
MO TU WE TH FR SA SU
PROG
OFF
MO
PM
48
AUTO
RND
MO
PROG
ON
OFF
AM
48
WARNING: TIMER IS INTENDED FOR INDOOR USE ONLY!
!
BEFORE YOU BEGIN PROGRAMMING THE TIMER:
This timer has an internal battery backup to save all
programming.
1. Plug timer into a wall outlet for 10 minutes to charge
the internal battery.
2. After 10 minutes, unplug timer and press R button with
the tip of a toothpick or similar object to clear the memory.
!
Note: The timer allows a maximum of 20 programmable ON/OFF cycles.
PROGRAMMING THE TIMER
Set time/day: Press and hold CLOCK while you press HOUR and MINUTE
to advance the display to the correct time. To change from AM to PM,
press and hold CLOCK while you press HOUR 12 times. Press and hold
CLOCK while you press DAY until correct day is displayed.
2. Press HOUR and MINUTE to set ON time. To
change from AM to PM, press HOUR 12 times.
3. Press DAY to select the desired day (or days)
for the first ON time.
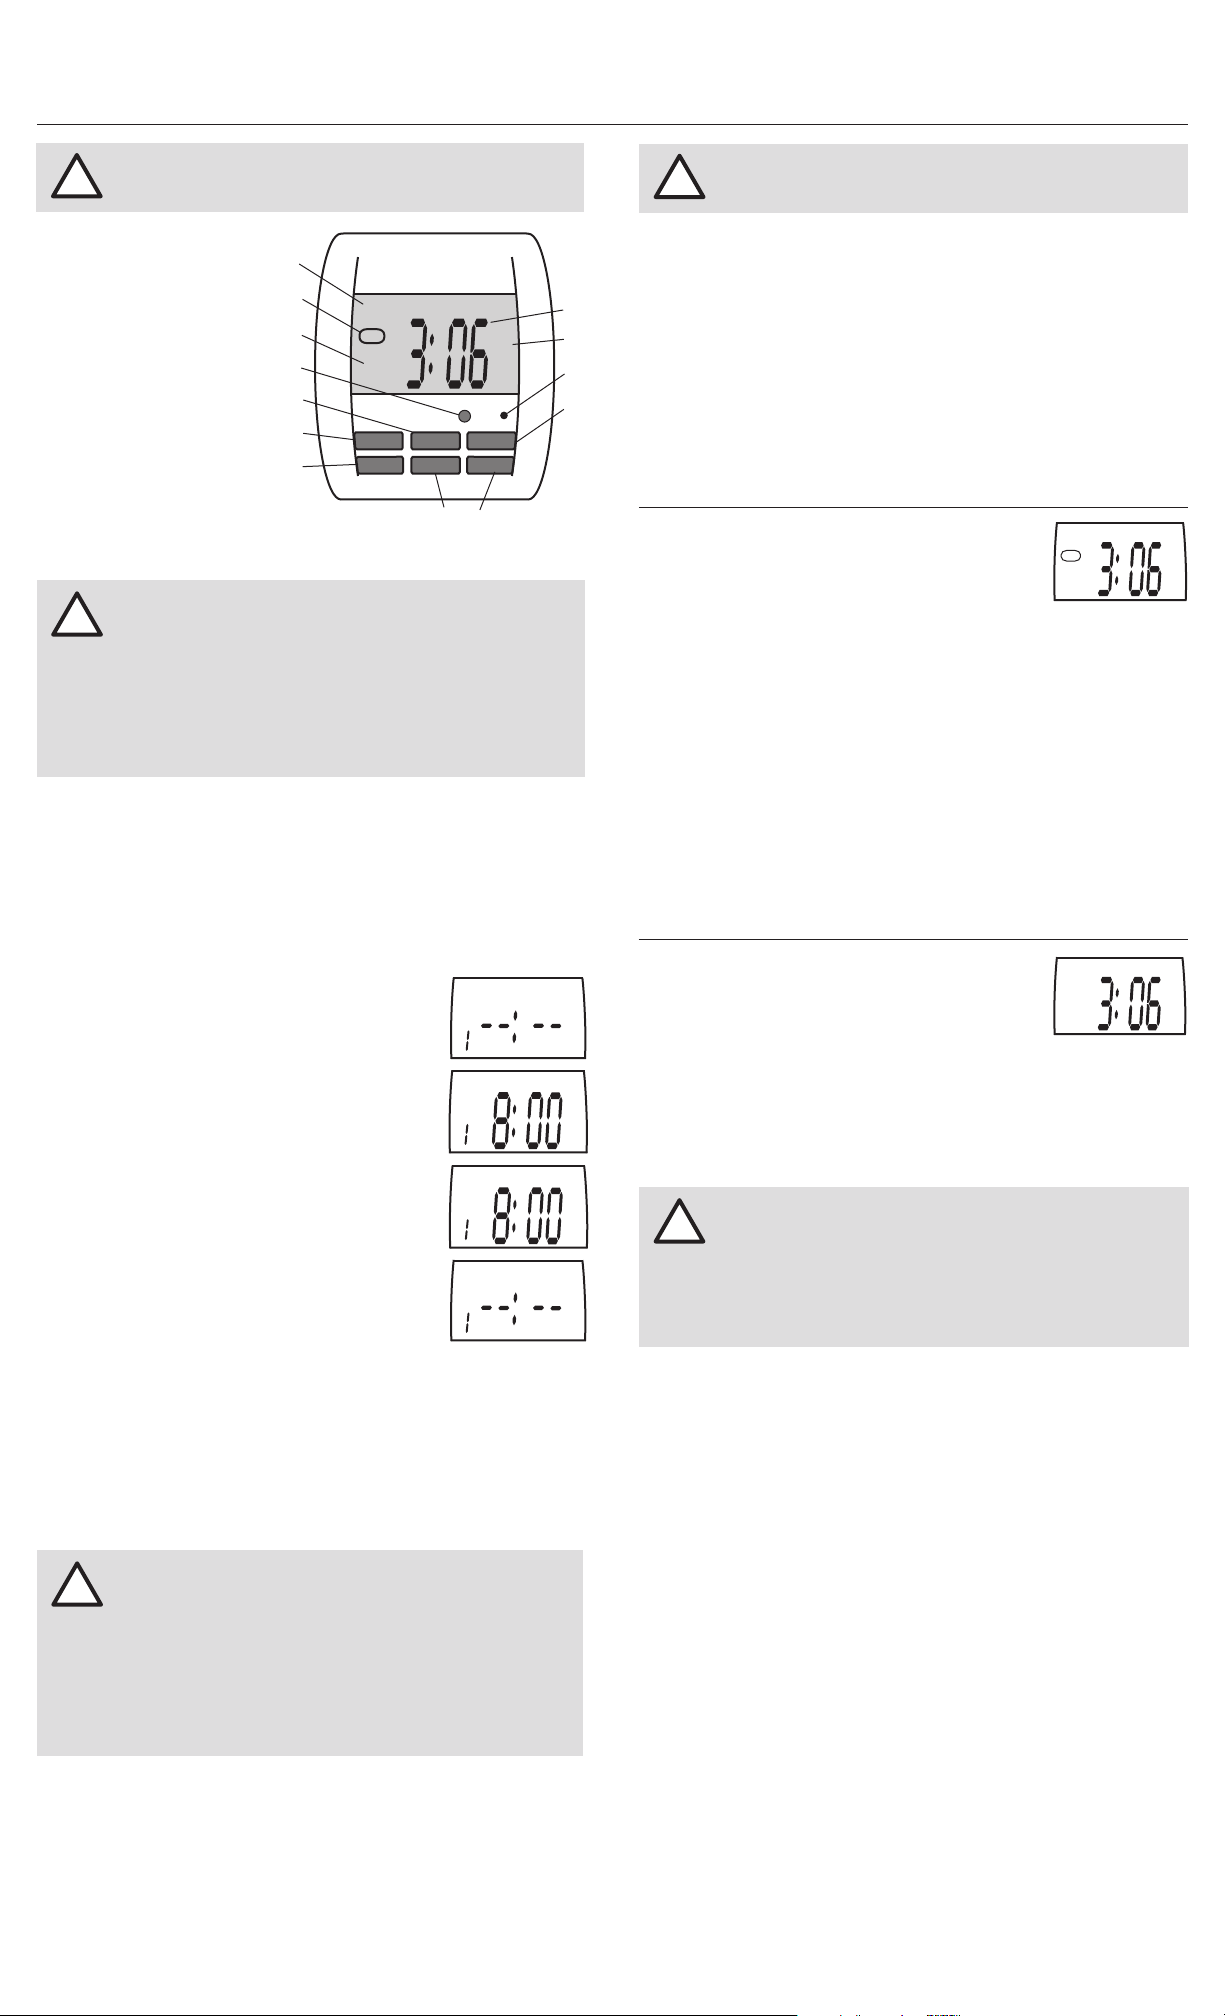
4. Press PROG to display OFF 1 setting.
Display will look like this:
Repeat steps 2 and 3 to select OFF time and day(s).
To program additional ON/OFF cycles: Repeat steps above to create
additional ON/OFF cycles (ON 2-OFF 2, ON 3-OFF 3, etc.) up to a maximum
of 20 different ON/OFF cycles.
Once all ON/OFF cycles are programmed correctly, press CLOCK to exit
programming mode.
To program the first ON/OFF cycle:
1.Press PROG to display ON 1 setting.
Display will look like this:
!
IMPORTANT! Review programmed ON/OFF cycles: Hold
down PROG to scroll through all cycles. Stop at any cycle
you want to change. To change any programmed cycle:
Press HOUR , MINUTE, and DAY as needed to revise any
individual cycle’s ON/OFF times. To remove any unwanted
programmed cycles: Press RST-RCL and cycle will be deleted.
Make sure that the desired day/times selected for all ON/OFF
cycles don’t overlap any other ON/OFF day/time settings
.
When finished programming desired ON/OFF cycles, press ON-OFF until
AUTO ON or AUTO OFF appears in display. AUTO ON turns the appliance
on immediately until the next programmed OFF time. AUTO OFF keeps the
appliance off and will turn appliance on at the next programmed ON time.
Timer must be in AUTO ON or AUTO OFF mode for programmed settings
to operate. Plug appliance (such as a lamp) into timer and plug timer into
wall receptacle.
!
IMPORTANT! Appliance must be turned ON or be in the ON
position before plugging it into timer.
TIMER MODE/TO OVERRIDE THE TIMER: Press ON-OFF until desired
timer mode is displayed:
ON: Programmed settings will be overridden; the plugged-in appliance
will remain ON.
OFF: Programmed settings will be overridden; the plugged-in appliance
will remain OFF.
AUTO ON turns the appliance on immediately until the next programmed
OFF time. AUTO OFF keeps the appliance off and will turn appliance on at
the next programmed ON time.
SECURITY (RANDOM) MODE: To operate a plugged-
in appliance (such as a lamp) in a random pattern
while you are away, to simulate actual use: with timer
in AUTO mode, press CLOCK once, then press and
hold HOUR for 3-5 seconds. RND will appear on left
side of display.
In Random mode, the plugged-in appliance will operate in random length
on-off cycles. The appliance will turn on anywhere between 2-30 minutes
after the programmed ON time, and turn off anywhere between 2-30
minutes after the programmed OFF time. The programmed ON and OFF
times must be at least 10 minutes apart.
Note: Timer will operate in Random mode only within a programmed
ON/OFF cycle.
To cancel Random mode, press HOUR for 3-5 seconds until RND dis-
appears from display. Timer will now function using your previously pro-
grammed settings.
DAYLIGHT SAVINGS MODE (DST): Adjusts the timer
one hour ahead to accommodate daylight savings.
To operate timer in daylight savings mode, press
and hold CLOCK for 3-5 seconds until time display
advances one hour and +1h appears on the left
side of display.
To cancel Daylight Savings mode, press and hold CLOCK for 3-5 seconds
until +1h disappears from display. Clock will move back one hour and timer
will now function using your previously programmed settings.
GENERAL NOTES:
1. While programming the timer, display will return to current
time of day if no button is pressed within 15 seconds.
2. If you are interrupted while programming the timer, press
PROG until you reach the setting where you left off.
!
TROUBLESHOOTING TIPS: If timer is not operating as desired:
• Check outlet for power
• Check that appliance works... plug it directly into outlet with power
• Check that timer is in correct mode
• Check programmed cycles for conflicts and overlapping day/time settings
• Don't exceed maximum wattage rating
Note that a power surge, power outage or nearby lightning strike can
permanently disable the timer.
MO
PM
48
AUTO
+1h