Loading ...
Loading ...
Loading ...
16 ENGLISH
7. Replace the bottom plate in the reverse sequence.
NOTE: When the side brushes remain attached to
the body of the Robotic Cleaner, manually rotating
the side brush facilitates attachment of the bottom
plate without pinching the bristles of the side brushes
between the plate and body of the Robotic Cleaner.
Cleaning the sensors
• Clean the cliff sensors (Fig. O-1) and boundary
sensors (Fig. O-2) using a clean, dry cotton
applicator.
• Clean the ultrasonic sensors (Fig. P-1) using
another vacuum cleaner set in gentle suction mode.
A total of 8 sensors are located on the front and both
sides of the bumper (Fig. P-2).
Cleaning the lter and dust box
NOTICE: To avoid damaging the upper dust box lid,
do not open or close it forcibly.
1. Undo both locks (Fig. Q-1) and lift the upper dust
box lid while holding the
Filter maintenance
mark(Fig.Q-2)toopentheltercompartment.
2. Takeoutthelter(Fig.Q-3)andtapitagainstthe
garbage bag or on a waste sheet spread on an even
surface to shake off the dust and dirt.
NOTICE:Donotscruborsquashthelter,norusea
pointedobjecttocleanthelter.
3. WashthelterifthesuctionpoweroftheRobotic
Cleaner becomes weak.
NOTICE:Iftheltersmells,soakthelterina
diluted solution of household bleach (10 milliliters of
bleach per 1 liter of water) for approx. 3 hours before
washingthelterinrunningwater.
4. Wash the dust box.
5. Drythelter(ifyouhavewashedit)andthedust
box for 1 day in a well-ventilated place to prevent
unpleasant odor or malfunctions.
NOTICE:Donotdrythewetlterusingahairdryeror
other heat source.
6. Replacethelterinthedustboxinthereverse
sequence.
NOTICE:Whenyoureplacethelterinthe
compartment, make sure that the tabs (Fig. Q-4) on
thelterarettedtothecutintheedgeofthelter
holder (Fig. Q-5).
Cleaning the body
1. Wipe the Robotic Cleaner’s exterior with a cloth
slightly moistened with mild detergent.
2. Press and release the top lid (Fig. K-1) to unlock,
and then fully open the lid.
3. Take out the dust box (Fig. K-2).
4. Wipe the Robotic Cleaner’s interior (Fig. R-1)
including the vent grill (Fig. R-2) with a cloth slightly
moistened with mild detergent.
RESTORING THE
ROBOTIC CLEANER
When the Robotic Cleaner cannot continue to operate
under such conditions as drive wheel hanging down or
running out of battery power, the Robotic Cleaner will
stop cleaning and tell you something is wrong by the
following lamps and buzzers.
•
Troubleshooting lamp (Fig. F-2)
•
Filter maintenance lamp (Fig. F-3)
•
Brush maintenance lamp (Fig. F-4)
•
Timer lamps (Fig. F-6)
•
Buzzer lamp (Fig. F-9)
•
Vacuum lamp (Fig. F-10)
•
Boundary sensor lamp (Fig. F-11)
1. Identify the problem using the following table.
2. Resolve the problem.
3. Press the
POWER button (Fig. F-8) on the
Robotic Cleaner or the
Start/Stop button (Fig.
G-2) on the remote control to enter standby mode.
The error indication stops and the Robotic Cleaner
is ready for cleaning.
NOTICE: If the error occurs again, turn OFF and ON
the Robotic Cleaner.
NOTICE: If the problem persists after the remedial
action is complete, consult your nearest Makita
Service Center.
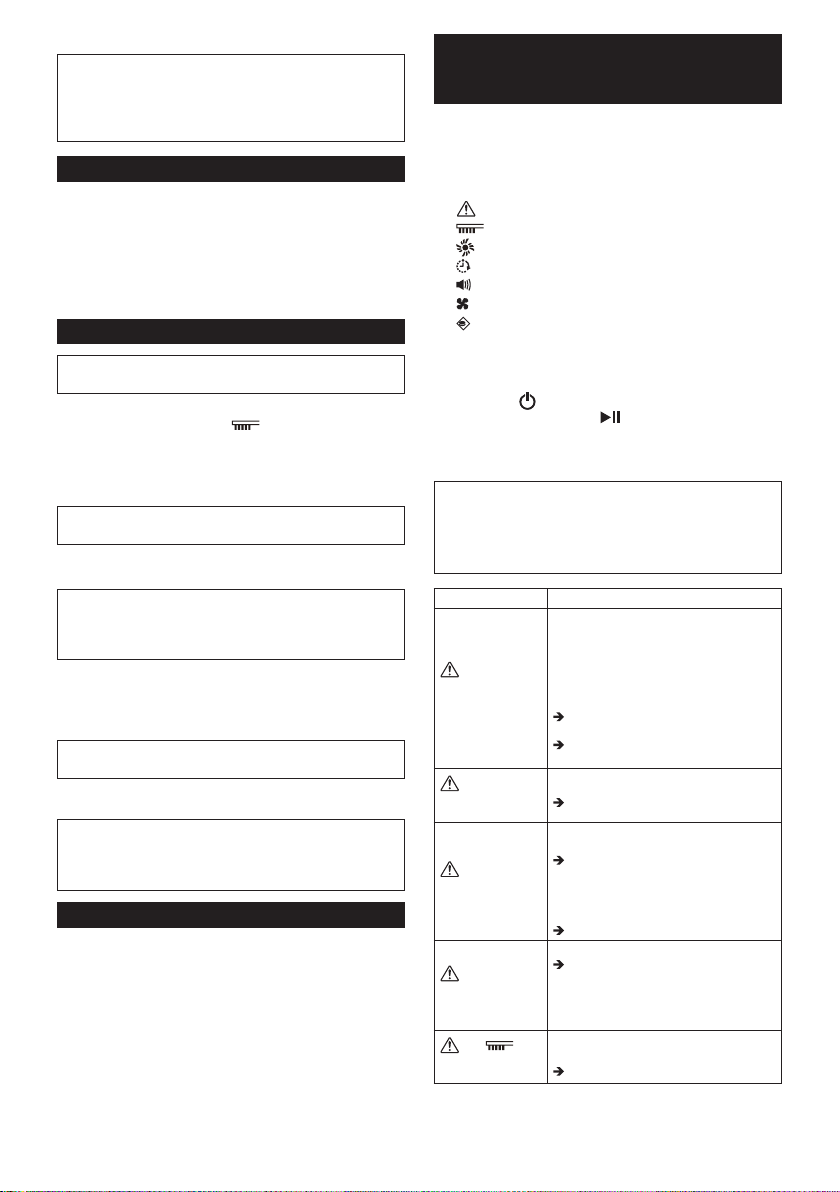
Indication Cause/Remedy
lampashes
once, twice, or
6 times for each
sequence
• The drive wheel is hanging down.
• The Robotic Cleaner has gotten stuck
on a barrier.
• The Robotic Cleaner has been
exposed to direct sunlight.
• The Robotic Cleaner has stopped on a
blackoor.
Move the Robotic Cleaner away from
the area.
If the error occurs again, clean the cliff
sensors (Fig. O-1).
lampashes
3 times for each
sequence
• A bumper sensor error has occurred.
Push the bumper (Fig. P-2) 10 times.
lampashes
4 times for each
sequence
• Threads and hairs are tangled with the
drive wheels.
Remove them from the drive wheels
(Fig. M-2).
• The Robotic Cleaner passed through
aconnedareawhereitstopsurface
was pushed down.
This is not a malfunction.
lampashes5
or 7 times for each
sequence
• The Robotic Cleaner has overheated.
Turn the Robotic Cleaner OFF,
remove the battery cartridge(s), and
wait for an hour. Use the Robotic
Cleaner only at room temperatures
not exceeding 40°C (104°F).
and
lampsashonce
for each sequence
• Thedustboxorthelterhasnotbeen
installed.
Installthedustboxorthelter.
Loading ...
Loading ...
Loading ...