Loading ...
Loading ...
Loading ...
User Manual Page 11
SLEEP operation
Pressing this button will increase (during cooling operation) or
decrease (during heating operation, applicable models) 2°F/1°C after
30 minutes. The temperature will again increase (cooling) or decrease
(heating) by another 2°F/1°C after an additional 30 minutes. This new
temperature will be maintained for 7 hours before returning to the
originally selected temperature. This ends the Sleep mode and the
unit will continue to operate as originally programmed.
NOTICE
The SLEEP operation feature is
unavailable in FAN or DRY mode.
Other Features
COMFORT SENSE feature
This feature can ONLY be activated from the remote control. The remote control serves as a remote
thermostat allowing for the precise temperature control at its location, which must be within 26 feet of
the air conditioner. To activate the Comfort Sense feature, point the remote control towards the unit
and press the set button to select. The remote’s display will show the actual temperature at its location
(as long as it is within the 26 feet of the air conditioner). The remote control will send this signal to the
air conditioner every 3 minutes until the C-Sense function is selected again. If the unit does not receive
the Comfort Sense signal during any 7 minutes interval, the unit will exit the Comfort Sense mode.
NOTE: This feature is unavailabe under FAN or DRY mode.
AUTO-RESTART
If the unit shuts o unexpectedly due to a power outage, it will restart with the previously set function
automatically when the power resumes.
WAIT 3 MINUTES BEFORE RESUMING OPERATION
After the unit has stopped, it cannot be restarted until 3 minutes time has elapsed. This is to protect the unit.
Operation will automatically resume after 3 minutes.
AIRFLOW DIRECTION ADJUSTMENT
The louver can be adjusted automatically using the SWING button.
• When the Power is ON, the louver opens fully.
• Press the SWING button on the panel or remote controller to initiate the Auto Swing feature. The louver
will swing up and down automatically.
• Please do not adjust the louver manually.
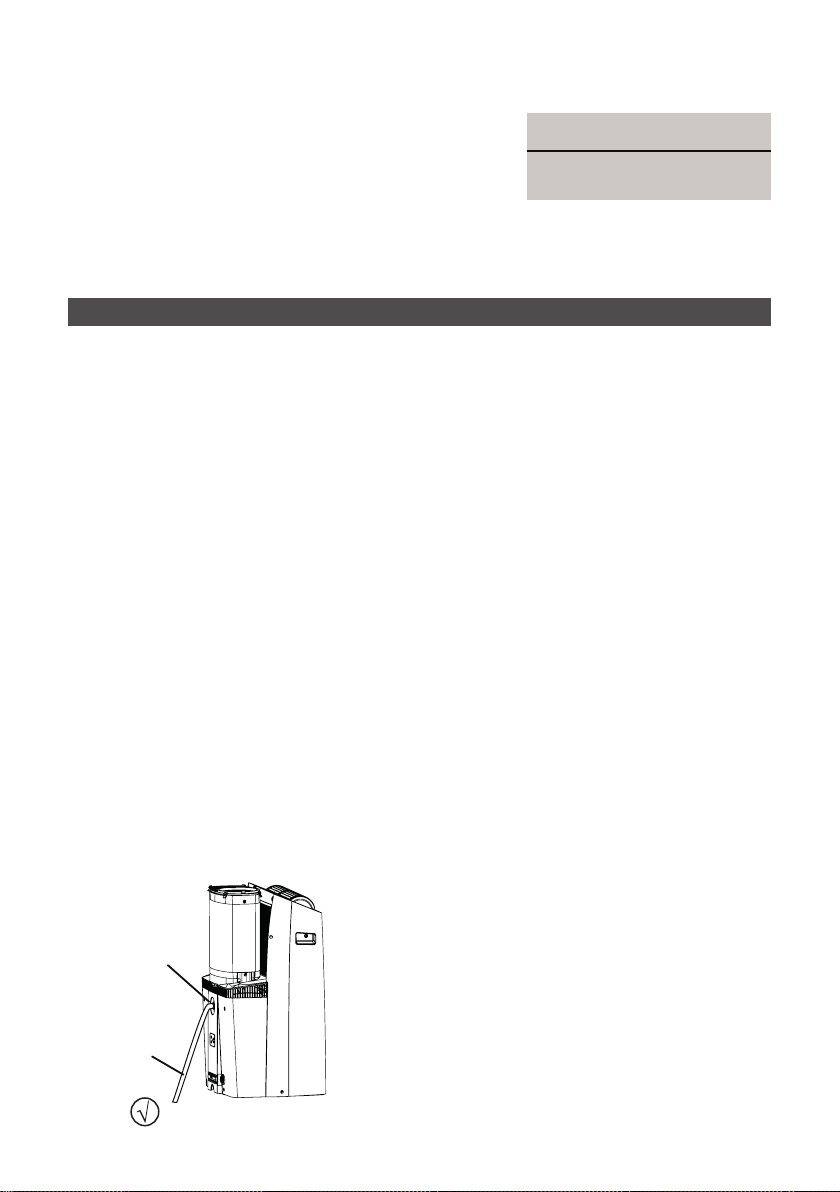
WATER DRAINAGE
• During Dry modes, remove the upper drain plug from
the back of the unit and install the drain connector (5/8”
universal female adapter) with a 3/4“ hose (not included)
For models without drain connector, just attach the
drain hose to the hole. Place the end of the hose directly
in the drain area you’re using.
Remove
the upper
drain plug
Continuous
drain hose
Loading ...
Loading ...
Loading ...