Loading ...
Loading ...
Loading ...
24
7. Once you have set all times for the first day
(Sunday), "Scroll Down" to "Next" and press
"Enter" once. This will highlight "Next". Pressing
"Enter" again will progress to the following day.
Proceed with setting a schedule for the rest of
the week using the preceding instructions.
NOTE: Along with the "Next" option on the
screen, there is also an "All" option. After you
have set a particular time for a day, if you wish to
set that time for every day of the week, "Scroll
Down" to "Next" and press "Enter". Press "Scroll
Down" key to select and highlight "All". Press
"Enter" to select that scheduled time and apply it
to each day of the week.
8. Once you've finished setting your schedule,
without any of the options highlighted, press the
"Exit" button. This will save your schedule.
9. With a schedule set, make sure that the main
display screen on the controller reads "Weekly"
(for operating in the Weekly Mode) and that the
unit is turned on. The schedule will not take
effect unless the unit is turn ON and in the
Weekly Mode. (See #13 in Figure 19)
5. "Yes" will be highlighted. Pressing "Enter" will
confirm your selection and will take you out of
your first set time.
If you wish to erase a scheduled time, use the
"Enter" key to highlight "Yes" on the screen for
that scheduled time. Select "No" using the
"Scroll Up" or "Scroll Down" keys. While "No" is
highlighted, press "Enter" to erase the data.
6. To set another time for that particular day,
press "Scroll Down" and continue by repeating
steps 2-5 as desired.
NOTE: You must set your times in chronological
order. The first schedule slot of one day MUST
be earlier in the day than the second schedule
slot on your weekly schedule list, and so on.
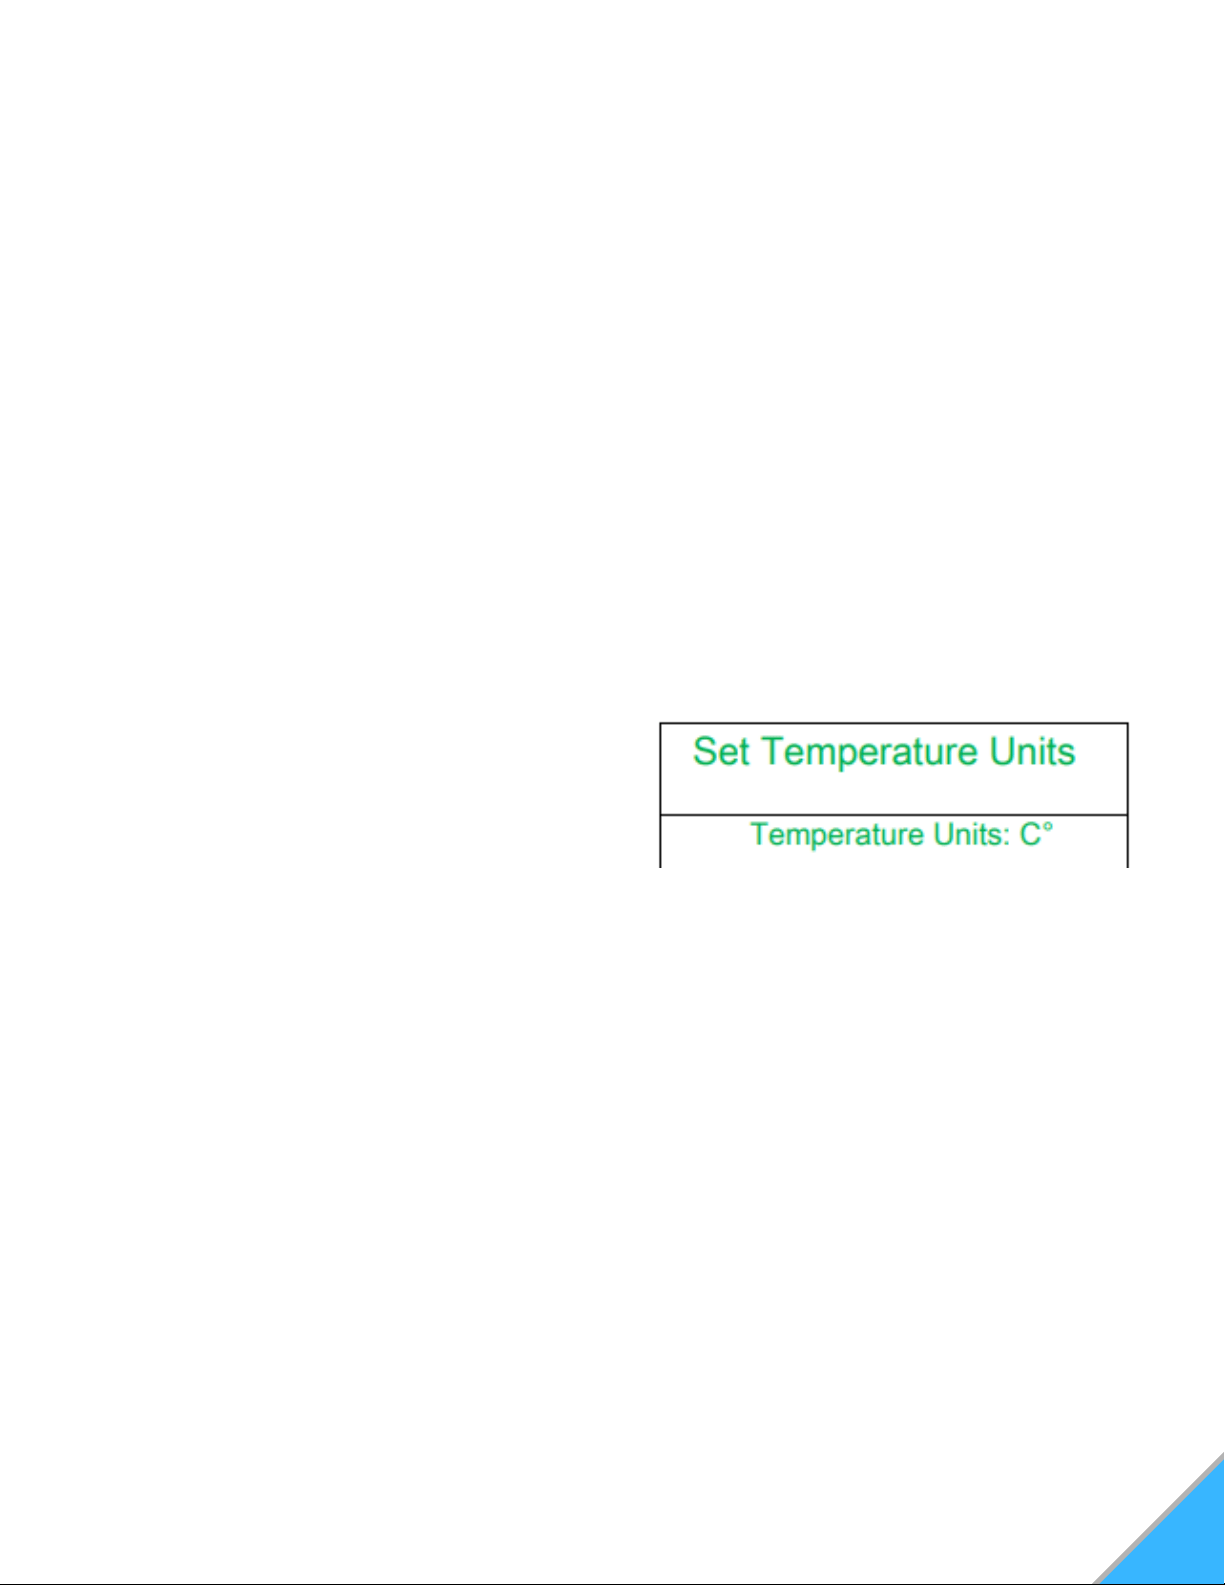
SETTING TEMPERATURE UNITS
Press and hold the "Enter" button. This will take
you to the "Set Data" screen.
Using the "Scroll Down" key, move down to
Option 3 "Set Temperature Units" and press
"Enter". This will take you into the "Set
Temperature Units" screen. See Figure 25
In the "Set Temperature Units" menu, press the
"Enter" key to highlight the units. Use "Scroll
Up" or "Scroll Down" to select either Celsius
(C°) or Fahrenheit (F°).
When finished, press "Enter". With nothing
highlighted on the screen, press the "Exit"
button.
1.
2.
3.
4.
Figure 25: Set Temperature Units Menu
TIP: If at any point, you need to leave the
weekly schedule screen or once you have
finished setting all of your times, select the
"Exit" button to return to the previous menu.
SETTING BLOWER VOLTAGE
The blower voltage (controlling the room blower or
convection fan) can be turned up or down for each
power level to regulate the amount of heat
circulated into the room during operation. Some
fuels radiate heat better than others. You have the
ability to speed up or slow down the room fan to
extract the optimum amount of heat without blowing
cold air. Increasing the blower voltage causes the
convection motor to run faster, extracting more heat
from the unit.
Decreasing the blower voltage allows you to slow
the exchange of heat from the stove so it blows
warmer air.
NOTE: If the stove is giving the over-temp alarm in
any setting, increasing the blower voltage may help.
Loading ...
Loading ...
Loading ...