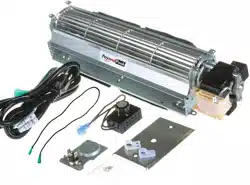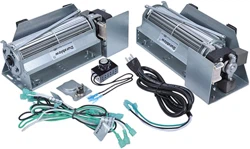
CIRCULATING FAN
Compare contents of carton in Figure 1 with actual parts received.
If any parts are missing or damaged, contact your dealer before
starting installation.
Tools required for assembly:
• Large straight blade
• Screwdriver to assist in removing hearth brick
Installation Precautions
To Install Replacement Blower Fan
1. Condition 1:
If your fireplace has glass doors, it is highly recommended that doors and the lower track be
completely removed for easier access.
2. Condition 2:
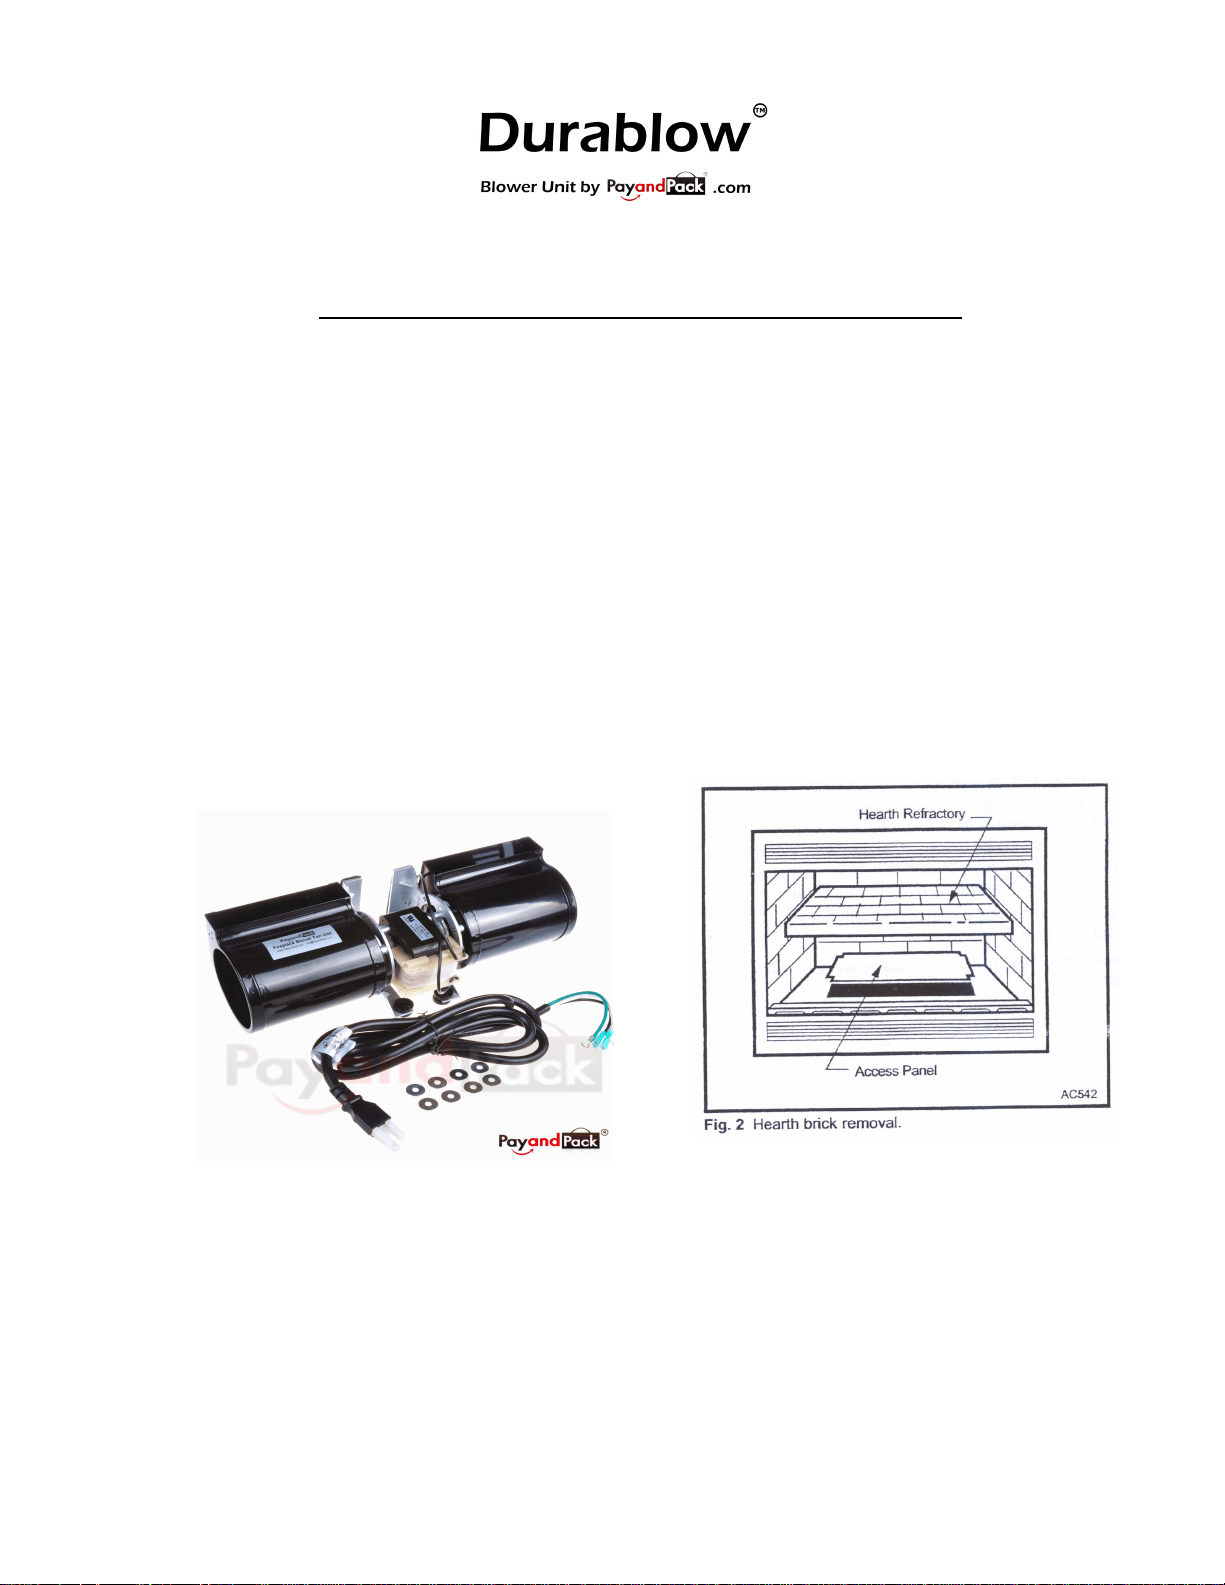
Remove the hearth brick by carefully lifting it out of the fireplace. Next, remove the access panel
by carefully pulling up and out from the back middle edge of the panel until the tabs at each side
are free. Use caution – the panel edges may be sharp (see Figure 2).
3. Condition 3 :
Remove the two (2) ceramic fiber refractory panels by carefully lifting them out of the fireplace.
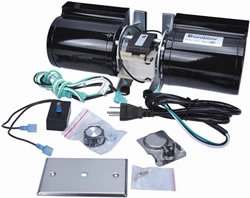
For GFK-160 blower fan only (blower kit excluded)
Since there is no speed control, termostat, wire, bolt, nut...etc. components provided,
you have to keep all related original parts/ components to install this blower
and make it be functional with them.
Such as speed control or thermostat sensor.
Fig. 1
INSTALLATION INSTRUCTIONS
PayandPack.com
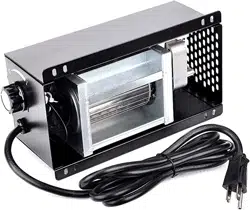
This is a contractor replacement
blower fan with motor only. The blowers are aftermarket
models, not original equipment with LIMITED INSTRUCTIONS!
Intended to be installed by a qualified technician.
Page 1
Next, remove the access panel by pulling it up and out from the side edge of the panel. Use
caution – the panel edges may be sharp (see Figure 2).
4. Condition 4:
Fan access and installation is through the front lower grille. There is no access to fan through
the hearth.
Fan Installation
CAUTION: Be sure that no wires are pinched
Prior to reinstalling the access panel and the hearth brick, it is advisable to operate the wall
switch on and off to assure fan operation. If the fan does not operate and you are assured that
115 VAC power is present at the receptacle, contact your dealer.
Reinstall the access panel and hearth brick by reversing Step 1.
WARNING: Never contact blower wheels during operation.
Recommended Operating Procedures
Light your fireplace with the fan off. After the fire has been burning for about 30 minutes, turn the fan
on. Heated air should be delivered at the outlet grille.
ATTENTION!
The thermodisc is set to turn on at approximately 120° F and
will shut off at approximately 90° F.
NOTE: Blower will not start
until thermodisc is heated to approximately 120° F.
The thermodisc has been factory tested.
PayandPack.com
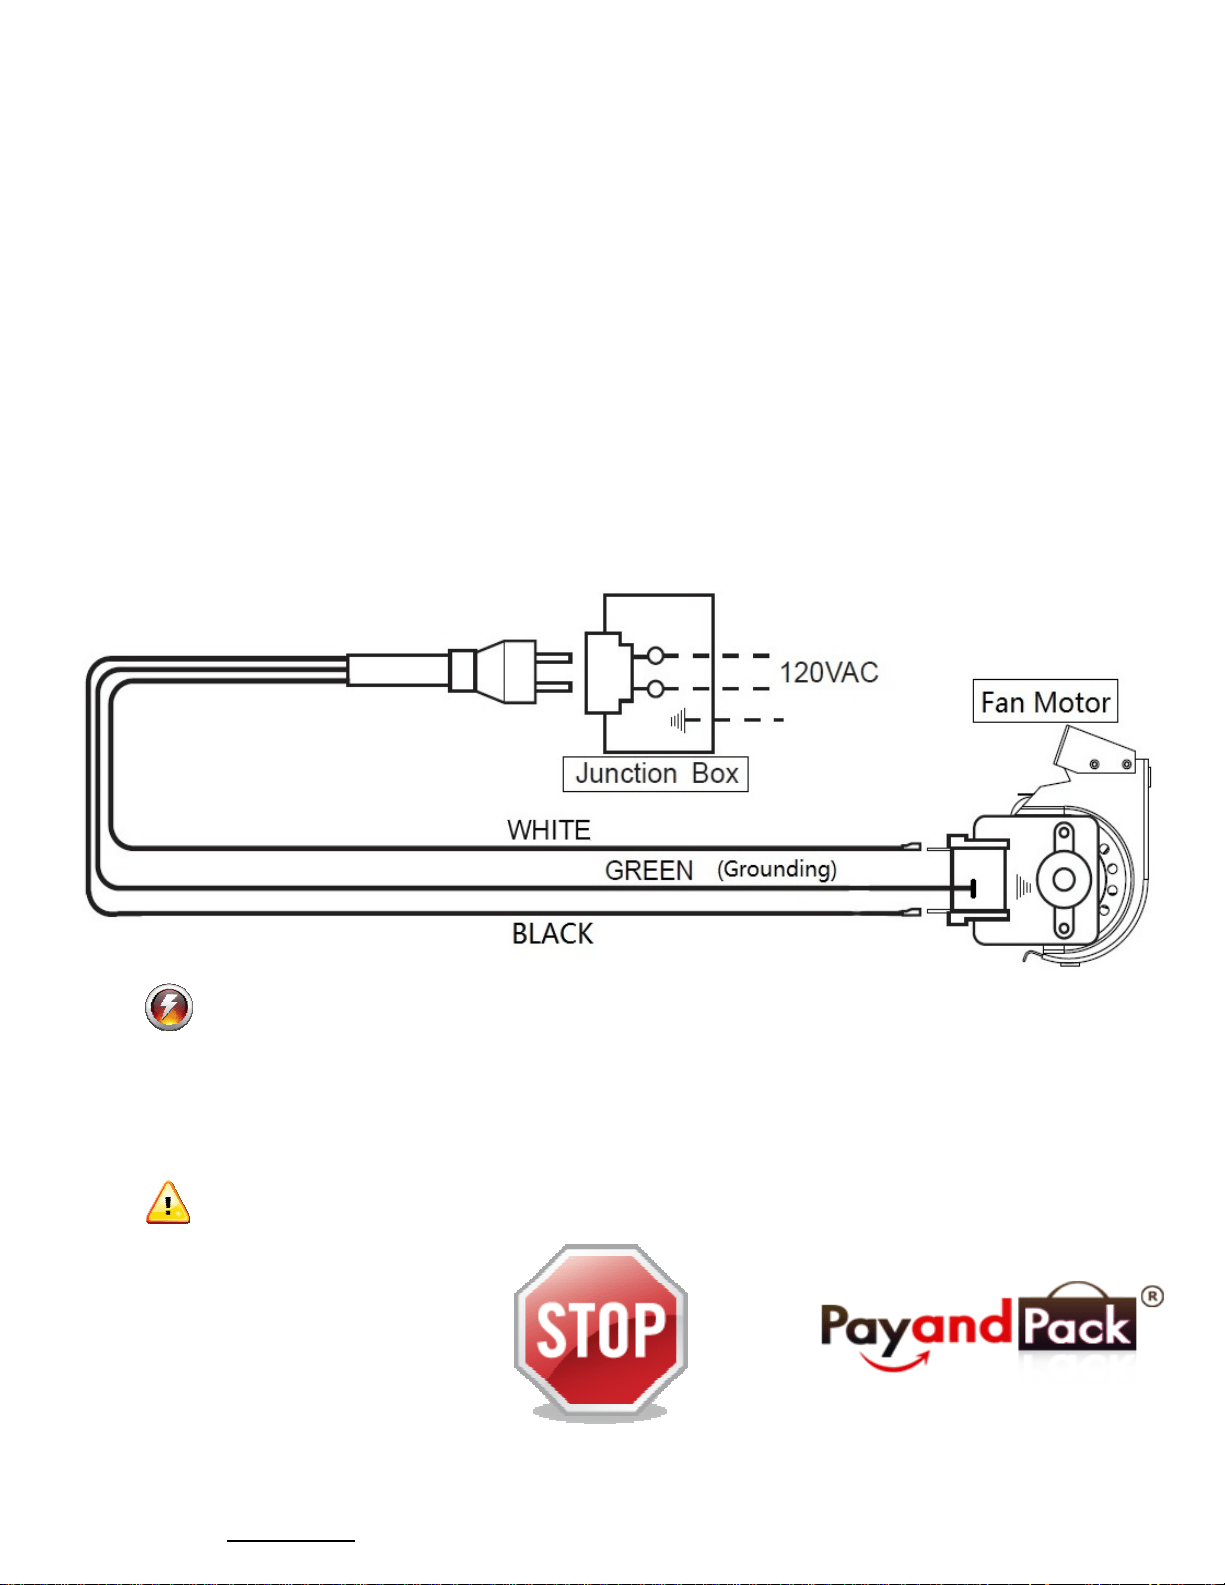
Please connect the power cord or any power supply / control wires with this replacemnet blower.
Make sure all wires / leads are connected CORRECTLY before pluging and being switch on.
The GREEN wire (grounding wire) must be connected for safety.
There are two grounding plate pins beside blower fan metal case / cover,
or you can attach grounding wire onto the blower with bolt and nut.
The diagram shown below is for your reference only, please refer to original parts instructions
Page 2