PERATION INSTRUCTIONS
NOTE: Before using the tool, read the instruction book carefully. This tool may cause hand-arm vibration syndrome if its use is not adequately managed.
1. INSTALLING THE AUXILIARY HANDLE (SEE A)
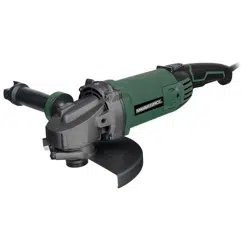
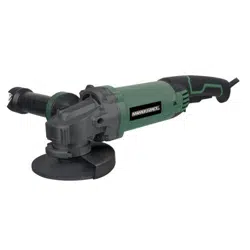
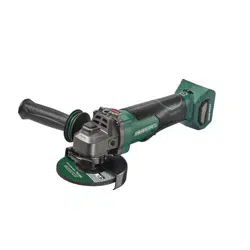
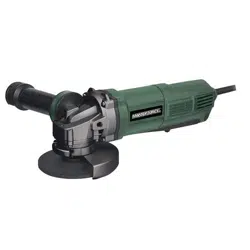
You have the option of two working positions to provide the safest and most comfortable control of your angle grinder. The handle is screwed clockwise into either hole on the sides of the gear case.
2. HAND GRIP AREAS
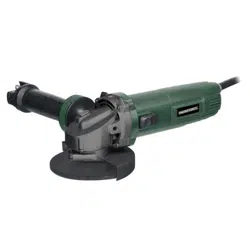
Always hold your angle grinder firmly with both hands when operating.
3. ADJUSTING WHEEL GUARD (SEE B1, B2, B3)
For work with grinding or cutting discs, the wheel guard must be mounted. Wheel Guard for Grinding The coded projection on the wheel guard (5) ensures that only a guard that fits the machine type can be mounted. Open the clamping lever (12). Place the wheel guard (5) with coded projection into the coded groove on the spindle of the machine head and rotate to the required position (working position). To fasten the wheel guard (5), close the clamping lever. The closed side of the wheel guard (5) must always point to the operator.
NOTE: With the clamping lever (12) open the clamp adjusting nut (10) can be adjusted to ensure the guard is securely clamped after the clamping lever (12) is finally closed.
WHEEL GUARD FOR CUTTING
WARNING For cutting metal, always work with the wheel guard for cutting (14). The wheel guard for cutting (14) is mounted in the same manner as the wheel guard for grinding (5).
4. SPINDLE LOCK BUTTON
Must only be used when changing a disc. Never press when the disc is rotating!
5. FITTING THE DISCS (SEE C1, C2, C3)
Put the inner flange onto the tool spindle. Ensure it is located on the two flats of spindle (See C1). Place the disc on the tool spindle and inner fIange. Ensure it is correctly located. Fit the threaded outer flange making sure it is facing in the correct direction for the type of disc fitted. For grinding discs, the flange is fitted with the raised portion facing towards the disc. For cutting discs, the flange is fitted with the raised portion facing away from the disc (See C2). Press in the spindle lock button and rotate the spindle by hand until it is locked. Keeping the lock button pressed in (C3), tighten the SDS outer flange with hand (See C4).
6. SAFETY ON / OFF SWITCH (SEE D)
Your switch is locked off to prevent accidental starting. Depress the lock-off button (yellow arrow) then the on/off switch (white arrow) and release the lock-off button. Your switch is now on. To switch off, just release the on/off switch.
7. TO USE THE GRINDER (SEE E)
ATTENTION: Do not switch the grinder on whilst the disc is in contact with the workpiece. Allow the disc to reach full speed before starting to grind. Hold your angle grinder with one hand on the main handle and other hand firmly around the auxiliary handle. Always position the guard so that as much of the exposed disc as possible is pointing away from you. Be prepared for a stream of sparks when the disc touches the metal. For best tool control, material removal and minimum overloading, maintain an angle between the disc and work surface of approximately 150 -300 when grinding. Use caution when working into corners as contact with the intersecting surface may cause the grinder to jump or twist. When grinding is complete allow the workpiece to cool. Do not touch the hot surface.
8. CUTTING
WARNING For cutting metal, always work with the wheel guard for cutting (15). When cutting, do not press, tilt or oscillate the machine. Work with moderate feed, adapted to the material being cut. Do not reduce the speed of running down cutting discs by applying sideward pressure. The direction in which the cutting is performed is important. The machine must always work in an up-grinding motion. Therefore, never move the machine in the other direction! Otherwise, the danger exists of it being pushed uncontrolled out of the cut.
9. TO USE THE ROTATE HANDLE (SEE F)
To best suit the different working positions, your angle grinder is equipped with a turnable handle. Press the rear of the locking button (2) on the turnable handle and you can rotate the handle 900 to left or right. Then release the locking button. A click will be heard, when the handle is then fully locked in place.
WARNING Make sure the handle in the locked position before start the angle grinder. Rotating the handle is permitted only in the switched off condition.
10. TO REPLACE THE BRUSHES (SEE G)
Before any work on the machine itself, pull the mains plug. Remove the screw securing the motor brush cover. Remove the cover, gently lift out, and pull the spade connector free. Hold back the coil spring and slide the worn brush out of the housing, carefully release the spring. Locate the replacement brush, (in the same orientation) whilst again holding back the coil spring. Ensure the brush is located and free to move, release the spring; it should now sit within the groove on the brush. Re-attach the spade connector to the terminal, replace the cover and secure.
WORKING HINTS FOR YOUR GRINDER
1.Your angle grinder is useful for both cutting through metals, i.e. for removing screw heads, and also for cleaning / preparing surfaces, i.e. before and after welding operations.
2.Different types of wheel/cutter will allow the grinder to meet various needs. Typically, wheels/ cuttings are available for mild steel, stainless steel, stone and brick. Diamond impregnated discs are available for very hard materials.
3. If the grinder is used on soft metals such as aluminum, the wheel will soon clog and will have to be changed.
4. At all times, let the grinder do the work, do not force it or apply excessive pressure to the wheel/ disc.
5. If cutting a slot ensures that the cutter is kept aligned with the slot, twisting the cutter may cause the disc to shatter. If cutting through thin sheet only allow material, excessive penetration can increase the chance of causing damage.
6. If cutting stone or brick, it is advisable to use a dust extractor.