Loading ...
Loading ...
Loading ...
19
EN
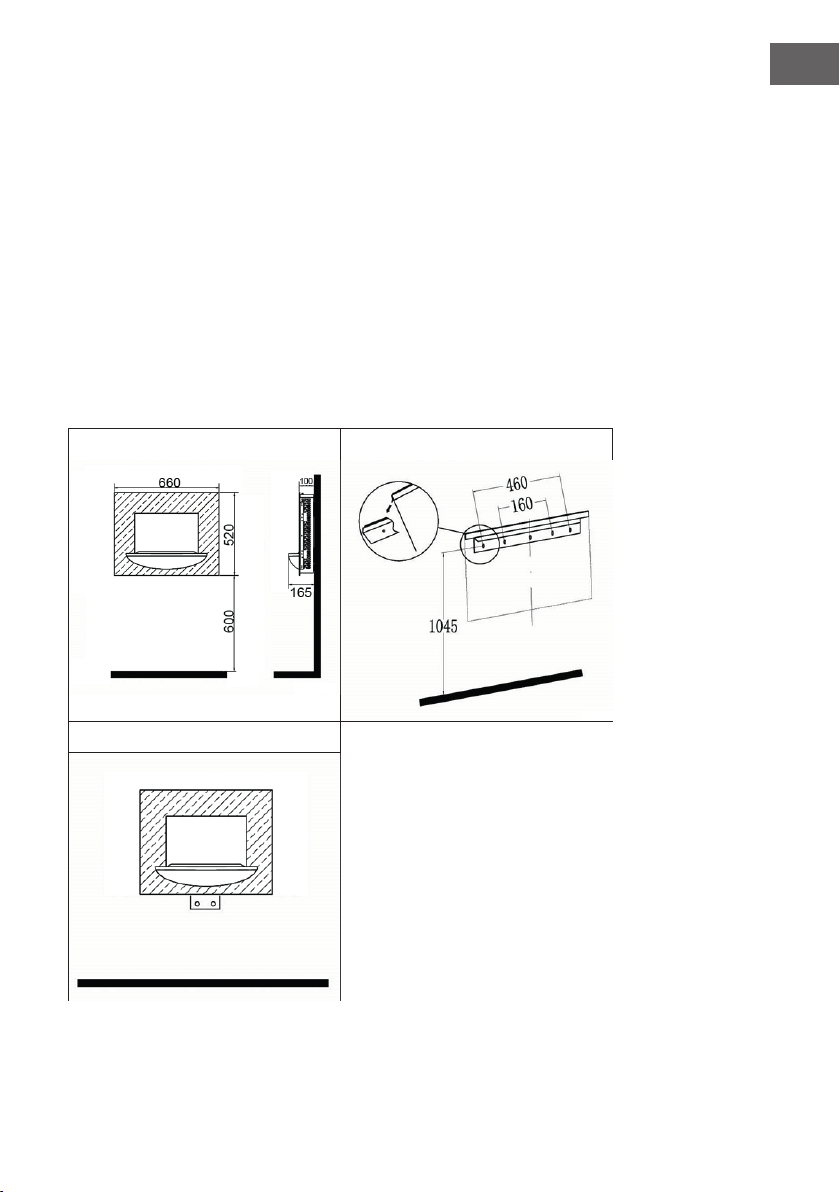
Installation
1 For optimum viewing, mark the top four screws xing positions on wall in
accordance with the recommend xing dimensions (see Fig.2). Drill holes with a six
drill bit.
2 Fix the wall bracket using that the plug and screws provided .
3 Carefully lift the heater up ensuring that the top rear ledge of heater engages the
wall bracket (see Fig.2 in circle) and is sitting centrally.
4 Lift softly towards the wall.
5 Mark the bottom holes position (see Fig.3), remove the heater ensuring that the
bottom xing bracket is rotated up.
6 Drill and t wall plug.
7 Ret the heater to the wall xing bracket and rotate the bottom xing bracket down
again and use the screw provided to permanently x the heater in place.
8 Unpack the pebbles from the bag and place them along the light unit in the desired
position.
1 2
3
Loading ...
Loading ...
Loading ...