Loading ...
Loading ...
Loading ...
40
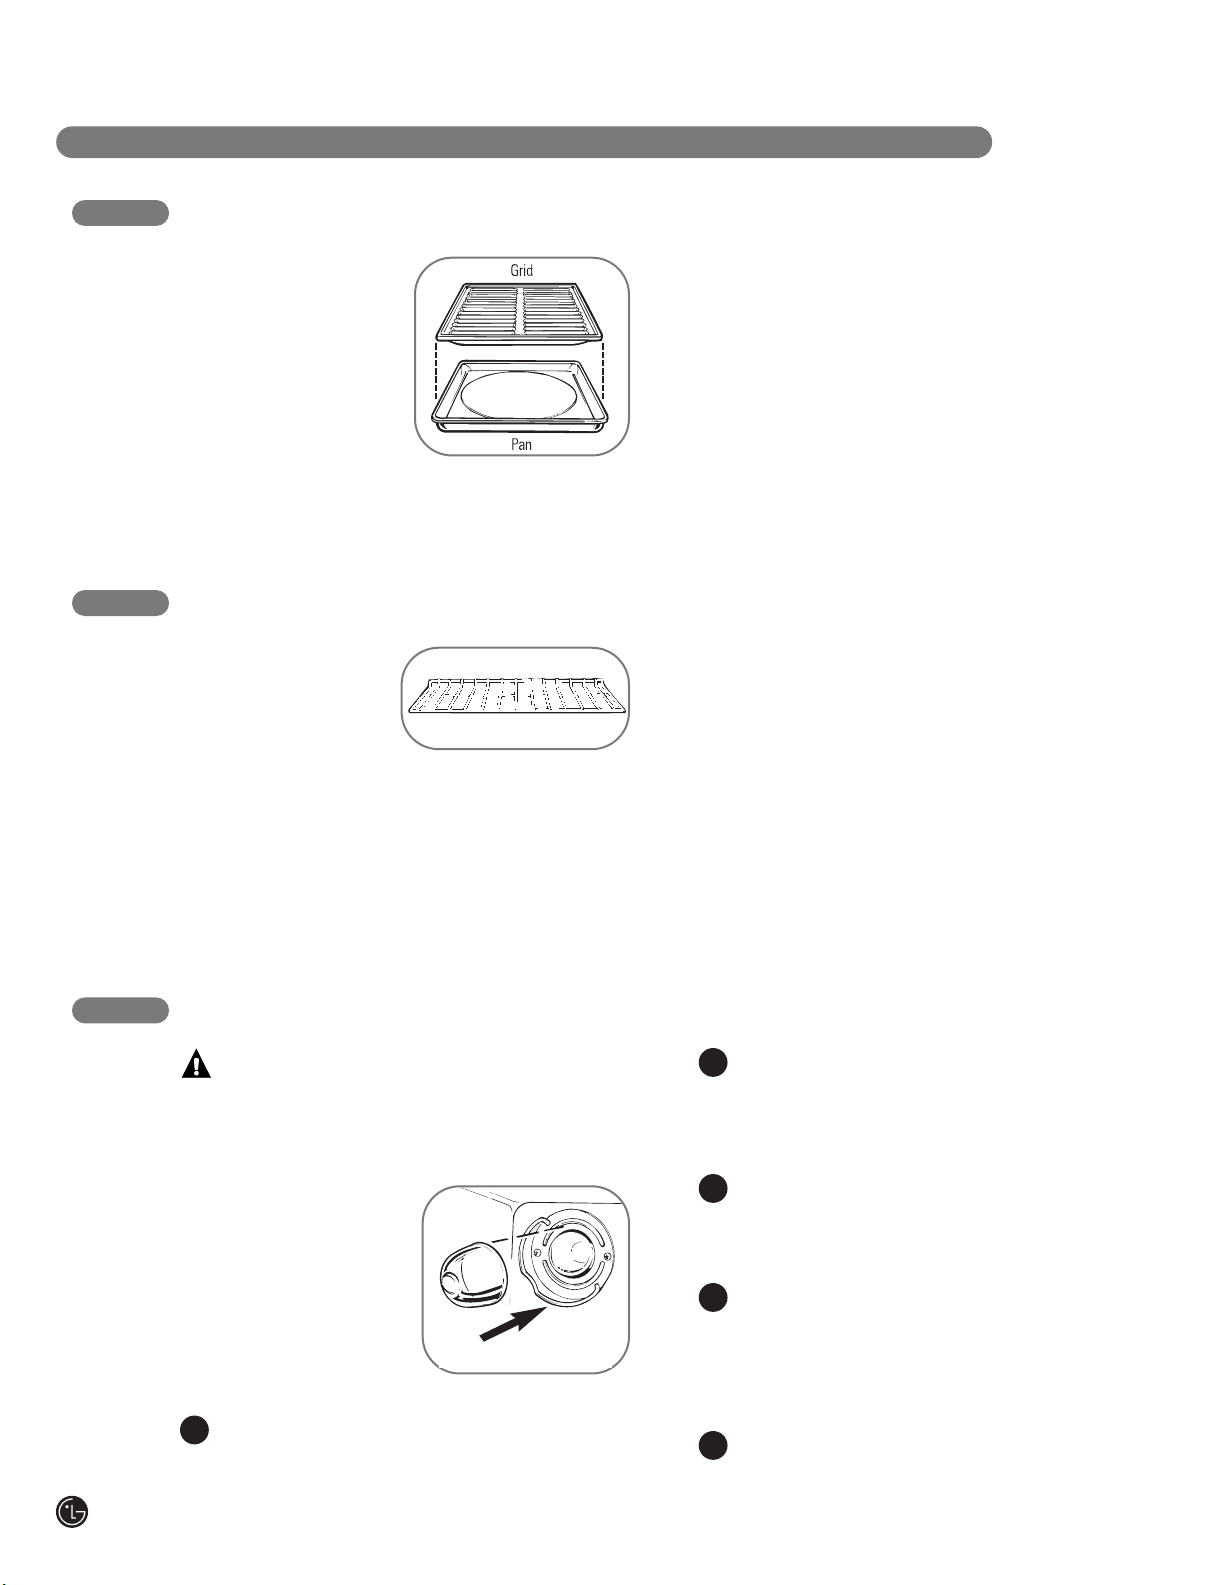
BROILER PAN AND GRID
After broiling, remove the
broiler pan from the
oven. Remove the grid
from the pan. Carefully
pour out grease from
the pan into a proper
container. Wash and
rinse the broiler pan and
grid in hot water with a
soap-filled or plastic scouring pad.
If food has burned on, sprinkle the grid with
detergent while hot and cover with wet paper
towels or a dishcloth. Soaking the pan will
remove burned-on foods.
The broiler pan and grid may be cleaned
with a commercial oven cleaner.
Both the broiler pan and grid can also be
cleaned in a dishwasher.
Do not store a soiled broiler pan and grid
anywhere in the range.
NOTICE: Do not clean the broiler pan or grid in
a self-cleaning oven.
CARE AND CLEANING OF THE RANGE
OVEN SHELVES AND DRAWER RACKS
If your oven is
equipped with nickel
oven shelves, they
should be removed
from the oven before
beginning the self-clean cycle.
To clean the nickel shelves, use an abrasive
cleanser. After cleaning, rinse the shelves with
clean water and dry with a clean cloth. If the
shelves ever become hard to slide, wipe the
shelf edges or oven shelf supports with
vegetable oil.
OVEN LIGHT REPLACEMENT
CAUTION: Befor
e r
eplacing your
oven light bulb, disconnect the electrical power
to the range at the main fuse or circuit breaker
panel. Be sur
e to let the light cover and bulb
cool completely.
The oven light bulb
is covered with a
r
emovable glass cover
that is held in place with
a bail-shaped wire.
Remove the oven door
,
if desir
ed, to r
each
cover easily.
To remove:
Disconnect electrical power from the range.
Hold a hand under the cover so it doesn’t
fall when released. With fingers of the same
hand, firmly push back the wire cover holder.
Lift off the cover.
Do not remove any
screws to remove the cover.
Do not touch hot bulb with a wet cloth.
Replace bulb with a 40-watt household
appliance bulb.
To replace cover:
Place it into the gr
oove of the light
receptacle. Pull the wire forward to the
center of the cover until it snaps into place.
When in place, the wir
e holds the cover
firmly. Be certain the wire is in the
depression in the center of the cover.
Connect electrical power to the range.
Wir
e Cover Holder
1
1
3
2
2
Loading ...
Loading ...
Loading ...