Loading ...
Loading ...
Loading ...
Connecting 15
Connecting
2
Additional information for HDMI
y
When you connect an HDMI or DVI compatible
device make sure of the following:
- Try switching off the HDMI/DVI device and this
player. Next, switch on the HDMI/DVI device and
leave it for around 30 seconds, then switch on
this player.
- The connected device’s video input is set
correctly for this unit.
- The connected device is compatible with
720 x 576p, 1280 x 720p, 1920 x 1080i or
1920 x 1080p video input.
y
Not all HDCP-compatible HDMI or DVI devices will
work with this player.
- The picture will not be displayed properly with
non-HDCP device.
y
If a connected HDMI device does not accept
the audio output of the player, the HDMI
device’s audio sound may be distorted or may
not output.
y
Changing the resolution when the connection
has already been established may result in
malfunctions. To solve the problem, turn off
the player and then turn it on again.
y
When the HDMI connection with HDCP is not
veried, TV screen is changed to black screen.
In this case, check the HDMI connection, or
disconnect the HDMI cable.
y
If there are noises or lines on the screen,
please check the HDMI cable (length is
generally limited to 4.5 m.
y
You cannot change the video resolution in the
HDMI IN mode. Change the video resolution
of the connected component.
y
If the video output signal is abnormal when
your personal computer is connected to HDMI
IN jack, change the resolution of your personal
computer to 576p, 720p, 1080i or 1080p.
,
Note
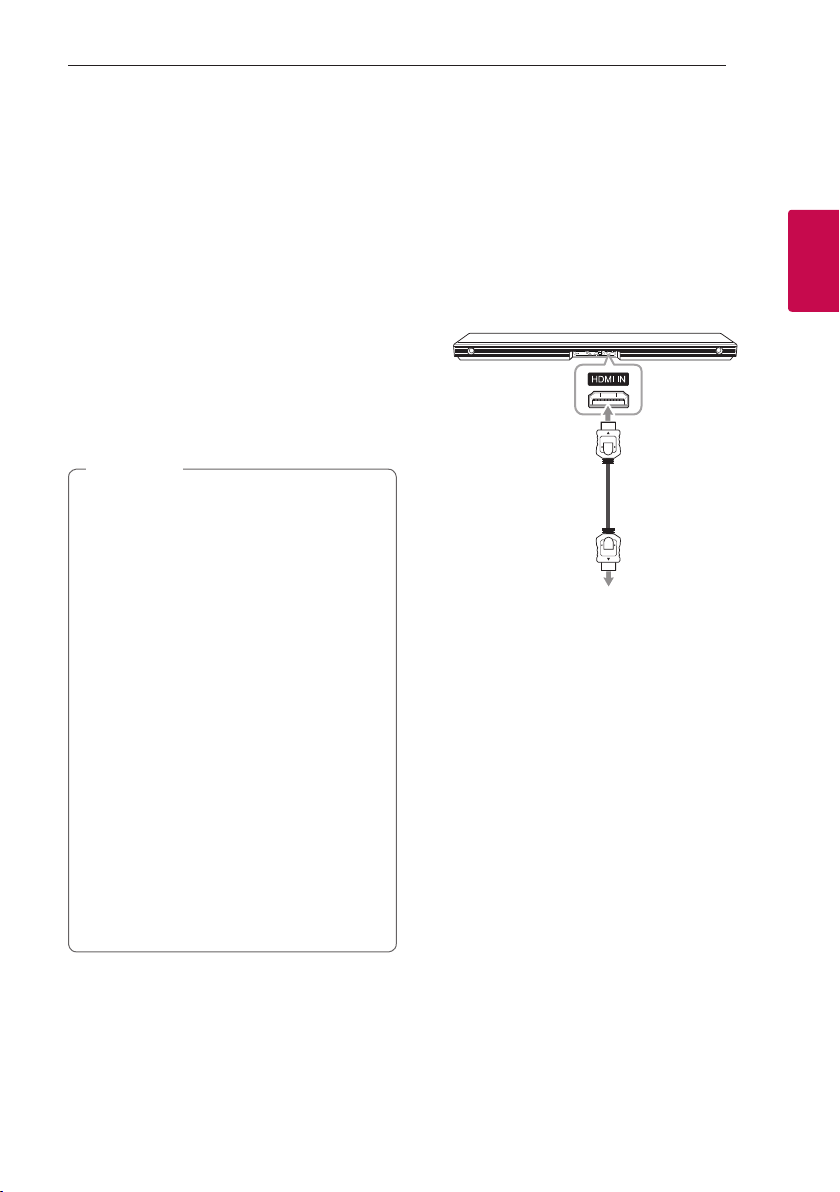
Optional equipment
connection
HDMI connection
For enjoying sound only
You can enjoy the sound from the external device you
connect.
To the Blu-ray disc player,
DVD player, etc.
1. Connect HDMI IN jack on the back of the unit to
HDMI OUT jack on the audio device such as Blu-
ray disc player, DVD player, etc.
2. Set the input source to HDMI IN. Press repeatedly
F on the remote control or F on the unit until the
function is selected.
Loading ...
Loading ...
Loading ...