Loading ...
Loading ...
Loading ...
8 9
c. To use the Iced Beverage setting, place a tall
glass filled with ice on the Drip Tray Plate. Use
your favorite K-Cup
®
, select the Iced Beverage
brew size and press the BREW Button. Add
more ice once brewing is complete, add cream
and sugar if desired.
d. Once size is chosen, press BREW Button.
BREW Button will stop flashing, Left and Right
Buttons will no longer be lit and icon
of brew size will be lit.
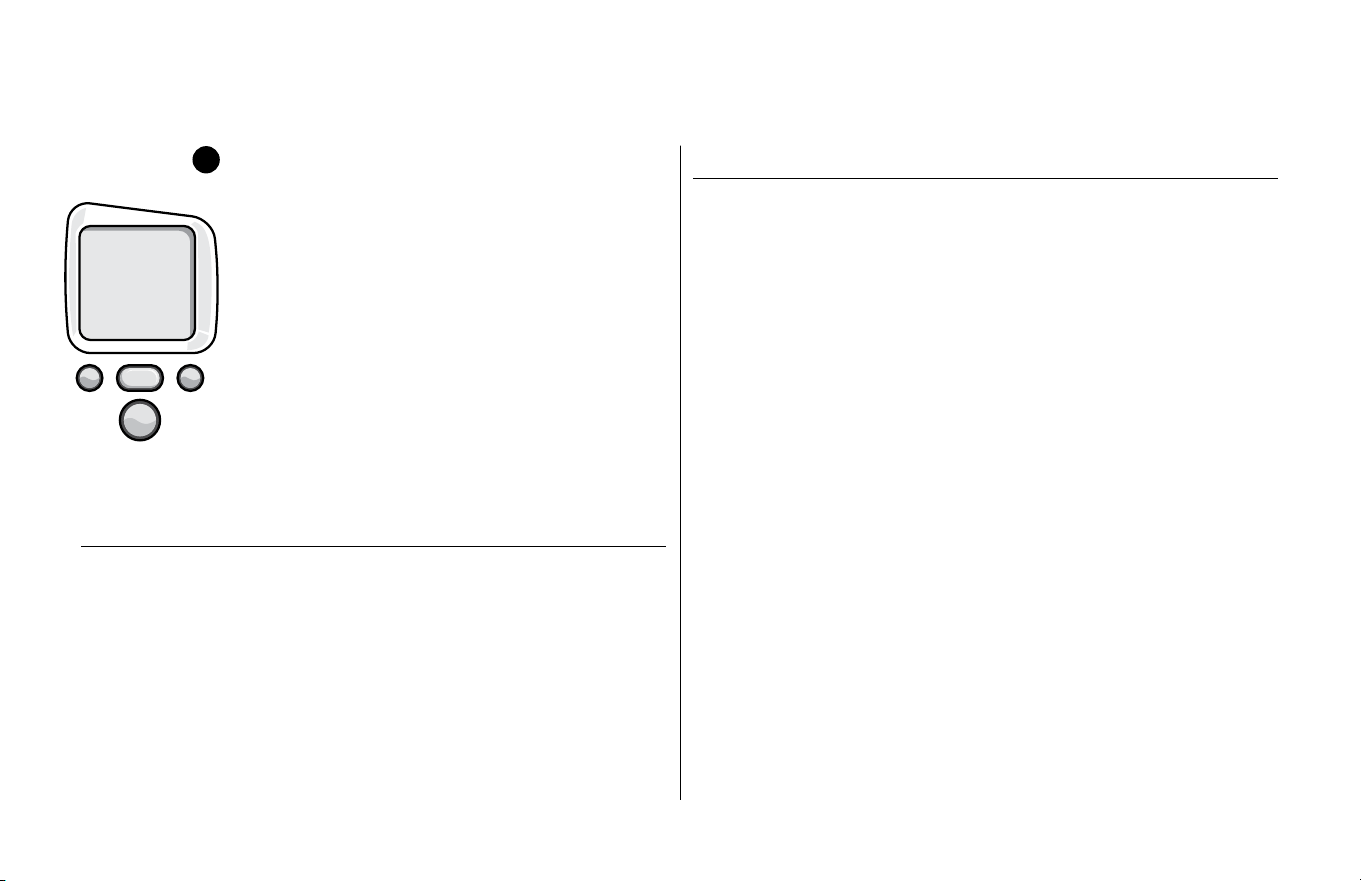
7. The LCD Control Center will now display the
word ‘BREWING’ and the serving size you
selected will be illuminated on LCD (fig. 8).
CAUTION: There is extremely hot water in the K-
Cup Holder during the brew process. To avoid risk
of injury, do not lift the Handle or open the
K-Cup Assembly Housing during the brew process.
8.
There may be a short pause prior to coffee
being dispensed. The entire brew process lasts
for approximately 1 minute and ends with a
burst of air to remove all liquid from the K-Cup.
9. Lift the Handle, remove and dispose
of the used K-Cup.
CAUTION: K-Cup will be hot.
10. Enjoy your first cup of Keurig Brewed
®
gourmet coffee, tea or hot cocoa!
11. Your Brewer may display “NOT READY” as
it heats water for the next brew cycle. The
“READY TO BREW” indication will return to
the LCD Control Center in about 15 seconds.
Stopping the Brew Process
If you need to stop the brewing after the process has started, press and
release the Power Switch to turn the Brewer ‘OFF’. The flow of coffee, tea
or hot cocoa will stop, the heating element will shut off and the blue lights
illuminating the LCD Control Center and Water Reservoir will disappear.
NOTE: You may get more coffee, tea or hot cocoa in your cup during your next
brew. We recommend that you perform a cleansing brew with water-only after
a terminated brew. Then your NEXT brew will be the volume you have selected.
adding Water
The LCD Control Center of your Brewer will indicate when the water level
in the tank is low or if the Water Reservoir has been removed by displaying
the words “ADD WATER” (fig. 9). The blue light in the Water Reservoir will
also blink when water needs to be added. The Brewer will not allow you to
brew when “ADD WATER” is displayed (fig. 9).
SECTION 1
Set-Up & First Brew (continued)
The Water Reservoir can be filled in two ways.
1. Lift off the Water Reservoir Lid and pour
water directly into the Water Reservoir
while it is still attached to the Brewer,
then replace the Lid.
2. Remove the Water Reservoir from Brewer by
first removing Lid from the Water Reservoir, then
lifting the Water Reservoir straight up and toward
front of Brewer. Fill with water. Place the Water
Reservoir back on the Brewer and replace the Lid.
IMPORTANT: Do not remove the Water Reservoir
during the brewing process.
Brewing hot Water
Your Brewer is able to produce hot water for making hot cocoa from a packet,
for use in cooking, for making soups, etc. Simply follow the instructions on
page 7 — “Ready To Brew Your First Cup” without adding a K-Cup.
NOTE: After brewing a hot cocoa K-Cup, we recommend running a hot water
brew cycle without a K-Cup.
Purging the Brewer
If your Brewer has not been used for more than one week, you should purge
the water from the inner tank.
1. If there is water in the Water Reservoir, remove the Lid, then lift the
Water Reservoir straight up and away from Brewer. Discard water, rinse
and refill with water. Place the Water Reservoir back on the Brewer and
replace the Lid. (If there is no water in the Water Reservoir, simply refill.)
2. Be sure the Brewer is turned on. Raise and lower the Handle on the
Brewer without inserting a K-Cup.
3. The LCD Control Center will display “READY TO BREW”.
Brew a Travel Mug (11.25 oz. serving) of water (do not use a K-Cup).
4. Repeat steps 2 and 3 two more times to completely purge water from
inner tank.
If you are experiencing any problems with your Brewer, please contact
Customer Service at 1.866.901.BREW (2739).
Small Cup
(5.25 oz.)
Small Mug
(7.25 oz.)
Large Mug
(9.25 oz.)
Travel Mug
(11.25 oz.)
Iced Beverage
(3.25 oz.)
ME NU
BR EW
ME NU
ADD
WATER
READY
NOT
fig.
9
ME NU
BR EW
ME NU
BREWING
fig.
8
Loading ...
Loading ...
Loading ...