Loading ...
Loading ...
Loading ...
8. Place meat or foods to be cooked on either
or both of the cooking plates. Refer to Grilling
Recipes or Guide for cooking times.
9. When the food is cooked, remove using a
plastic spatula.
1. Insert the plug into a 110/120v power outlet
and switch the power ‘ON’. Switch the On/Off
button to ‘ON’. The red heating light will
illuminate.
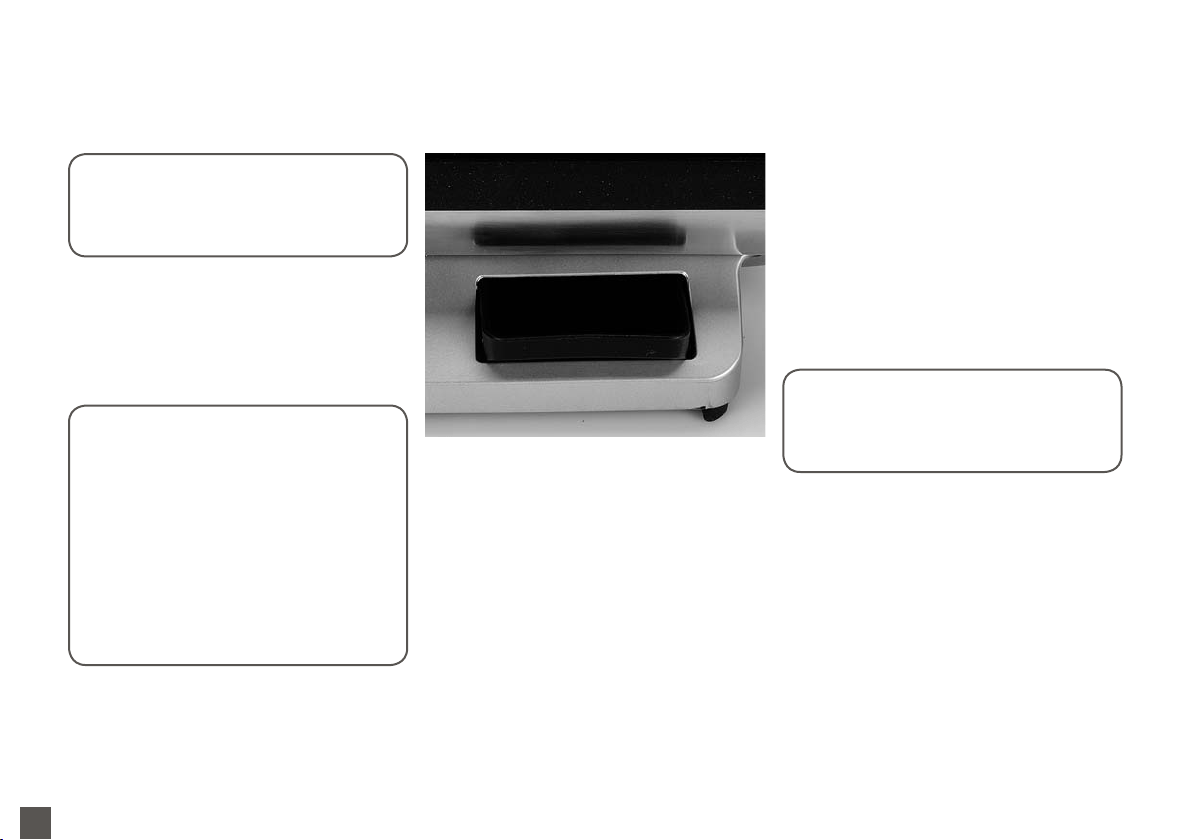
2. Ensure the Removable Drip Tray is correctly
inserted and positioned back into the
appliance (see Fig ).
. Ensure the top plate is in the closed position
for more efficient preheating.
4. Turn the Base Plate Tilt Dial to the ‘Angle’ or
‘Flat’ position.
5. Turn the Variable Temperature Control dial to
‘Sear’ for fast preheating.
6. Allow the Indoor BBQ and Grill™ to preheat
until the red heating light goes out.
7. Use the handle to pull the top plate into the
90˚ position
8. Place meat or foods to be cooked on the
base cooking plate. Refer to Grilling recipes or
Guide for cooking times.
9. Use the handle to close the top plate. The
top plate has a floating hinge system that is
designed to press down evenly on the food.
The Grilling Height Control on the right hand
side of the top plate is used to adjust for the
thickness of the food. The levelling handle
on the right hand side of the top of the grill
may be used to even out the top plate (see
Fig 4). The top plate must be fully lowered to
achieve grill marks onto the food.
12
oPeRAtING yoUR bRevILLe INDooR bbQ AND GRILL™
FIG
Loading ...
Loading ...
Loading ...