Loading ...
Loading ...
Loading ...
18
Meat Probe
(on convection models)
The meat probe accurately measures the internal temperature of
meat, poultry and casseroles with liquid and should be used in
determining the doneness of meat and poultry. It should not be
used during full and center broiling, convection broiling,
dehydrating or proofing bread.
Always unplug and remove the meat probe from the oven when
removing food.
To Use:
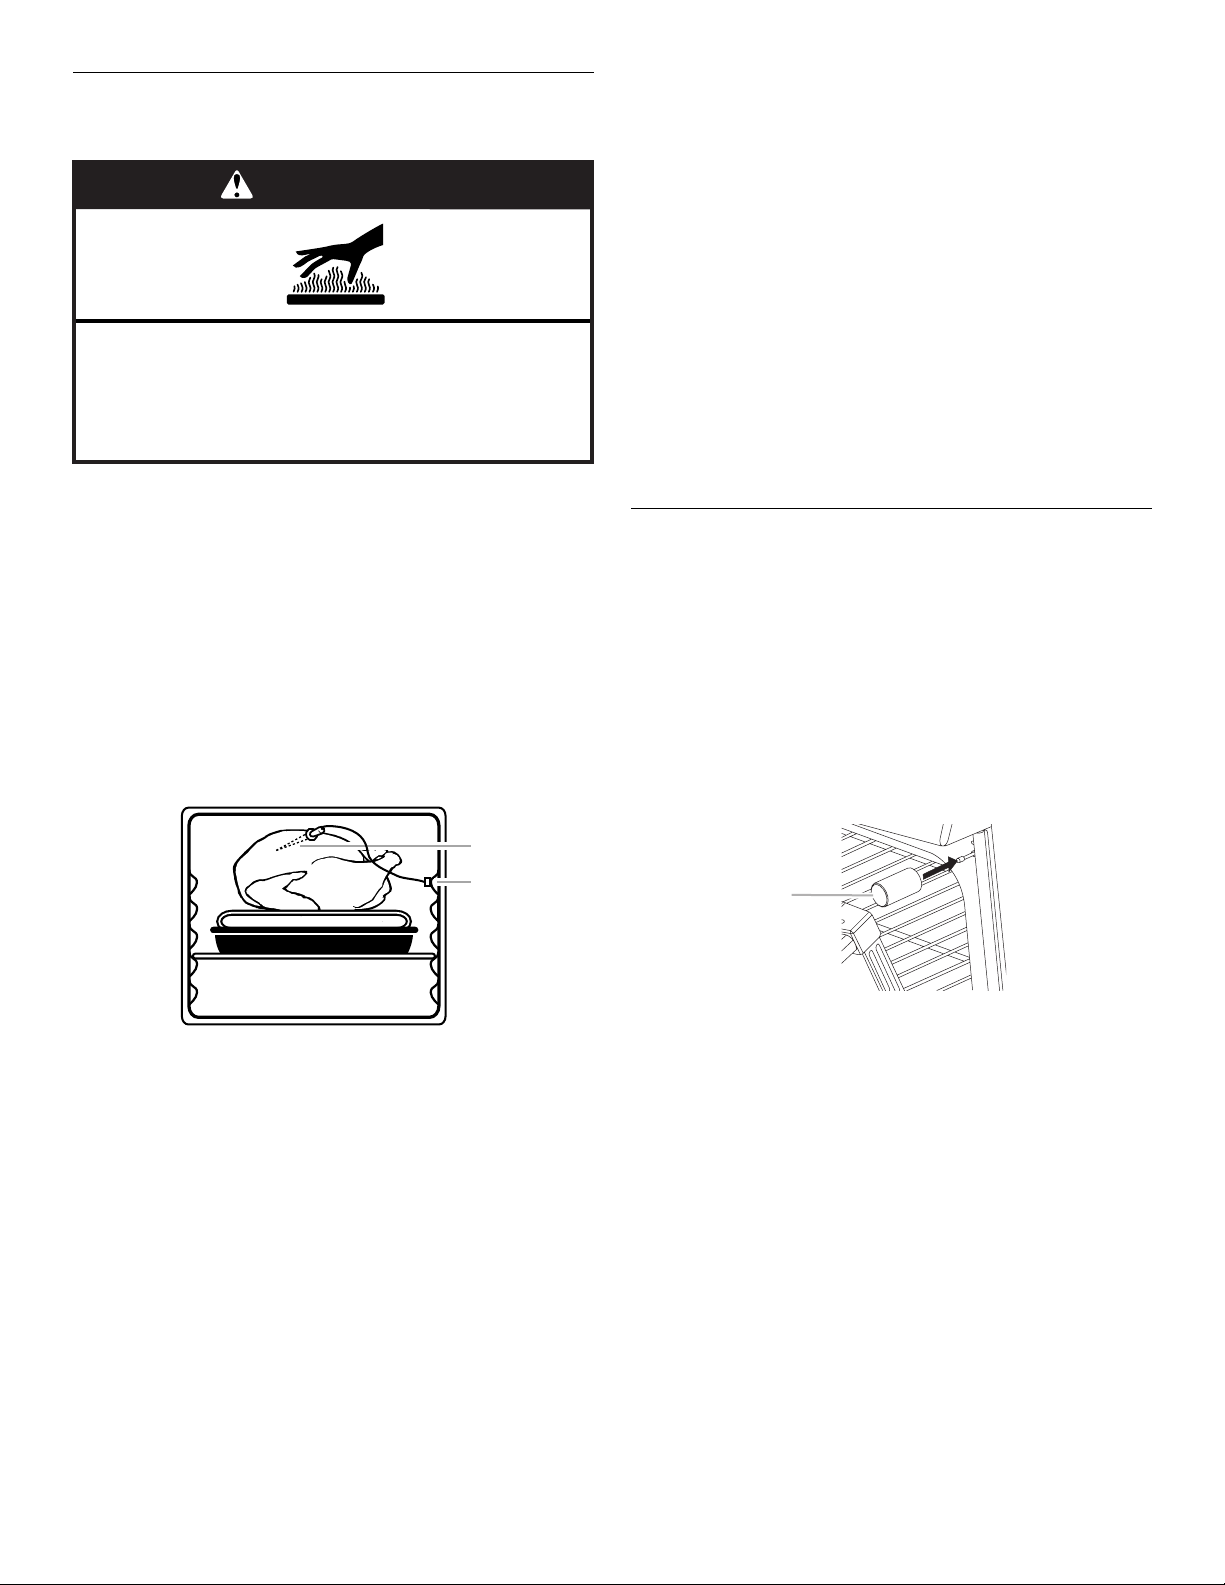
Before using, insert the probe into the center of the thickest
portion of meat or into the inner thigh or breast of poultry, away
from fat or bone at an angle as shown in following diagram. Place
food in oven. Using the handle of the probe, connect the meat
probe to the jack. Keep probe as far away from heat source as
possible. Close oven door.
1. Press MORE OPTIONS.
2. Use the right Quickset pad to scroll to MEAT PROBE.
3. Select MEAT PROBE using the left Quickset pad.
4. Set the desired internal food temperature by selecting one of
the displayed temperatures or use the number pads to enter
the temperature. The probe temperature can be set between
100°F and 185°F (38°C and 85°C).
If the meat probe is not inserted, INSERT PROBE will be
displayed.
5. Select BAKE or CONVECT.
6. If CONVECT was selected, select CNVT BAKE, CNVT ROAST
or CNVT PASTRY.
7. Set the oven temperature by selecting one of the displayed
temperatures or use the number pads to enter the
temperature.
The display will briefly show the selected temperatures for the
oven and probe.
After 10 seconds, the display will show the actual oven
temperature and actual probe temperature.
IMPORTANT: If the probe is removed from the oven
receptacle at any time during the cooking process, the
control will prompt INSERT PROBE. If the probe is not
reinserted within 30 seconds, the program will be canceled
and the oven will turn off.
8. When the selected internal temperature of the food has been
reached, the oven will shut off and “PROBE END” appears on
the display.
NOTE: To avoid overcooking the food, remove it from the
oven as soon as the oven shuts off.
9. Using the handle of the probe, remove the probe from the
jack. The probe will be hot. Hold probe with an oven mitt or
pot holder when removing from the oven.
To Change Probe Temperature, Oven Setting:
Press CANCEL, then repeat previous steps.
After cooking, unplug the probe and remove food from oven.
See “General Cleaning” section to clean probe.
Drying
(on some models)
For best results, use a drying rack. A drying rack allows air to
circulate evenly around the food.
The convection fan will operate during the drying procedure.
To Set Drying:
1. Open the oven door slightly. The oven door needs to be
opened slightly to allow moisture to escape from the oven
during the drying process.
2.
Place the magnetic door spacer Part Number 8010P146-60
over the plunger switch. The spacer provides a gap between
the oven frame and the oven door to allow moisture to escape.
3. Gently close the door until the spacer magnet makes contact
with the oven door. The magnet will hold the spacer in the
proper position during the drying process and allows the door
to be opened at any time during drying without losing proper
positioning.
IMPORTANT: If the spacer is not placed correctly, the
convection fan will not operate.
4. Press CONVECT.
5. Use the right Quickset pad to scroll to DRYING.
6. Select DRYING using the left Quickset pad.
7. Use the Quickset pads to select a displayed temperature or
enter a temperature with the number pads. Temperatures can
be set between 100°F and 200°F (38°C and 93°C).
8. “DRYING” and the temperature will be displayed. “PREHEAT”
will be displayed until the programmed temperature is
reached.
9. Press CANCEL when finished drying.
Follow the Drying Guide chart for drying times.
Check foods at minimum times given. Cool foods to room
temperature before testing for doneness.
A. Meat probe
B. Meat probe jack
WARNING
Burn Hazard
Use an oven mitt to remove temperature probe.
Do not touch broil element.
Failure to follow these instructions can result in burns.
A
B
A. Magnetic door spacer
A
Loading ...
Loading ...
Loading ...