Loading ...
Loading ...
Loading ...
5
To Use
To Turn On the Cooktop:
NOTE: The control functions are the same for both left and right
cooktops.
1. Touch the Power keypad.
The indicator light above the Power keypad will light up to
indicate that both cooking areas are ready to be activated.
Inactivity to the control for 10 seconds after the main power
has been turned on will automatically turn off power to the
cooktop.
To Turn On a Surface Cooking Area (Front or Rear):
1. Touch the On/Off keypad for the desired cooking area. This
will turn that cooking area on and the “On” indicator will light
up. The current power level will be indicated above the slider.
2. Select a power level from “1” to “P” by touching or sliding on
the power slider. The power setting will appear in the cooking
area display as you move your finger up or down the slider.
■ The power sliders consist of 9 positions plus Keep Warm
(U) and Performance Boost (P) positions.
■ If the cooking area power level is at “0” for 10 seconds,
the cooking area will automatically turn off.
Use the following chart as a guide when setting heat levels.
Setting Recommended Use
P (Boost)
■ Bring liquid to a boil, frying, and roasting.
9
■ Start food cooking, boiling liquid, frying,
and roasting.
7–8
■ Quickly brown or sear food.
6–7
■ Hold a rapid boil.
5–6
■ Fry or sauté foods.
■ Cook soups, sauces, and gravies.
4–5
■ Maintain a slow boil.
■ Stew or steam food.
3–5
■ Range of simmer levels for simmering with
or without a lid.
2–3
■ Simmer sauces.
1–2
■ Melt chocolate or butter.
To Turn Off:
1. Touch the On/Off keypad to turn off the desired cooking
area.
2. Touch the Power keypad to turn off the cooktop zone
when finished.
■ The power to the cooktop will automatically turn off
10 seconds after both of the cooking areas are turned
off, even if the Power keypad is not touched.
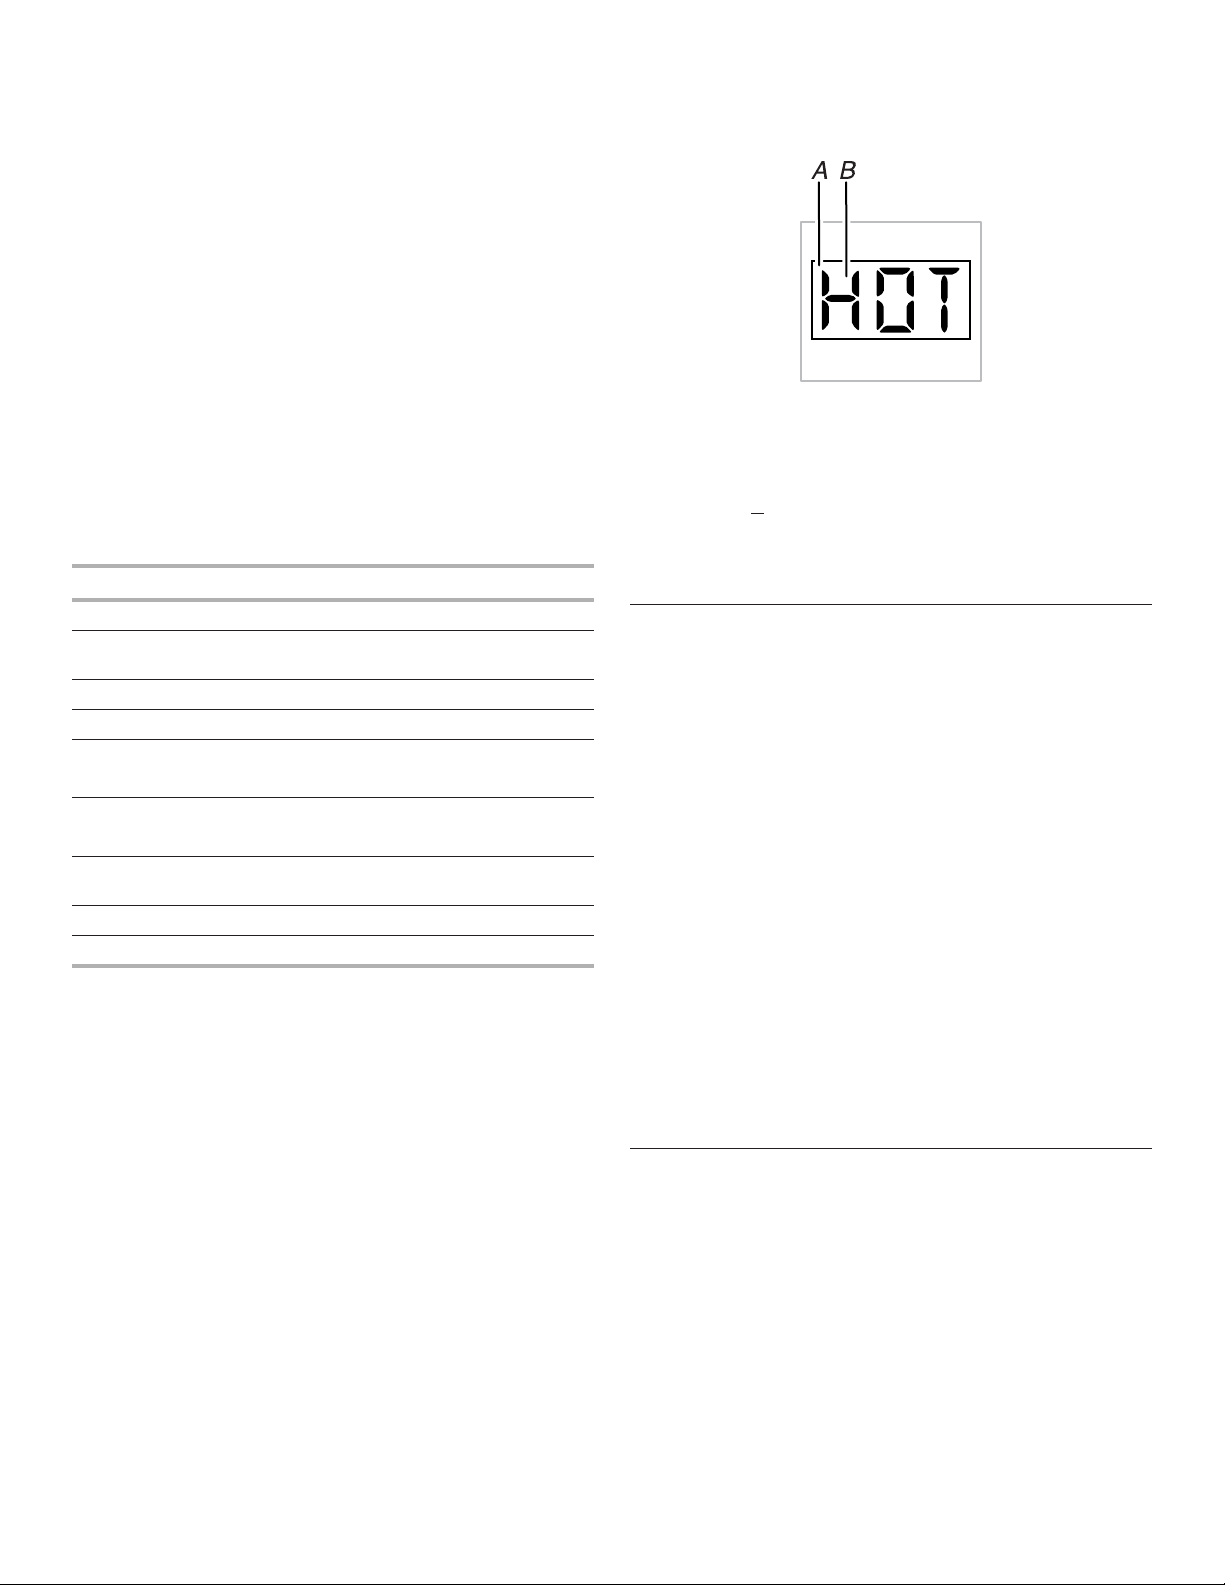
Hot Surface Indicator
“HOT” will appear in the heat setting display as long as any
cooking area is too hot to touch. It will continue to display even
after the cooking area is turned off.
Pan Detection
If the correct type and size of pan is not placed on the chosen
cooking area, “U” and the power level chosen will flash in the
control display of the cooking area until a pan is detected or the
cooking area is turned off.
If a timer is running when a pan is removed, the countdown will
continue.
Control Lock
The Control Lock avoids unintended use of the cooking areas.
Control Lock can be activated when power to the cooktop is
OFF. The cooktop will be locked out, and the cooking areas
cannot be turned on by the cooktop touch controls.
To Lock Cooktop:
1. Touch the Power keypad. The indicator light above the
Power keypad will light up.
2. Touch and hold the Lock and Pause keypads at the same
time for 4 seconds. A tone will sound and an “L” will light
up in the control and timer display areas, indicating that the
cooktop controls are in the lockout position.
The Control Lock function cannot be activated when a cooking
area or zone is in use.
To Unlock Cooktop:
1. Touch the Power keypad. The indicator light above the
Power keypad will light up and an “L” will light up in the
control and timer display areas.
2. While the indicator light and the “L” displays are showing,
touch and hold the Lock and Pause keypads at the same
time for 4 seconds. A tone will sound and the control and
timer display areas will stop showing “L.” The cooktop
controls are no longer in the lockout position.
Performance Boost
This function allows you to increase the heat setting level above
the maximum heat setting 9 for 10 minutes.
NOTE: Performance Boost is not available when the Bridge
function is activated.
The Performance Boost function is available on only 1 cooking
area at a time within a zone. If you attempt to use another
cooking area in the same zone, “P” will flash in the first area
selected, and then the area will reset to power level 5. The
second area selected will remain active with the Performance
Boost “P” power for 10 minutes maximum.
To Use:
1. Touch the Power keypad. The indicator light above the
Power keypad will light up.
2. Touch the On/Off keypad for the desired cooking area.
A. Cooking area display
B. Hot surface indicator
Loading ...
Loading ...
Loading ...