Loading ...
Loading ...
Loading ...
Maintenance
180
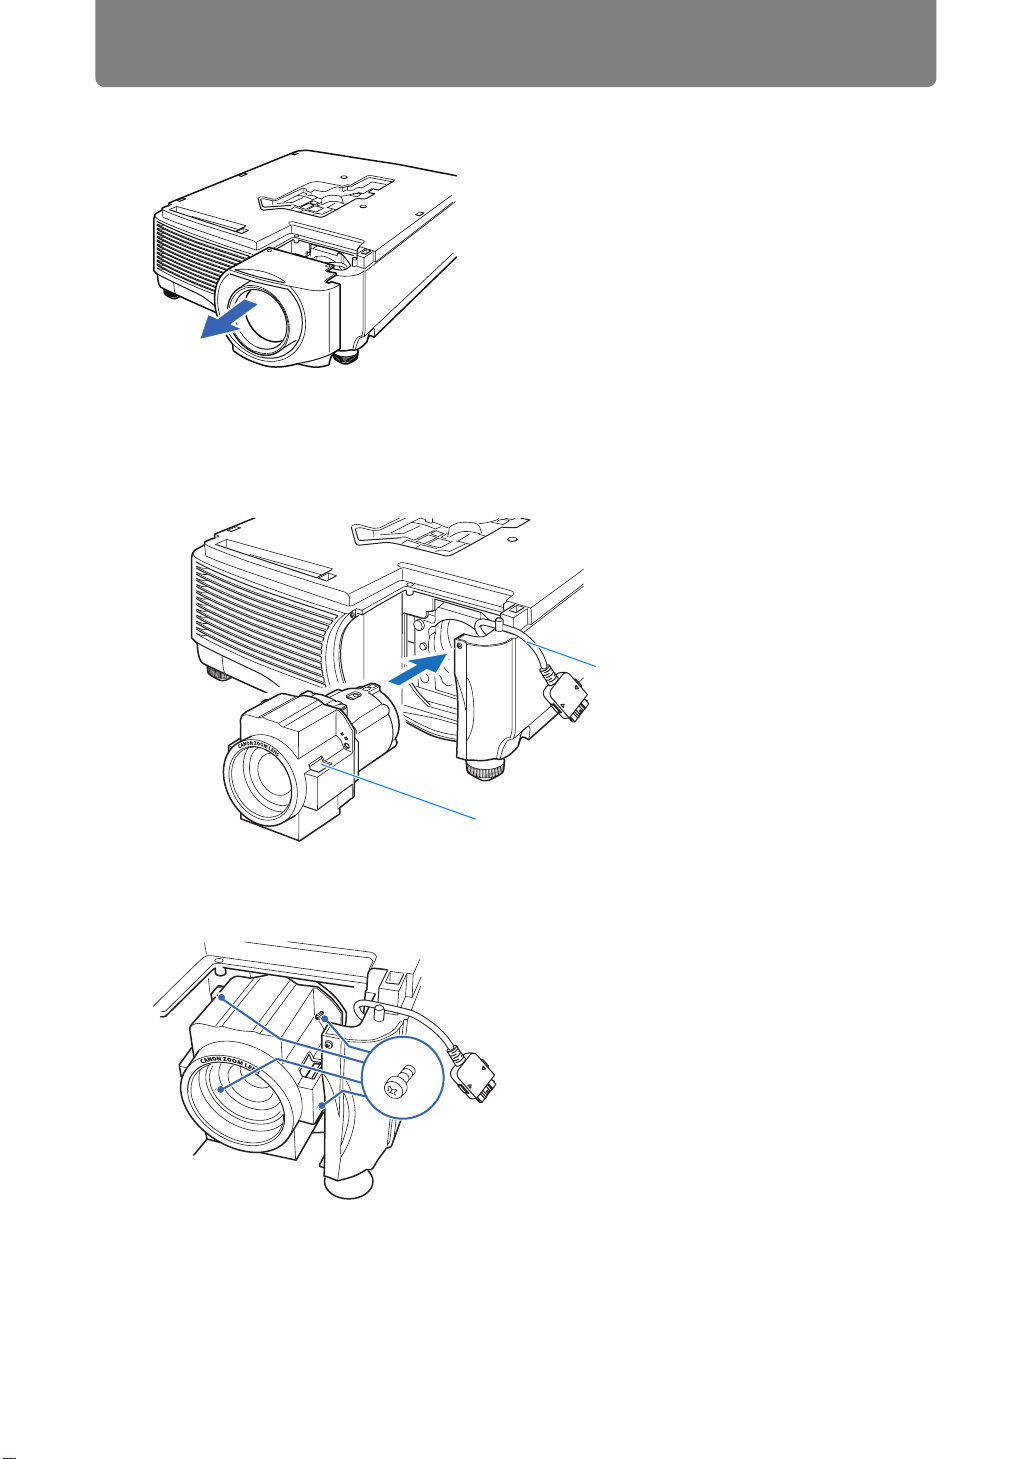
5 Then turn the projector back over and remove the sleeve.
6 Referring to the following illustration, insert the lens connector of the
lens unit into the front right side of the projector slowly until it contacts
the end. At this time, pull out the lens cable shown in the illustration and
fix it.
7 Tighten the 4 screws to fasten the lens unit in place.
The 4 lens unit screws are attached to the lens unit and cannot be removed.
Lens connector
Lens cable
Loading ...
Loading ...
Loading ...