Loading ...
Loading ...
Loading ...
Install Vent System
1. (Optional) Put on safety glasses and
gloves.
2, Install exhaust hood. Use caulking
compound to seal exterior wall open_
ing around exhaust hood.
3. Connect vent to exhaust hood. Vent
must fit inside exhaust hood. Secure
vent to exhaust hood with 4 in.
(10.2 cm) clamp.
4. Run vent to dryer location. Use the
straightest path possible. See
"Determine Vent Length." Avoid 90°
turns. Use duct tape to seal all joints.
Install Leveling Legs
Excessive Weight Hazard
Use two or more people to move
and install dryer.
Failure to do so can result in back
or other injury.
1. Place two of the carton corner posts
on the floor behind the back of the
dryer. See illustration,
2, Firmly grasp the body of the dryer
(not the top or console panel).
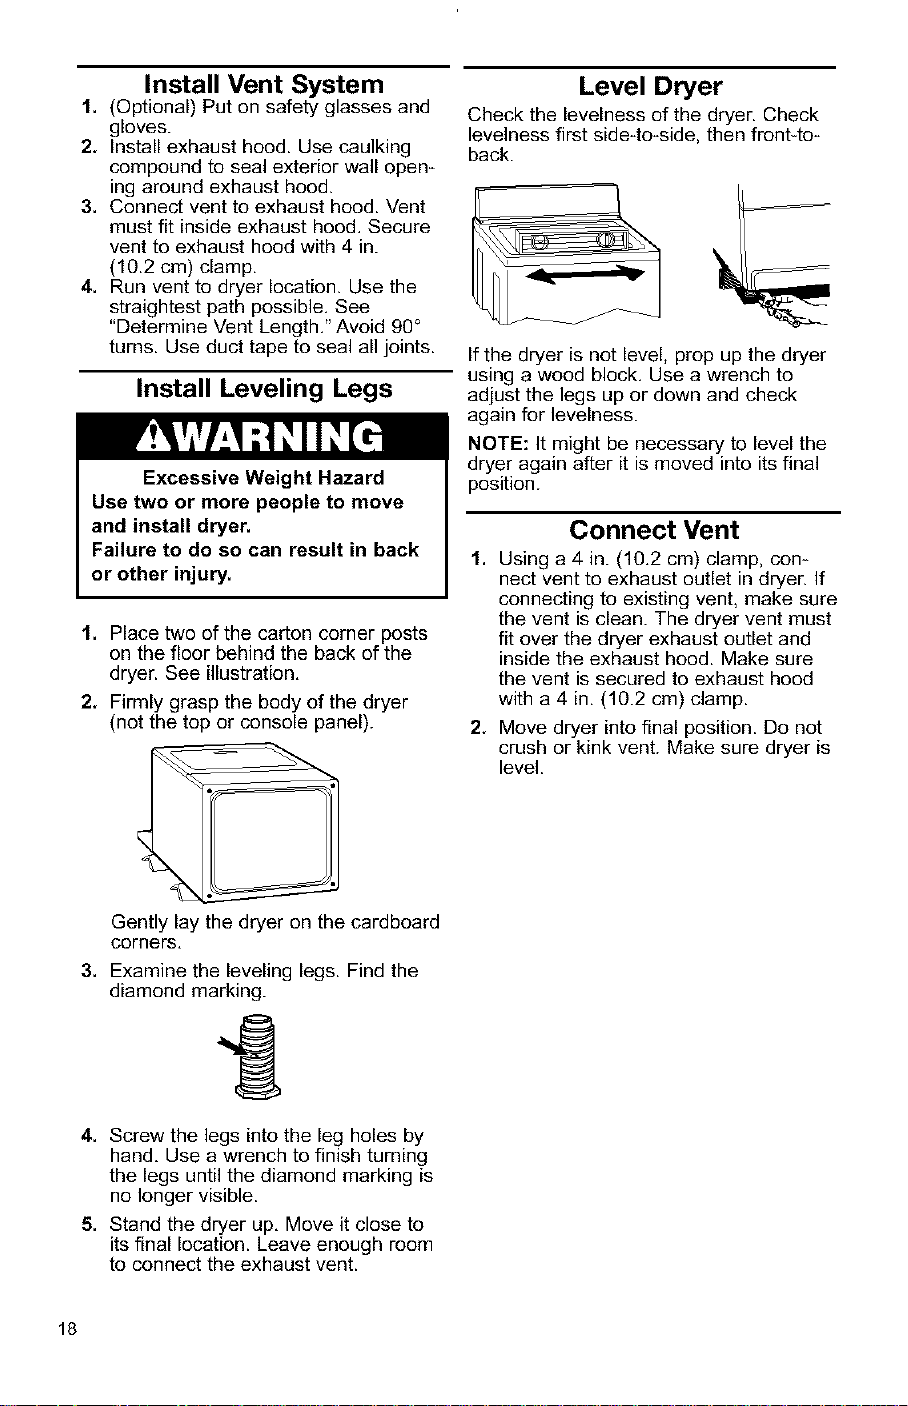
Level Dryer
Check the levelness of the dryer. Check
levelness first side-to-side, then front-to-
back.
If the dryer is not level, prop up the dryer
using a wood block, Use a wrench to
adjust the legs up or down and check
again for levelness.
NOTE: It might be necessary to level the
dryer again after it is moved into its final
position.
Connect Vent
1. Using a 4 in. (10.2 cm) clamp, con-
nect vent to exhaust outlet in dryer. If
connecting to existing vent, make sure
the vent is clean. The dryer vent must
fit over the dryer exhaust outlet and
inside the exhaust hood. Make sure
the vent is secured to exhaust hood
with a 4 in. (10.2 cm) clamp.
2, Move dryer into final position. Do not
crush or kink vent. Make sure dryer is
level.
Gently lay the dryer on the cardboard
corners,
3. Examine the leveling legs. Find the
diamond marking.
1
4. Screw the legs into the leg holes by
hand, Use a wrench to finish turning
the legs until the diamond marking is
no longer visible.
5. Stand the dryer up. Move it close to
its final location. Leave enough room
to connect the exhaust vent.
18
Loading ...
Loading ...
Loading ...