Loading ...
Loading ...
Loading ...
15
you from inserting the blade so far that the choil area will catch on the front stop-bar of the
sharpener as you withdraw the blade. A little practice will help you perfect this technique. As
you insert the blade let your finger slide down the front of the sharpener.
9. Used correctly, you will find you can sharpen the entire blade to within 1/8” of the bolster or
the sharpener handle. This is a major advantage of the Chef’sChoice
®
Model 1520 compared
to other sharpening methods—especially important when sharpening chef’s knives where
you need to sharpen the entire blade length in order to maintain the curvature of the edge
line. If your chef’s knives have a heavy, thick bolster near the handle extending to the edge,
a commercial grinder can modify or remove the lower portion of the bolster so it will not
interfere with the sharpening action, allowing you to sharpen the entire blade length.
10. The stropping/polishing disks in Stage 3 are designed to last for years of use, however
you can maximize their useful life by periodically modifying your sharpening pattern in the
preceeding Stage used. The burr developed in the preceeding Stage will mildly wear the
stropping/polishing disk it first contacts in Stage 3. Vary your last pull in the preceeding
Stage (Stage 1 or Stage 2) by sometimes making the last pull on the left disk and at other
times finish on the right disk of that Stage.
11. Do not attempt to use this sharpener to sharpen either ceramic knives or scissors.
NORMAL MAINTENANCE
No lubrication is required for any moving parts, motor, bearings, or sharpening surfaces. There
is no need for water on abrasives. The exterior of the sharpener may be cleaned by carefully
wiping with a damp cloth. Do not use detergents or abrasives
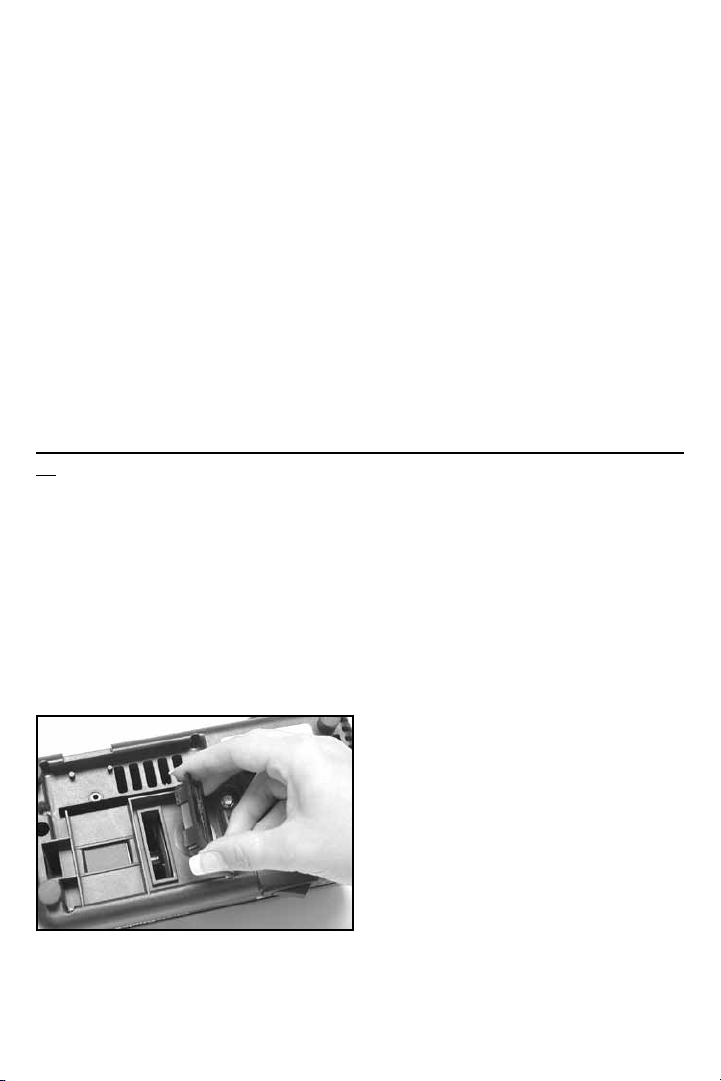
Once a year or so as needed you should remove metal dust that will accumulate inside the
sharpener from repeated sharpenings. Remove the small rectangular clean-out cover (Figure
18) that covers an opening on the underside of the sharpener. You will find metal particles
adhered to a magnet attached to the inside of that cover. Simply rub off or brush off accumulated
filings from the magnet with a paper towel or tooth brush and reinsert the cover in the opening.
If larger amounts of metal or other dust have been created you can shake out any remaining
dust through the bottom opening when the cover is removed. After cleaning, replace the cover
securely with its magnet in place.
Figure 18. Removing cover under base to clean out
metal dust (See Normal Maintenance section).
Loading ...