Loading ...
Loading ...
Loading ...
12
STEP 2: STROPPING/POLISHING, STAGE 3
In Stage 3 make three (3) to four (4) pairs of slow pulls each about 4 seconds, alternating in the
left and right slots.
Follow this, still in Stage 3, with three (3) pairs of faster pulls each about 1-2 seconds, alternating
in the left and right slots. There should not be a noticeable burr along the edge. Test blade for
sharpness. It should be incredibly sharp. If not sharp repeat this Step 2.
RESHARPENING EUROPEAN/AMERICAN KNIVES
Re-sharpen the European/American knives whenever practical using just Stage 3 following the
instructions (Step 2) above. When that fails to quickly re-sharpen, return to Stage 2 and make
two or three pairs of alternating pulls. Check for a burr along the edge and when a burr exists
proceed again to Stage 3 following the instructions in the preceding section.
CONVERTING EUROPEAN/AMERICAN KNIFE EDGE
TO 15 DEGREE ASIAN STYLE EDGE
With the Model 1520 you can convert any European or American style knives that are used
primarily for light duty work to the 15 degree Asian edge. For example you might consider
converting light duty paring knives and thin utility blades to 15 degrees. To make this conversion
follow the Instructions for Sharpening Asian Blades, pages 7 to 9. Initial sharpening in Stage 1
will take longer than you might expect but subsequent resharpening time will be normal.
PROCEDURE FOR SHARPENING SERRATED BLADES
Serrated blades are similar to saw blades with scalloped depressions and a series of pointed
teeth. In normal use the pointed teeth do most of the cutting.
Serrated blades of all types can be sharpened in the Chef’sChoice
®
Model 1520. However, use
only Stage 3 (Figure 14) which will sharpen the teeth of the serrations and develop microblades
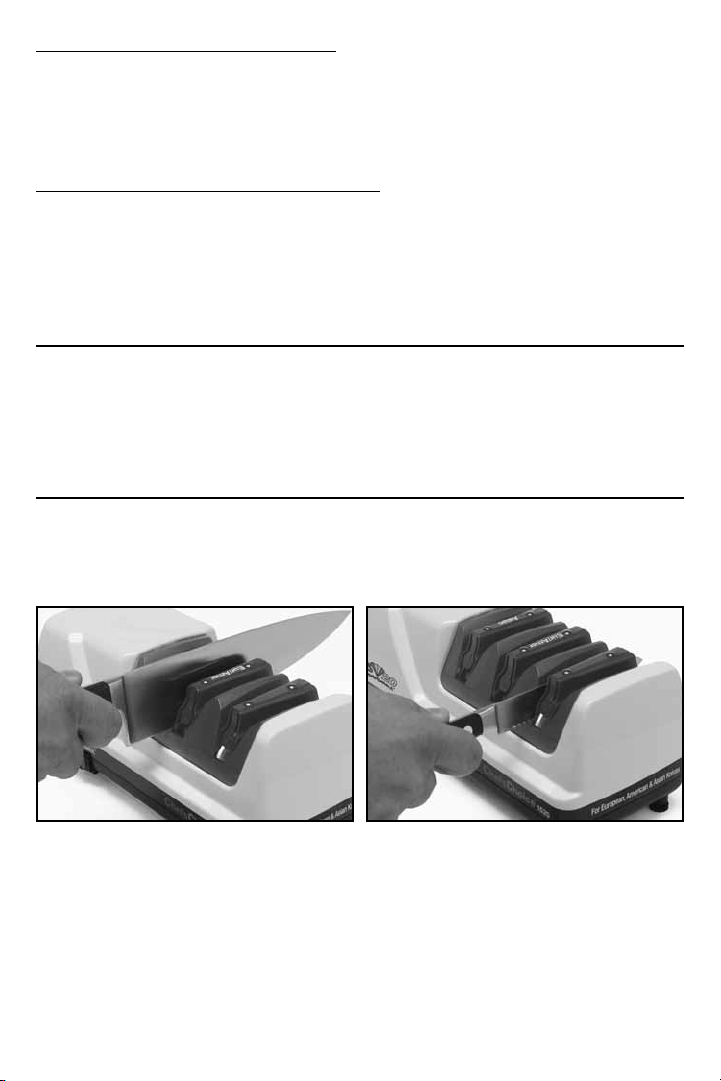
Figure 13. Honing in Stage 2 (left slot). European and
American style blade.
Figure 14. Use only Stage 3 for sharpening
serrated knives.
Loading ...
Loading ...
Loading ...