Loading ...
Loading ...
Loading ...
11
RESHARPENING THE TRADITIONAL JAPANESE BLADE (RIGHT HANDED)
In general you will be able to re-sharpen quickly by following the sequence of Step 2 above.
Repeat this if necessary to obtain a razor sharp edge. When re-sharpening only in Stage 3 fails
to develop a sharp edge or if the edge has been substantially dulled you will need to re-hone
the edge in Stage 1. Use only the left slot of Stage 1. Generally you will find that about five (5)
re-honing pulls will be sufficient in Stage 1. In any event develop a burr before moving again to
Stage 3. Finish the edge in Stage 3 following Steps 2a, b and c.
SHARPENING LEFT HANDED TRADITIONAL JAPANESE BLADES
The procedure you must use with left handed blades is similar to that procedure for right handed
blades as detailed above – Except in all cases the slots you must use are reversed. Where the
sharpening procedure for right handed blades calls for use of just the left slot, you must use only
the right slot when sharpening a left-handed blade. Likewise use the left slot where ever the
right handed instructions call for using the right slot.
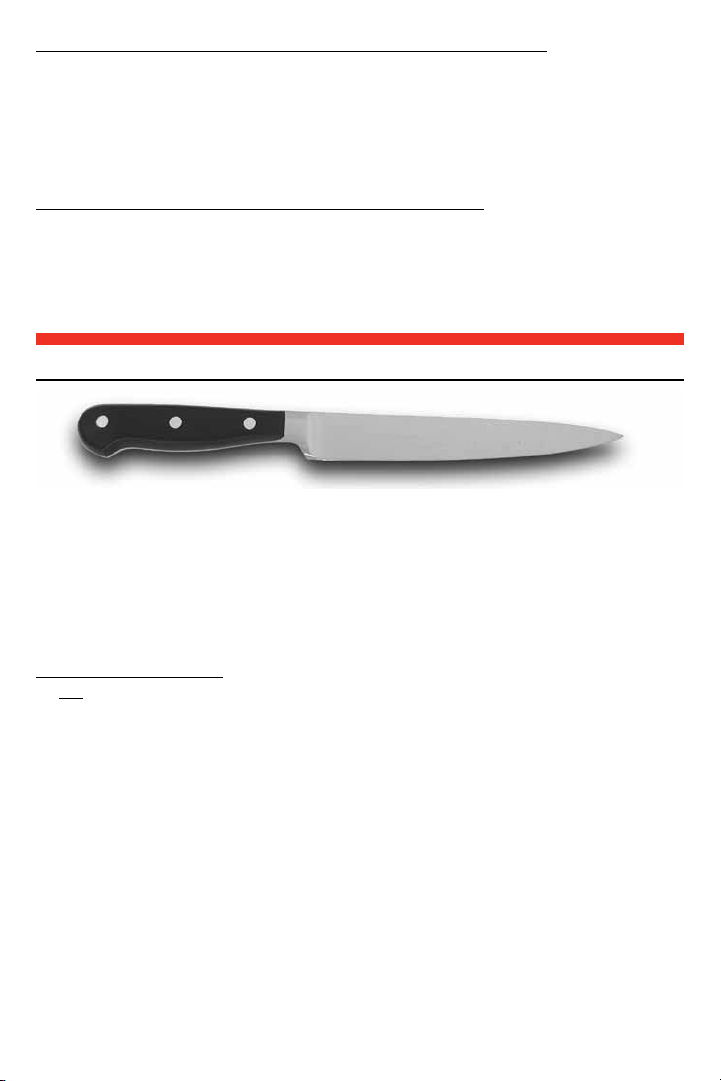
SHARPENING EUROPEAN/AMERICAN KNIVES
All knives from European or American manufacturers are double sided, and consequently must be
sharpened on both sides of the blade. The edge is customarily sharpened at 20 degrees forming
two facets at that angle to create a total edge angle of 40 degrees. Where these knives are gener-
ally used for heavier tasks the stronger 20 degree faceted edge is usually most appropriate.
Sharpening the European/American knife is a two step sharpening process, honing first in Stage
2 and followed by stropping/polishing in Stage 3. (You do not use Stage 1 for these knives unless
you wish to convert them to the Asian angle of 15 degrees as described later.)
STEP 1: HONING, STAGE 2
Do not use Stage 1.
Stage 2 will create the primary facet of 20 degrees on the European/American knife. Turn on
the power switch. Start by slipping the blade between the left angle guide of Stage 2 (Figure 13)
and the knife holding spring while pulling the blade toward you and simultaneously moving the
blade downward in the slot until it engages the diamond coated disk. You will hear it contact the
disk. Insert the blade as close as possible to the bolster or handle. If the blade is curved lift the
handle slightly as you sharpen near the tip of the knife. Sharpen the entire blade length. Then
repeat with one full length pull in the right slot of Stage 2. Always make pairs of pulls, alternating
pulls in the left and right slots of that Stage. Each pull should be about 4-5 seconds for 5” long
blade and slightly slower for longer blades. Make about five (5) pairs of pulls, then check for a
burr along the entire edge length. (See page 8 and Figure 9). Continue with more alternating
pairs of pulls until the presence of a burr is confirmed. More pulls will be needed if the knife is
very dull.
Loading ...
Loading ...
Loading ...