Loading ...
Loading ...
Loading ...
171
Advanced Guide
Basic Guide
Camera Basics
Auto Mode /
Hybrid Auto Mode
Other Shooting Modes
Playback Mode
Wireless Features
Setting Menu
Accessories
Appendix
Index
P Mode
Tv, Av, M, C1, and C2 Mode
Before Use
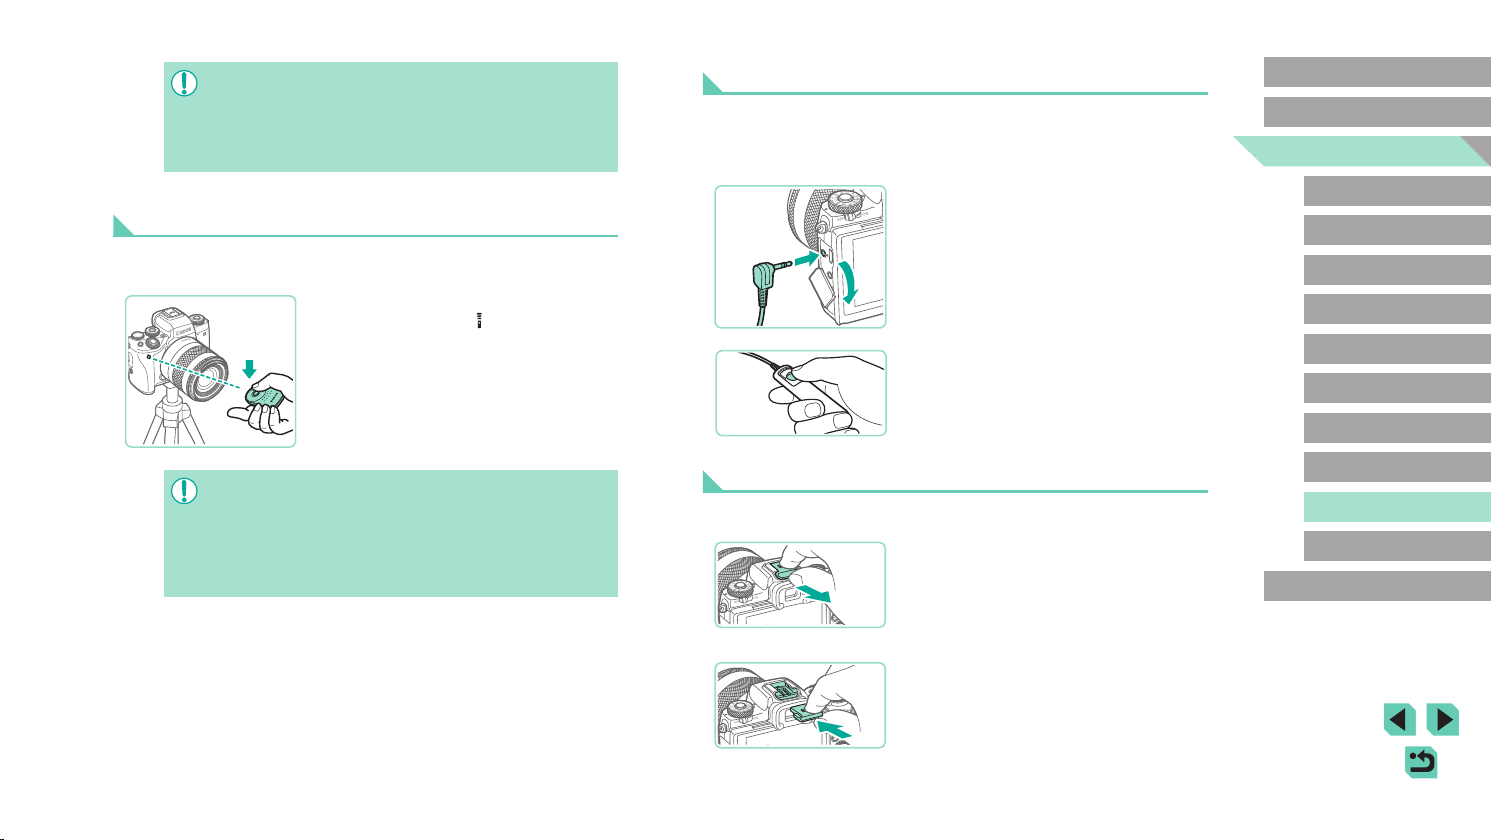
Using a Remote Switch (Sold Separately)
An optional Remote Switch RS-60E3 can be used to avoid camera shake
that may otherwise occur when pressing the shutter button directly. This
optional accessory is convenient when shooting at slow shutter speeds.
1
Connect the remote switch.
● Make sure the camera is off.
● Open the terminal cover and insert the
remote switch plug.
2
Shoot.
● Turn the camera on.
● To shoot, press the release button on the
remote switch.
Using the Hot Shoe
Use the hot shoe to attach an optional external ash or microphone.
1
Remove the hot shoe cap.
● Pull off the cap as shown.
● To avoid losing the cap, place it in
the case for your external ash or
microphone.
2
Attach the hot shoe cap.
● After removing the external ash or
microphone, reattach the cap to protect
the hot shoe.
● Insert the cap as shown.
(
1
)
(
2
)
● Do not disconnect the adapter or unplug the power cord while
the camera is still on. This may erase your shots or damage the
camera.
● Do not attach the adapter or adapter cord to other objects. Doing
so could result in malfunction or damage to the product.
Shooting Remotely
Use Remote Controller RC-6 (sold separately) to shoot from up to approx.
5 meters (16.4 ft.) in front of the camera.
● Follow step 1 in “Using the Self-Timer”
(=
44) and choose [ ].
● Aim the Remote Controller at the
camera’s remote control sensor and
press the transmit button to shoot.
● The camera does not shoot unless subjects are in focus.
● Shutter release may be triggered accidentally by any uorescent
or LED lighting nearby. Use the camera as far away from these
light sources as possible.
● Operating a TV remote control or similar device aimed at the
camera may trigger accidental shutter release.
Loading ...
Loading ...
Loading ...