Loading ...
Loading ...
Loading ...
9
Cleaning Your Frost-Free Freezer
Frost-free means that you will not have to defrost your freezer.
Frost is removed by air moving and collecting any moisture and
depositing it on the cooling coil. The cooling coil periodically
warms up enough to melt the frost, and it then flows down to the
drain pan (located behind the base grille) where it is evaporated.
Complete cleaning should be done at least once a year.
1. Press and hold TEMP SETTING for 3 seconds to turn off
cooling.
2. Unplug freezer or disconnect power.
3. Remove all frozen food. Wrap frozen food in several layers of
newspaper and cover with a blanket. Food will stay frozen for
several hours. You may also store frozen food in a cooler, an
additional refrigerator-freezer, or in a cool area.
4. Remove all removable parts from inside, such as shelves,
bins, etc.
5. Hand wash, rinse, and dry removable parts and interior
surfaces thoroughly. Use a clean sponge or soft cloth and
a mild detergent in warm water.
■ Do not use abrasive or harsh cleaners such as window
sprays, scouring cleansers, flammable fluids, cleaning
waxes, concentrated detergents, bleaches, or cleansers
containing petroleum products on plastic parts, interior
and door liners, or gaskets. Do not use paper towels,
scouring pads, or other harsh cleaning tools. These can
scratch or damage materials.
■ To help remove odors, you can wash interior walls
with a mixture of warm water and baking soda
(2 tbs to 1 qt [26 g to 0.95 L] of water).
6. Replace the removable parts.
7. Use the appropriate cleaning method for your exterior finish.
Painted metal: Wash exteriors with a clean sponge or soft
cloth and a mild detergent in warm water. Do not use abrasive
or harsh cleaners or cleaners designed for stainless steel. Dry
thoroughly with a soft cloth.
8. Clean the condenser coils regularly. Coils may need to be
cleaned as often as every other month. This may help save
energy.
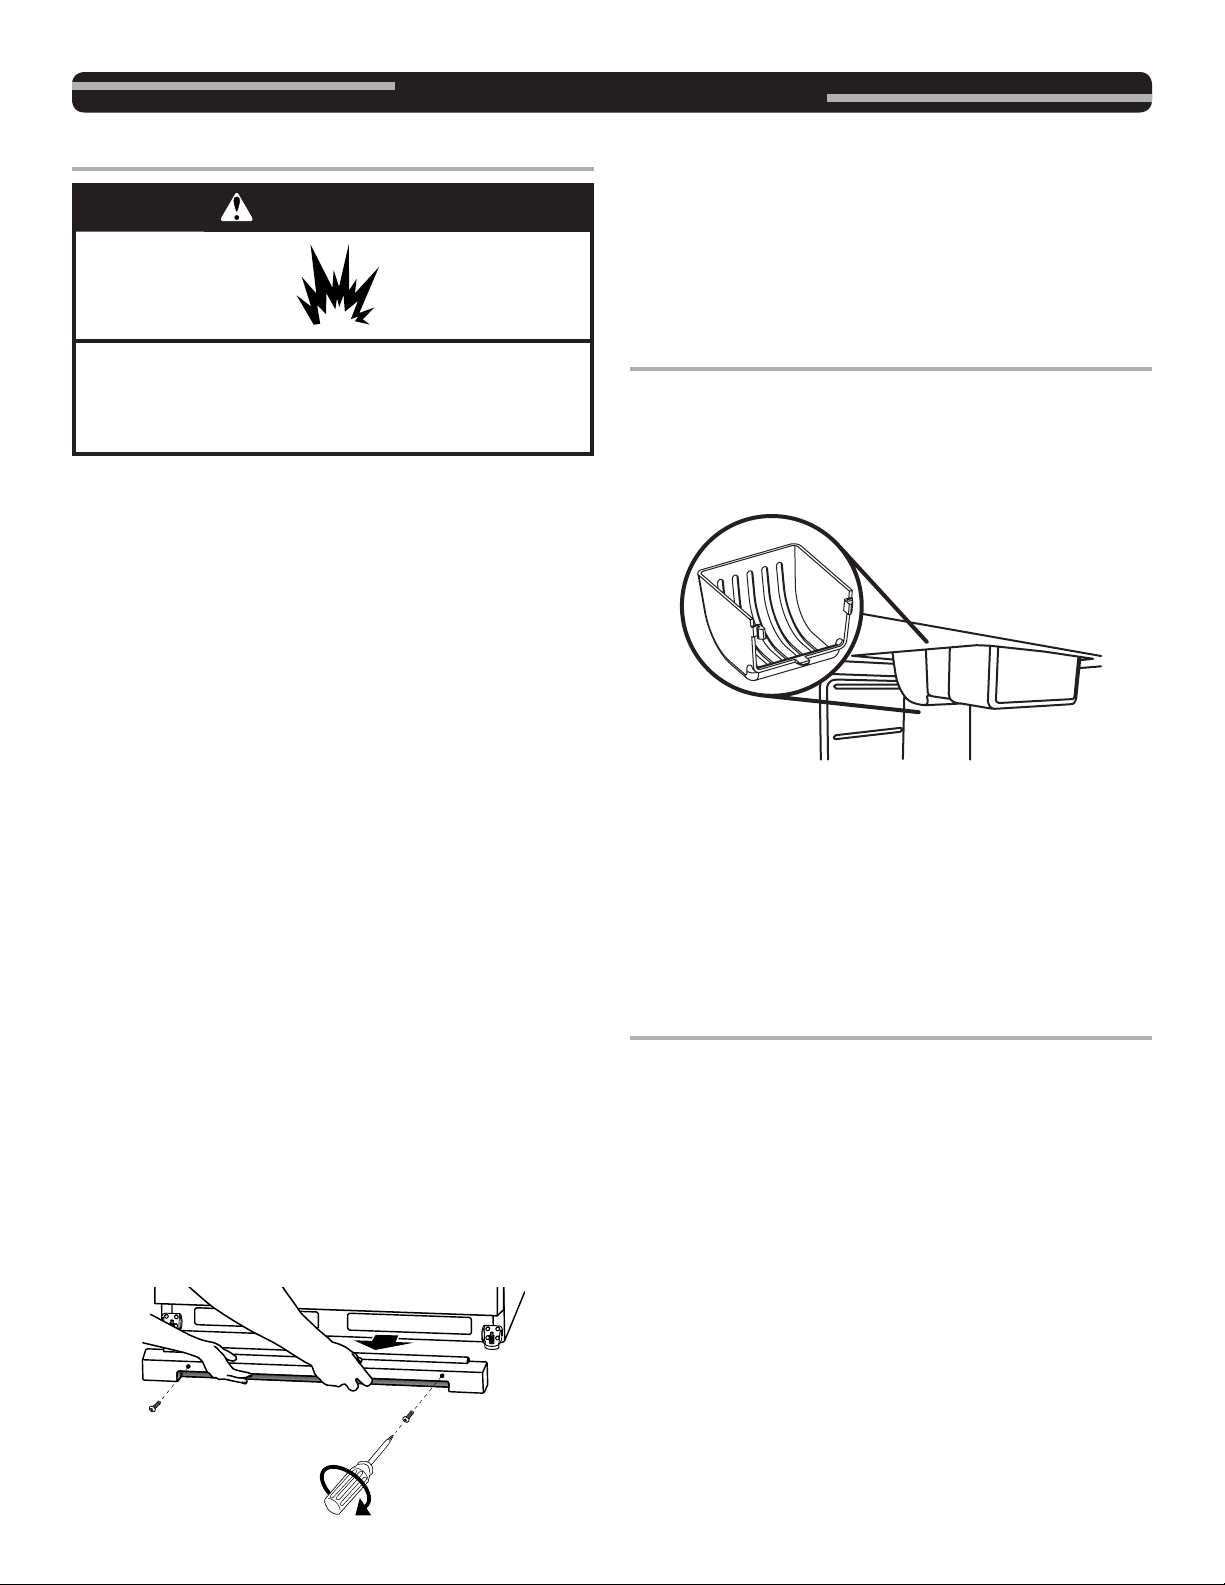
■ Open the freezer door and remove the base grille by
removing 2 Phillips-head screws and pulling the grille
toward you.
■ Use a vacuum with an extended attachment to clean
the condenser coils when they are dusty or dirty.
■ Replace the base grille by aligning the ends of the grille
with the leveling assemblies on each side and snapping
the grille into place. Reinstall the screws.
9. Replace all frozen food.
10. Plug in freezer or reconnect power.
11. Set temperature control to desired setting. See “Using the
Control.”
Changing the Light Bulb
NOTE: Not all appliance bulbs will fit your freezer. Be sure to
replace the bulb with an appliance bulb of the same size, shape,
and wattage.
1. Unplug freezer or disconnect power.
2. Remove the light shield by squeezing the lens from the sides,
pushing back and pulling down.
3. Replace bulb with a 40-watt maximum appliance bulb or
an LED bulb rated for wet/damp locations.
NOTE: Some LED replacement light bulbs are not
recommended for wet/damp environments. Refrigerator fresh
food and freezer compartments are considered wet/damp
environments. Read and follow all instructions on the LED
packaging when replacing the factory-installed LED bulb. A
replacement LED bulb can be purchased from an authorized
dealer.
4. Replace the light shield.
5. Plug in freezer or reconnect power.
Power Interruptions
If the power will be out for 24 hours or less, keep the door closed
to help food stay cold and frozen.
If the power will be out for more than 24 hours, do one of the
following:
■ Remove all frozen food and store it in a frozen food locker.
■ If a food locker is not available, consume or can perishable
food at once.
REMEMBER: A full freezer stays cold longer than a partially filled
one. A freezer full of meat stays cold longer than a freezer full of
baked goods. If you see that food contains ice crystals, it may be
refrozen, although the quality and flavor may be affected. If the
condition of the food is poor, dispose of it.
WARNING
Explosion Hazard
Use nonflammable cleaner.
Failure to do so can result in death, explosion, or fire.
CARING FOR YOUR FREEZER
Loading ...
Loading ...
Loading ...