Loading ...
Loading ...
Loading ...
Basic Operations
57
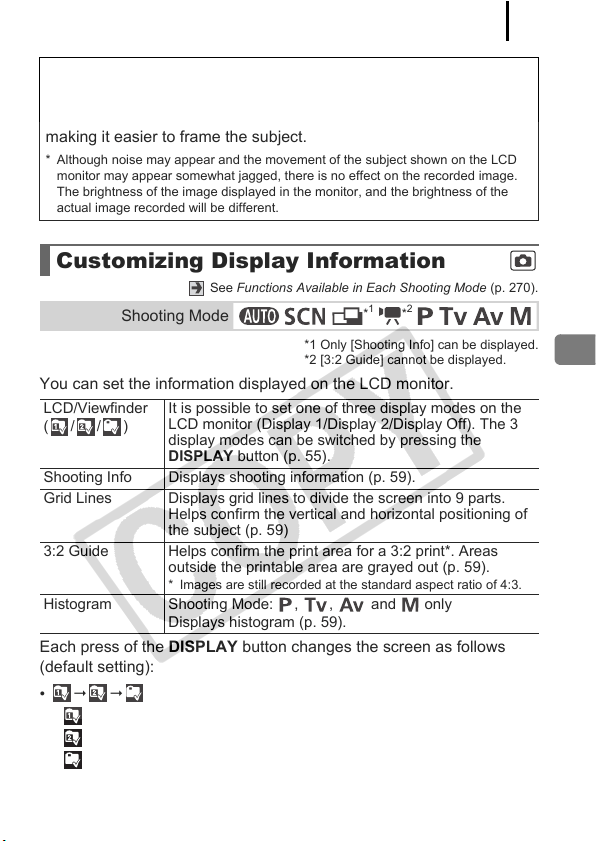
See Functions Available in Each Shooting Mode (p. 270).
*1 Only [Shooting Info] can be displayed.
*2 [3:2 Guide] cannot be displayed.
You can set the information displayed on the LCD monitor.
Each press of the DISPLAY button changes the screen as follows
(default setting):
•
• : No Information
• : Displays shooting information, grid lines and a histogram
• : Off
Night Display
When shooting in dark conditions, the camera automatically
brightens the LCD monitor to suit the brightness of the subject*,
making it easier to frame the subject.
* Although noise may appear and the movement of the subject shown on the LCD
monitor may appear somewhat jagged, there is no effect on the recorded image.
The brightness of the image displayed in the monitor, and the brightness of the
actual image recorded will be different.
Customizing Display Information
Shooting Mode
LCD/Viewfinder
(//)
It is possible to set one of three display modes on the
LCD monitor (Display 1/Display 2/Display Off). The 3
display modes can be switched by pressing the
DISPLAY button (p. 55).
Shooting Info Displays shooting information (p. 59).
Grid Lines Displays grid lines to divide the screen into 9 parts.
Helps confirm the vertical and horizontal positioning of
the subject (p. 59)
3:2 Guide Helps confirm the print area for a 3:2 print*. Areas
outside the printable area are grayed out (p. 59).
* Images are still recorded at the standard aspect ratio of 4:3.
Histogram Shooting Mode: , , and only
Displays histogram (p. 59).
*
1
*
2
Loading ...
Loading ...
Loading ...